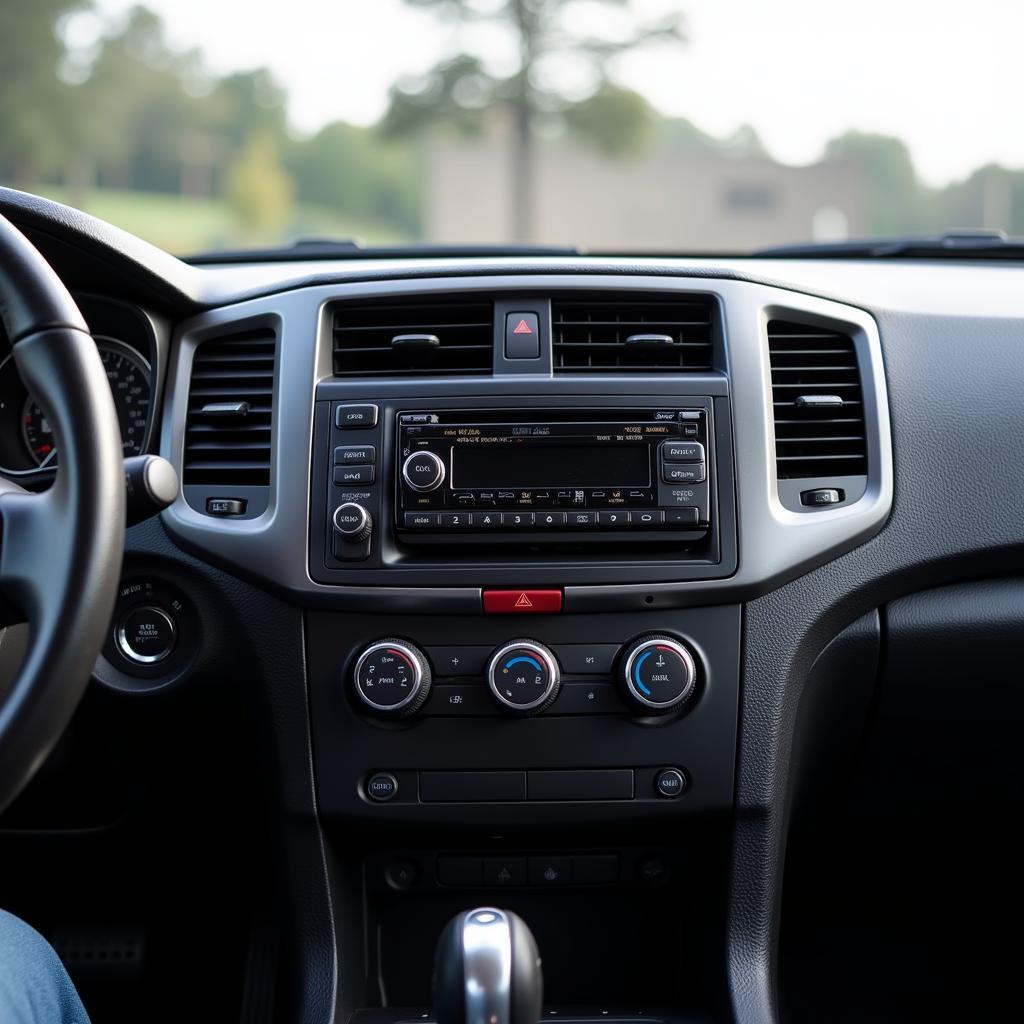
Installing a car radio can seem daunting, but with the right tools and a little patience, it’s a manageable DIY project. This guide will walk you through each step of the process, from removing your old radio to wiring up your new one, ensuring a smooth and successful installation.
Gathering Your Tools and Preparing for Installation
Before you begin, gather all the necessary tools. This will make the process much smoother and prevent unnecessary delays. You’ll need a wiring harness adapter (specific to your car make and model), a panel removal tool kit, a multimeter for testing connections, wire strippers and crimpers, electrical tape, and a Phillips head screwdriver. Having a friend to assist can also be beneficial. Check if your car has special anti-theft features that require additional steps or codes. Researching your specific car model beforehand can save you a lot of headache later. Having a car battery failing can complicate the installation, so consider checking for car battery failing symptoms beforehand.
Removing the Old Car Radio
Carefully remove the trim panels surrounding your old car radio using the panel removal tools. Be gentle to avoid breaking any clips. Once the trim is removed, unscrew the old radio from the dashboard. Disconnect the wiring harness and antenna cable. Take note of how the wires are connected to the old radio, as this will be helpful when wiring the new one. If you notice signs like a prius bad battery, address those issues before continuing.
Wiring the New Car Radio Harness
This is where the wiring harness adapter comes into play. It connects the new radio’s wiring to your car’s existing wiring system without cutting or splicing any wires. Match the wires on the adapter to the corresponding wires on the new radio’s harness. Use the wire strippers and crimpers to create secure connections, then wrap the connections with electrical tape. This adapter simplifies the process and prevents potential electrical issues. A common issue can be a dead battery, so double-check your battery connections before powering on the new radio.
Connecting the New Radio and Testing
Once the wiring is complete, connect the antenna cable to the new radio. Slide the radio into the dashboard slot and secure it with the screws. Before reassembling the trim panels, test the radio to ensure it powers on and functions correctly. If you encounter any issues, double-check the wiring connections. Recognizing car battery going dead signs can help prevent unexpected power loss during the installation.
Reassembling the Dash and Final Touches
After confirming the radio works, reassemble the trim panels, ensuring they snap securely into place. Enjoy your new car radio! A properly installed car radio enhances your driving experience.
 Finished Car Radio Installation
“A common mistake people make is not using the correct wiring harness adapter. This can lead to blown fuses or even damage to the radio,” advises John Smith, a veteran automotive electrician.
“Always test the radio before putting the dash back together. This saves you the hassle of having to disassemble everything again if there’s a problem,” adds Jane Doe, an experienced car audio installer. If your prius battery keeps dying, installing a new car radio might not be the only solution you need.
Conclusion
Installing a car radio is a rewarding project that can be completed with some basic tools and this comprehensive guide. Remember to take your time, double-check your connections, and test everything before reassembling your dash. By following these steps, you’ll be enjoying your new car radio in no time.
FAQ
-
Do I need any special tools to install a car radio?
Yes, you will need a wiring harness adapter, panel removal tools, a multimeter, wire strippers and crimpers, electrical tape, and a Phillips head screwdriver. -
What if my new radio doesn’t power on after installation?
Double-check all the wiring connections and ensure the car’s ignition is on. -
Can I install any car radio in my car?
Not necessarily. Different cars have different dashboard sizes and wiring configurations. Make sure the radio you choose is compatible with your car model. -
How do I choose the right wiring harness adapter?
Consult your car’s owner’s manual or an online resource to find the correct adapter for your make and model. -
Why is it important to use a wiring harness adapter?
It simplifies the installation process and prevents the need to cut or splice wires, which could damage your car’s electrical system. -
What should I do if I’m unsure about any of the wiring connections?
Consult a professional car audio installer for assistance. -
How long does it typically take to install a car radio?
With the proper tools and preparation, it can take anywhere from 30 minutes to a few hours.

