Installing a new car radio can seem daunting, especially when faced with a jumble of wires. However, with a little guidance, the task becomes surprisingly manageable. This guide will walk you through the process step-by-step, ensuring you connect everything correctly and enjoy your new sound system.
Understanding Your Car Radio Wiring
Before diving into the installation, it’s crucial to understand the basic wiring of your car radio. Car radio wiring harnesses typically follow a standard color code, but there can be variations depending on the car model and radio brand.
Common Car Radio Wiring Problems
Encountering issues with your car radio? You’re not alone. Some common problems include:
- No sound: This could be due to loose or incorrectly connected speaker wires, a blown fuse, or even a faulty head unit.
- Power but no sound: This might indicate a problem with your amplifier, speaker wiring, or the head unit’s internal amplifier.
- Intermittent sound: This often points towards loose connections, damaged wires, or a failing head unit.
Identifying the Root Cause
Diagnosing the issue accurately is paramount for a successful repair. Here’s how you can pinpoint the problem:
- Visual inspection: Carefully examine the wiring harness for any visible damage like cuts, fraying, or loose connections.
- Software diagnostics: Utilize a professional-grade OBD-II scanner to read error codes related to the car radio system. For instance, certain models might log codes related to speaker output or communication errors with the head unit.
- Continuity testing: Using a multimeter, you can check the continuity of the wires to ensure a proper electrical path between the head unit and the speakers.
Essential Tools for Car Radio Installation
Gather the following tools before you begin:
- Wire strippers/cutters
- Electrical tape
- Crimping tool with connectors
- Panel removal tools
- Multimeter (optional but recommended)
- Wiring diagram for your car model and radio (usually found in the user manuals)
Step-by-Step Car Radio Wiring Installation
-
Disconnect the battery: This is the most crucial step to prevent electrical shorts. Disconnect the negative terminal of your car battery before proceeding.
-
Remove the old radio: Use the appropriate panel removal tools to carefully pry open the dashboard panels and remove the old radio.
-
Identify the wires: Using the wiring diagram, match the wires from the car’s wiring harness to the corresponding wires on the new radio’s harness. The standard color code is a good starting point, but always double-check with the diagram.
-
Connect the wires: Use a crimping tool to attach the appropriate connectors to the wires if necessary. Connect each wire from the car’s harness to the corresponding wire on the new radio’s harness, ensuring a secure fit.
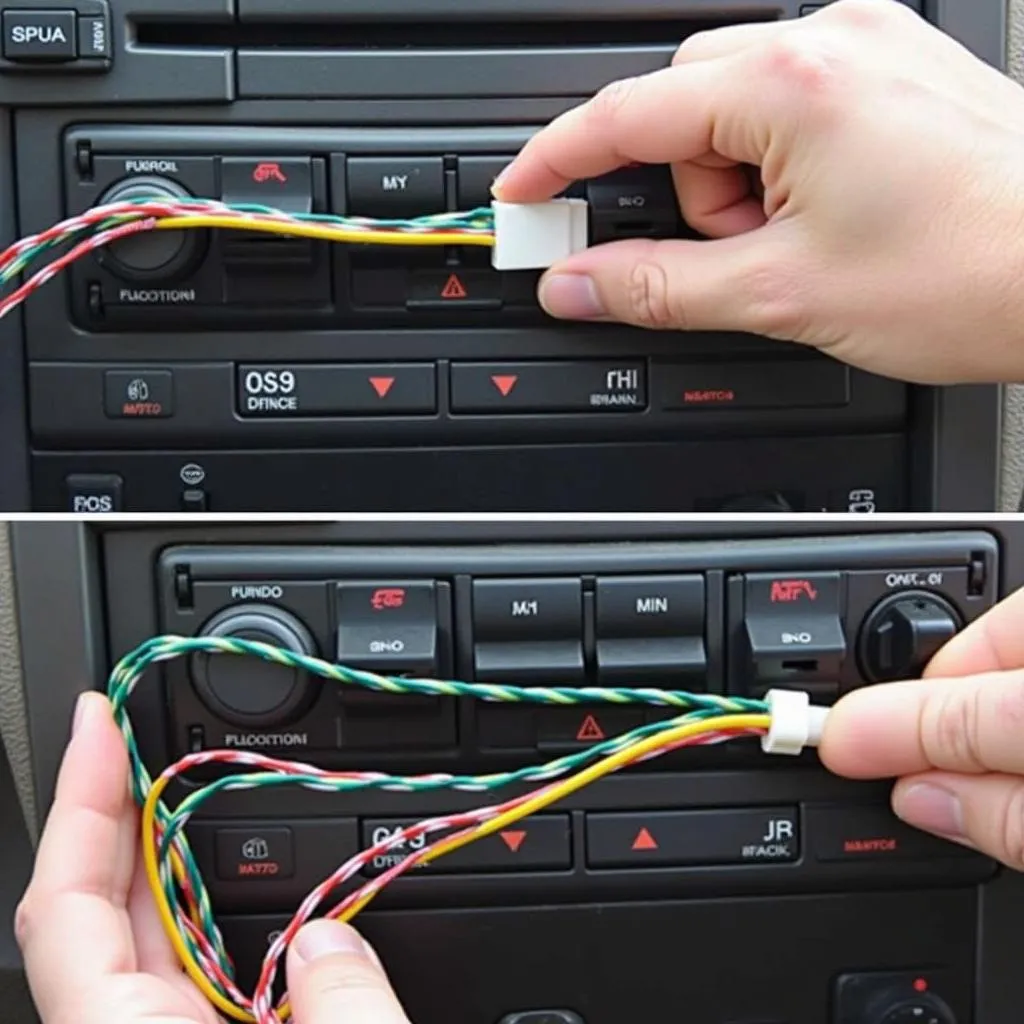 Connecting a car radio wiring harness
 -
Secure the connections: Wrap electrical tape around each wire connection to prevent them from coming loose due to vibrations.
-
Test the connections: Reconnect the car battery’s negative terminal and turn on the ignition. Test the new radio to make sure it powers on, the speakers work, and all functions operate correctly.
-
Reinstall the radio: If everything works as expected, carefully tuck the wires back into the dashboard and reinstall the radio using the reverse steps of the removal process.
Frequently Asked Questions
Q: Do I need a special harness for my car model?
A: While some cars may utilize a standard wiring harness, others might require a vehicle-specific adapter. It’s always best to consult your car’s manual or a reputable car audio professional to determine the correct harness for your vehicle.
Q: Can I install a car radio myself or should I consult a professional?
A: While installing a car radio is achievable with some technical aptitude, it does involve working with your car’s electrical system. If you’re not comfortable working with electrical components, it’s advisable to consult a professional car audio installer.
Q: My new radio has more speakers than my car. What should I do?
A: If your new radio supports more speakers than your car’s existing system, you have a couple of options. You can choose to simply connect the speakers that match your car’s configuration or opt to upgrade your car’s speaker system to accommodate the additional channels.
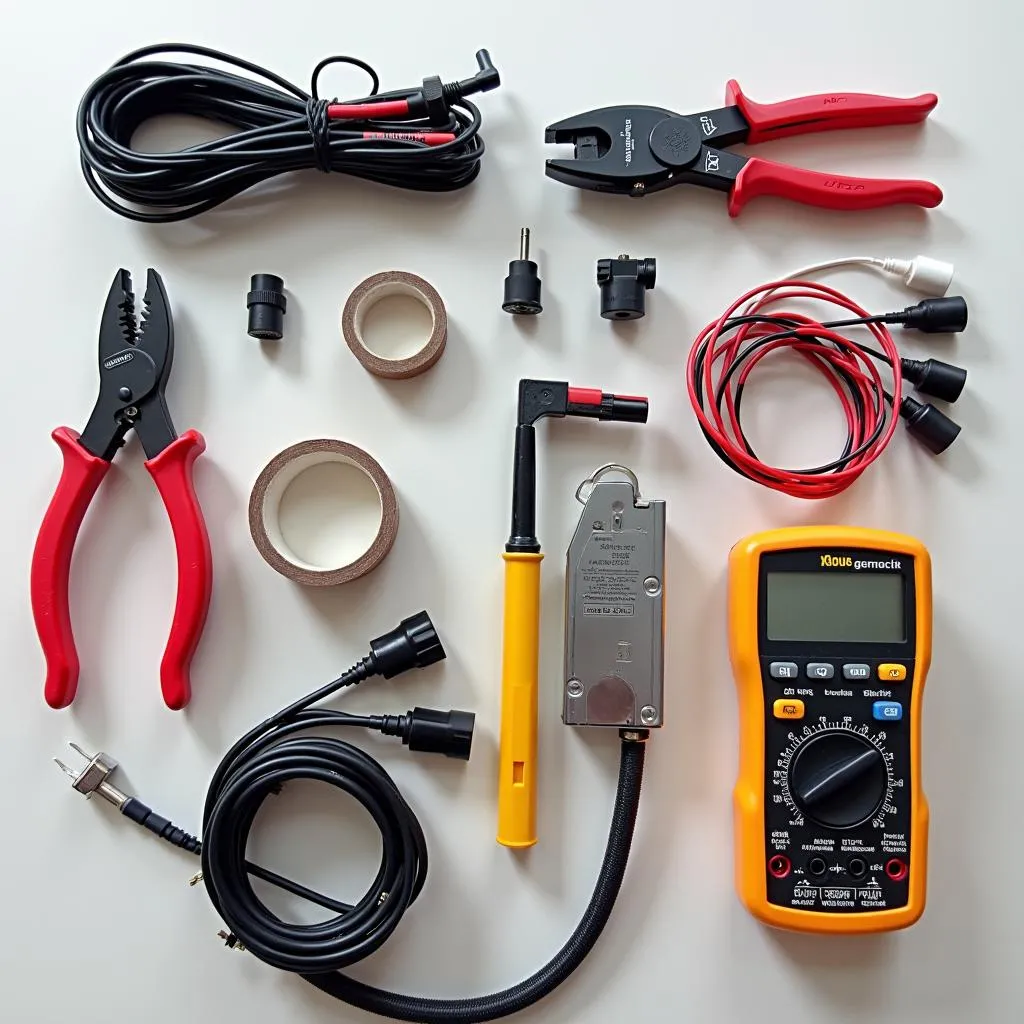 Tools and components for car audio installation
Q: How do I know if my car radio is compatible with my car’s anti-theft system?
A: Some modern cars have anti-theft systems integrated with the car radio. If you’re unsure about compatibility, it’s best to consult your car’s manual or a professional installer. They can guide you on any necessary steps to bypass or integrate the new radio with your car’s anti-theft system. For further information on car anti-theft systems, you can check out this article on AM-EAS Anti-Theft Antenna.
Conclusion
Installing car radio wires doesn’t have to be an intimidating task. By following these steps and referring to your car and radio manuals, you can successfully complete the installation and enjoy your upgraded car audio system. However, if you encounter any difficulties or are unsure about any part of the process, don’t hesitate to seek assistance from a qualified car audio professional.
If you’re facing challenges diagnosing or fixing car electronic issues, CARDIAGTECH offers a range of diagnostic solutions and expert support to help you get back on track. You can explore our products and services on Cardiagtech.com.