Upgrading your car stereo can dramatically improve your driving experience. JVC car radios are known for their excellent sound quality and features. While professional installation is always an option, installing a JVC car radio yourself can be a rewarding DIY project. This comprehensive guide will walk you through the process, ensuring a smooth and successful installation.
Understanding Car Audio Systems and Common Issues
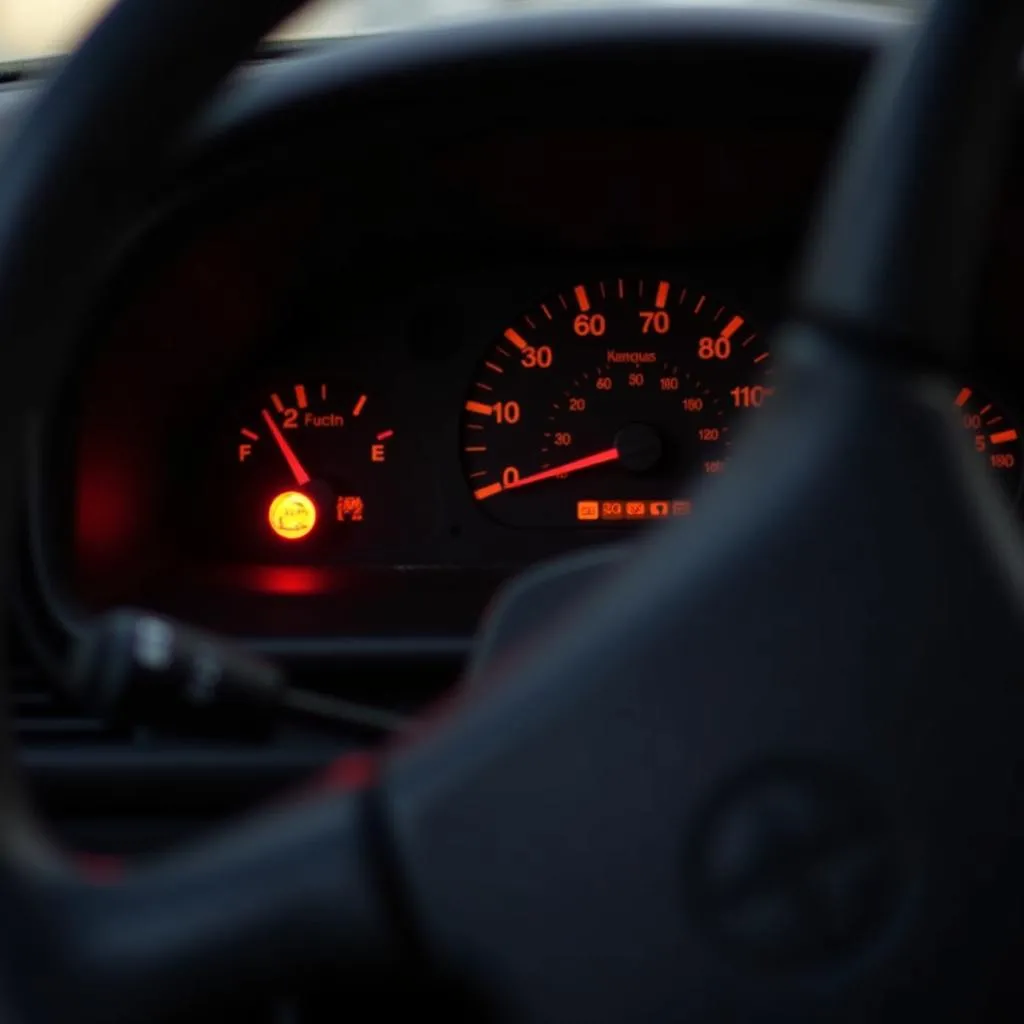
Before diving into the installation, it’s essential to understand the basics of car audio systems. Your car’s audio system comprises several components, including the head unit (the radio itself), speakers, amplifiers, and sometimes subwoofers. Problems can arise with any of these components, leading to issues like distorted sound, no sound at all, or even electrical problems.
Common Car Radio Problems
Here are some common car radio issues and their potential causes:
- No sound: This could be due to a blown fuse, wiring issues, a faulty head unit, or speaker problems.
- Distorted sound: Distortion is often a sign of speaker damage, a failing amplifier, or improper wiring.
- Radio won’t turn on: This might indicate a problem with the head unit’s power supply, a blown fuse, or a wiring harness issue.
- Erratic behavior: Intermittent power loss, strange noises, or random setting changes can signal loose connections, grounding issues, or even a failing head unit.
Diagnosing the Problem
Before installing your JVC car radio, it’s crucial to ensure there are no underlying issues with your existing system. Start by checking the fuses related to your car audio system. If the fuses are fine, inspecting the wiring harness for any loose connections or damage is a good next step.
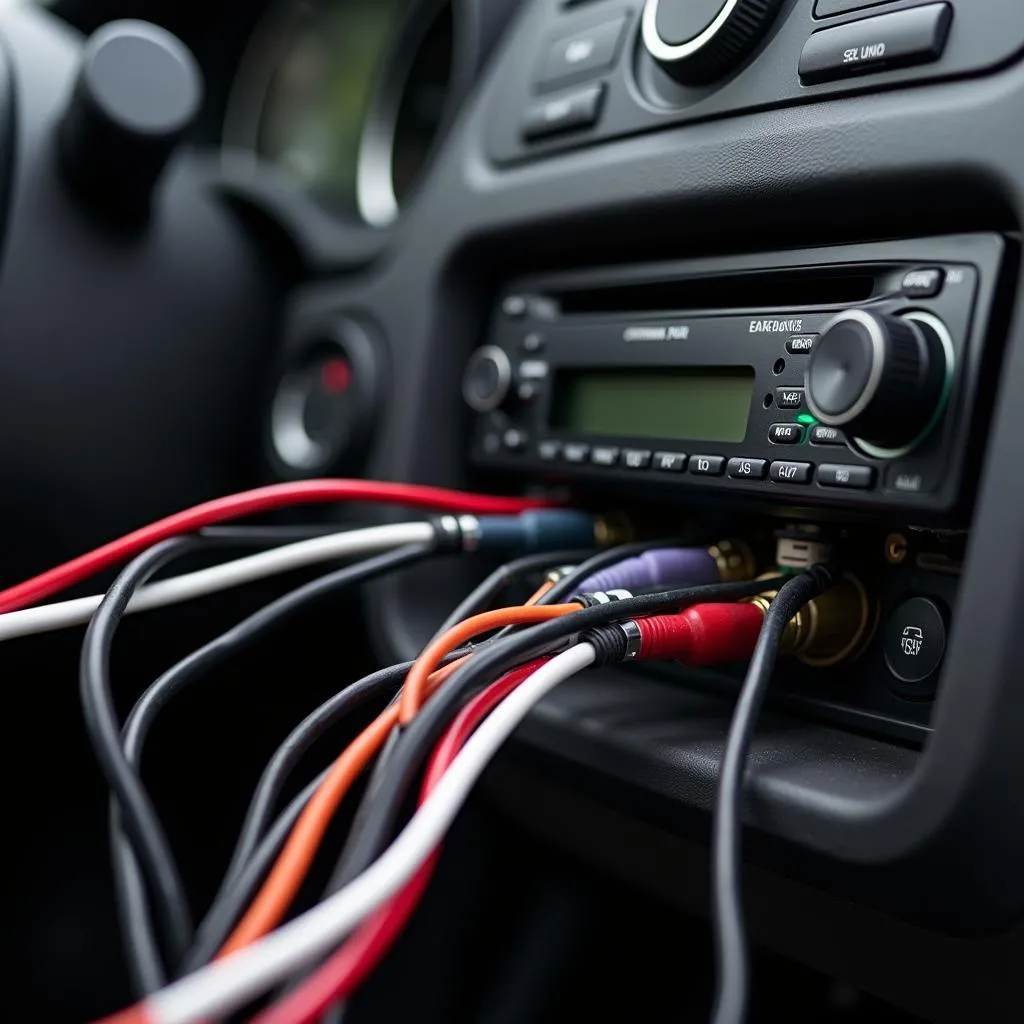 Car radio wiring harness
Modern vehicles often have complex electrical systems. If you suspect a more serious issue, using a professional-grade OBD2 scanner, like those offered by Cardiagtech, can help diagnose the problem accurately.
Gathering Your Tools and Preparing for Installation
Essential Tools:
- Screwdrivers (Phillips and flathead)
- Socket wrench set
- Panel removal tools
- Wire strippers/crimpers
- Electrical tape
- Voltmeter (optional but recommended)
- Your JVC car radio and installation kit (including wiring harness and mounting hardware)
Safety First:
- Disconnect the negative battery cable before starting any work on your car’s electrical system.
- Wear safety glasses to protect your eyes from debris.
- Consult your JVC car radio’s manual and your vehicle’s wiring diagram for specific instructions and wire color codes.
Step-by-Step JVC Car Radio Installation
- Remove the Old Car Radio: Using the panel removal tools, carefully pry off the trim panels surrounding your old car radio. Once the panels are removed, unscrew and disconnect the wiring harness and antenna from the old unit.
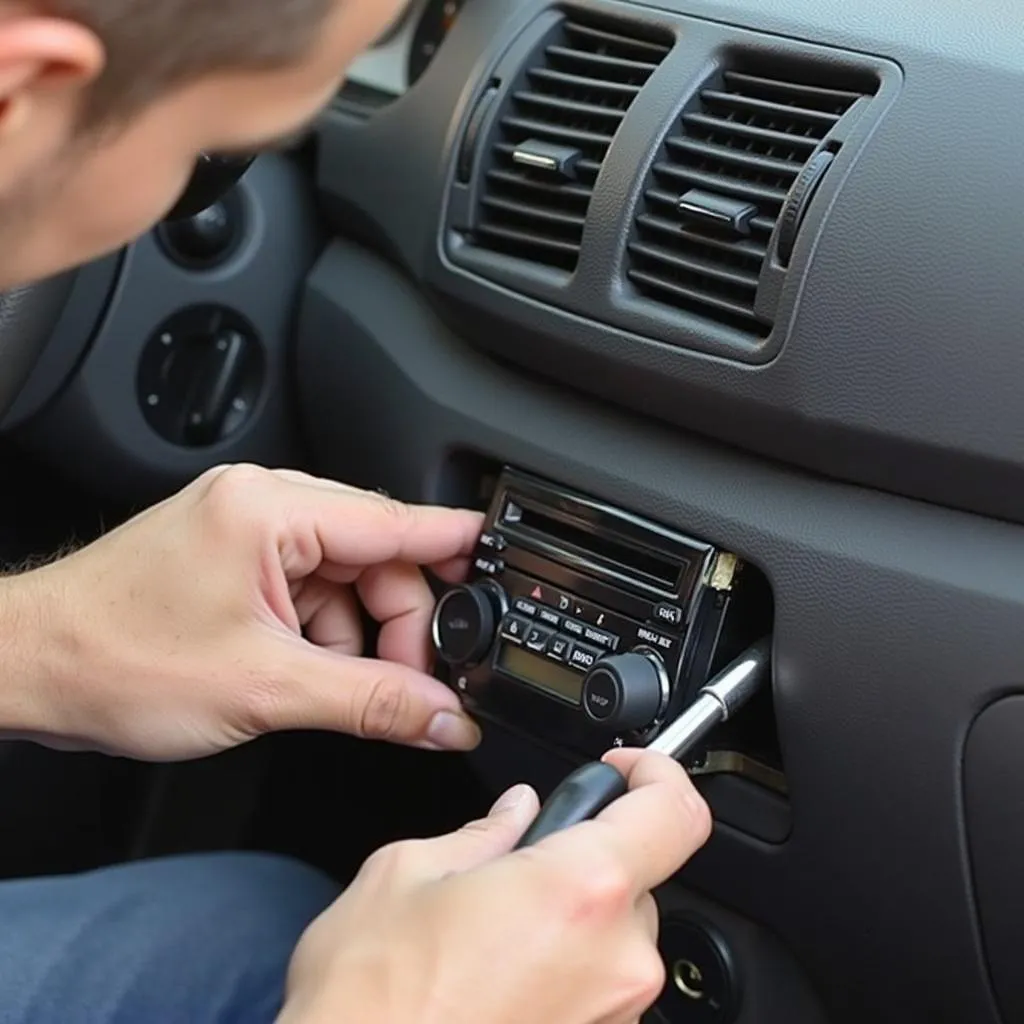 Removing the old car radio
-
Prepare the Wiring Harness: Connect the wires from the new JVC car radio’s wiring harness to the corresponding wires on your vehicle’s wiring harness. Use the wiring diagram provided with your JVC radio and your vehicle’s manual to ensure correct connections.
-
Connect the Antenna and Test: Connect the antenna cable to the back of the JVC car radio. Before fully securing the unit, reconnect the negative battery cable and turn on the ignition to test the radio. Ensure it powers on, receives stations, and the speakers produce sound.
-
Secure the JVC Car Radio: Once you’ve confirmed everything is working correctly, disconnect the negative battery cable again. Carefully slide the JVC radio into the mounting sleeve, ensuring it’s secure.
-
Reassemble the Dash: Reinstall the trim panels and secure them with the screws you removed earlier.
FAQs About JVC Car Radio Installation
Q: My JVC car radio won’t turn on after installation. What should I check?
A: Double-check that all the wiring connections are secure, especially the power and ground wires. Also, verify that the fuse related to the radio’s circuit is not blown.
Q: I’m experiencing poor radio reception. What could be the issue?
A: Ensure the antenna is properly connected and that there’s no damage to the antenna cable. Relocating the antenna or using a signal booster might be necessary in some cases.
Q: Can I install a JVC car radio in any car?
A: While JVC radios are compatible with many vehicles, it’s crucial to check the dimensions of the radio and your car’s dashboard opening to ensure a proper fit. You’ll also need a compatible wiring harness and installation kit.
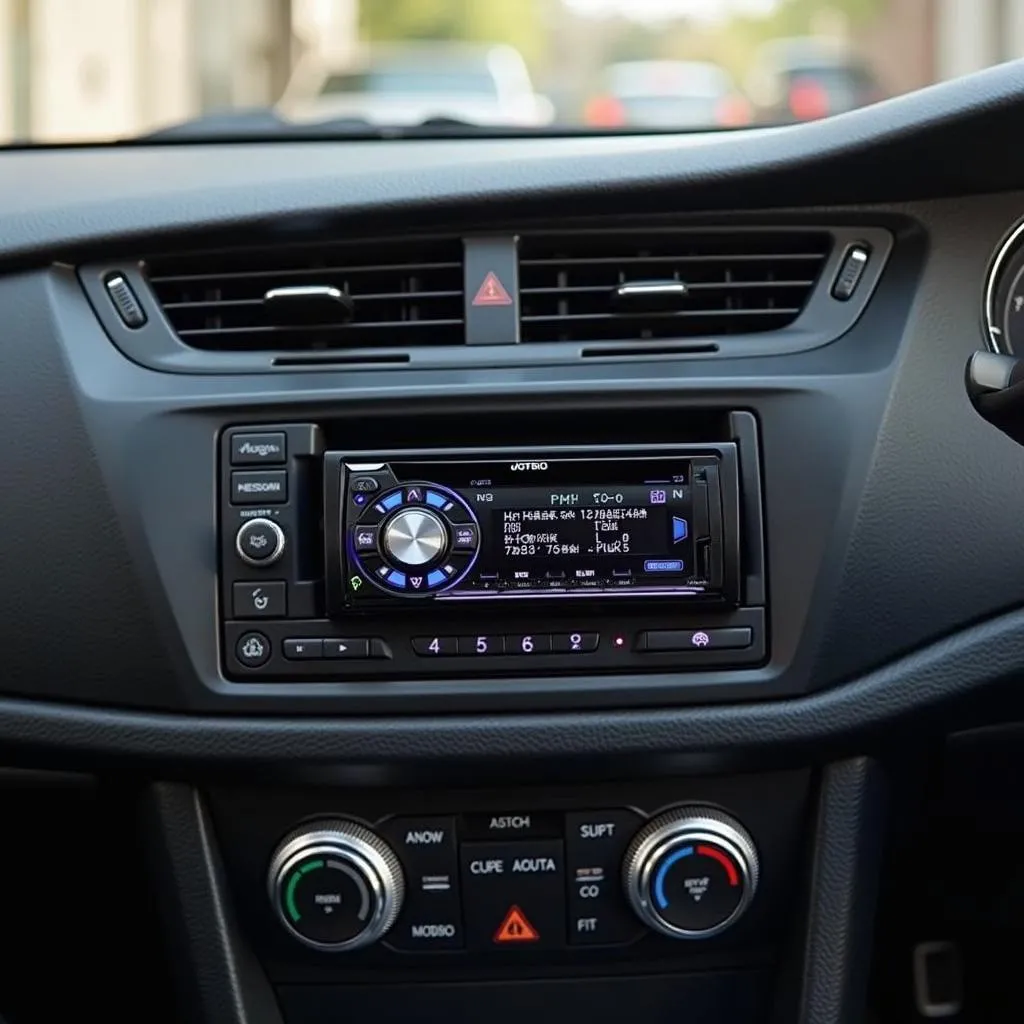 JVC car radio installed in a car dashboard
Need Further Assistance?
Upgrading to a JVC car radio can greatly enhance your driving experience. While the installation process is usually straightforward, professional help is always recommended if you’re unsure about any step. For any questions or concerns regarding your car’s electrical system, diagnostic procedures, or advanced troubleshooting, don’t hesitate to reach out to CARDIAGTECH for expert advice and solutions.