Upgrading your car’s audio system can dramatically improve your driving experience. Knowing how to install a new radio in car is a valuable skill, whether you’re looking for better sound quality, modern features like Bluetooth connectivity, or simply a fresh look. This comprehensive guide will walk you through the process step-by-step, ensuring a smooth and successful installation.
Planning Your Car Radio Installation
Before you even touch a screwdriver, careful planning is essential for a successful car radio installation. This includes choosing the right radio, gathering the necessary tools, and understanding your car’s wiring.
Choosing the Right Car Stereo
The market offers a wide range of car stereos, each with varying features and price points. Consider factors such as sound quality, connectivity options (Bluetooth, USB, AUX), compatibility with your car’s existing system, and your budget. Don’t be swayed by flashy features you won’t use; focus on what enhances your driving experience.
Gathering the Necessary Tools
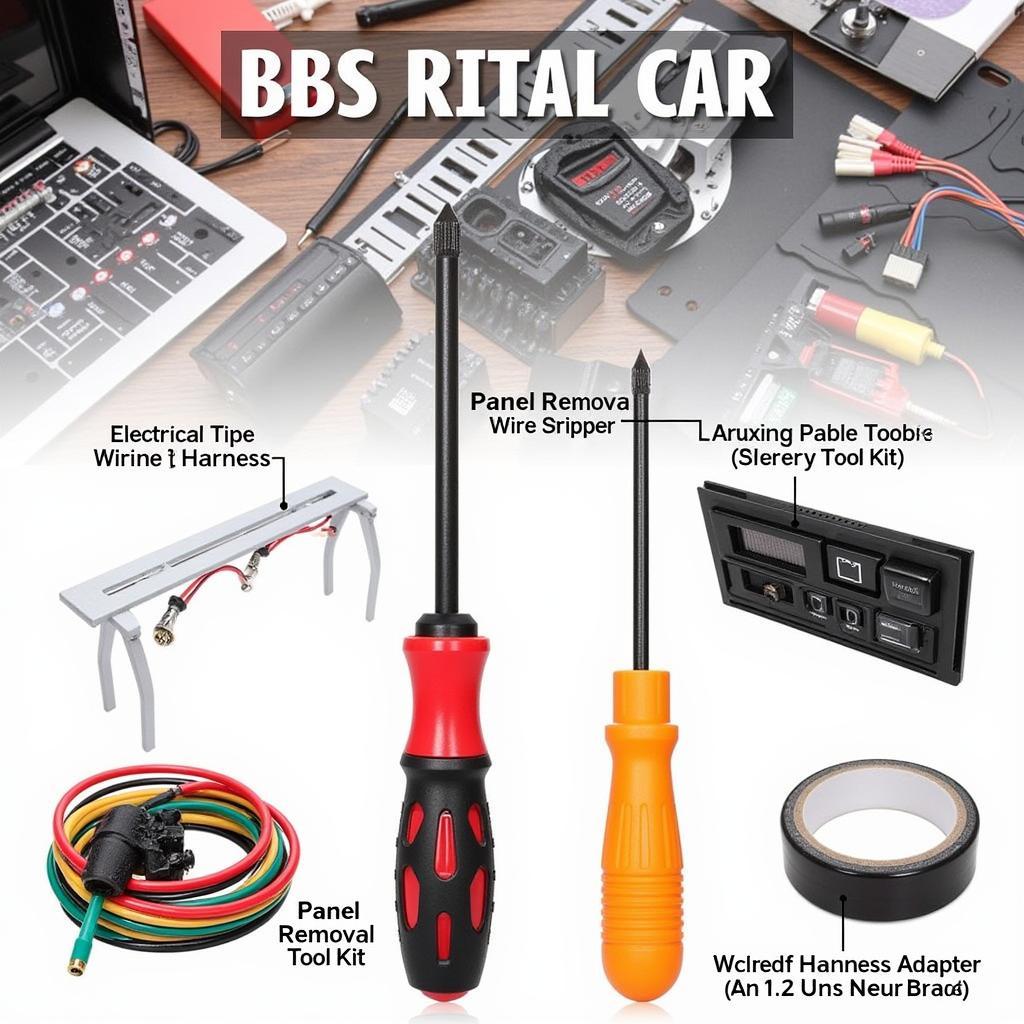
Having the right tools on hand can save you time and frustration. You’ll typically need a screwdriver set (Phillips and flathead), wire strippers/crimpers, a panel removal tool kit, electrical tape, and potentially a wiring harness adapter. A multimeter can be helpful for troubleshooting any wiring issues.
Understanding Your Car’s Wiring
Familiarize yourself with your car’s wiring diagram, typically found in the owner’s manual or online. This will help you identify the power, ground, speaker, and antenna wires, ensuring a correct and safe installation. A wiring harness adapter can simplify this process significantly.
 Car Radio Installation Tools
Step-by-Step Guide to Installing Your New Car Radio
Now that you’re prepared, let’s dive into the installation process. Follow these steps carefully, and you’ll be enjoying your new car stereo in no time.
-
Disconnect the Battery: This is crucial for safety. Disconnect the negative terminal of your car battery to prevent any electrical shocks or damage to the car’s electrical system.
-
Remove the Old Radio: Use the panel removal tools to carefully pry off the trim panels around your existing radio. Once the panels are removed, unscrew the old radio and disconnect the wiring harness and antenna.
-
Connect the Wiring Harness: If you’re using a wiring harness adapter, connect it to the new radio’s wiring harness. Match the corresponding wire colors to ensure a correct connection. If not, you’ll need to manually splice the wires, ensuring proper polarity.
-
Install the New Radio: Slide the new radio into the dashboard opening and secure it with the screws. Connect the antenna and test the radio to ensure it powers on and functions correctly.
-
Reconnect the Battery: Once you’ve confirmed the radio works, reconnect the negative terminal of the battery.
-
Test All Functions: Thoroughly test all the radio’s functions, including the speakers, Bluetooth connectivity, and any other features.
-
Reinstall the Trim Panels: Carefully snap the trim panels back into place, ensuring a snug fit.
“A common mistake is neglecting to disconnect the battery before starting the installation. This can lead to blown fuses or even damage to the radio,” says Michael Stevens, a certified automotive electrician with over 20 years of experience. He emphasizes the importance of meticulous wiring, adding, “Double-checking your wiring connections can prevent future headaches.”
Finishing Touches and Troubleshooting
After installing your new car radio, take a moment to organize the wiring behind the dashboard and ensure everything is neatly tucked away. If you encounter any issues, such as no sound or incorrect functionality, double-check the wiring connections and refer to the troubleshooting section of your radio’s manual.
“Remember, patience is key, especially when dealing with intricate wiring. Take your time, refer to the instructions, and don’t hesitate to seek professional help if needed,” advises Stevens.
Conclusion
Installing a new car radio can be a rewarding DIY project, enhancing your driving enjoyment significantly. By following this guide and taking your time, you can successfully install your new radio and enjoy crisp sound and modern features on the road. Remember to always prioritize safety by disconnecting the battery before starting any electrical work. Now, hit the road and enjoy your upgraded audio experience!
FAQ
-
Do I need a wiring harness adapter?
A wiring harness adapter simplifies the installation process by eliminating the need to splice wires. -
What if my new radio doesn’t fit my dashboard opening?
You may need a dash kit designed to accommodate different radio sizes. -
How can I troubleshoot sound issues after installation?
Double-check the wiring connections, speaker connections, and the radio’s settings. -
Why is my new radio not powering on?
Verify the power connections and ensure the battery is properly connected. -
Can I install a car radio myself?
Yes, with the right tools, preparation, and guidance, you can install a car radio yourself. -
Where can I find my car’s wiring diagram?
Your car’s owner’s manual or online resources are good places to find wiring diagrams. -
What safety precautions should I take?
Always disconnect the battery’s negative terminal before working on any car electrical system.

