Installing a new radio in your classic car can dramatically improve the driving experience. Whether you’re aiming for modern features or simply want better sound quality, this guide will walk you through how to install a radio in an old car, covering everything from choosing the right head unit to wiring it up correctly. Just after you’ve located your old car radio wiring diagram, you’re ready to begin.
Choosing the right radio is crucial. Consider features like Bluetooth, AUX input, and satellite radio. Measure your car’s DIN slot – it’s usually either single-DIN or double-DIN. Knowing this will ensure your new radio fits perfectly. You might be wondering how complicated the wiring is, and luckily, most aftermarket radios come with detailed wiring diagrams specific to the model. It is however important to find your old car radio wiring diagram as well to ensure proper installation. Speaking of wiring, a wiring harness adapter can simplify the process and prevent damage to your car’s electrical system. Check if one is available for your car model. This can simplify the process immensely.
Choosing the Right Head Unit
Beyond the DIN size, think about the features you need. Do you need hands-free calling? how to change language on car radio plug in bluetooth offers some insight into Bluetooth connectivity, a must-have for many. If you frequently listen to music from your phone, ensure your new head unit has an auxiliary input or Bluetooth streaming capabilities. Don’t forget to check the power output to ensure it matches your speakers.
Gathering Your Tools and Materials
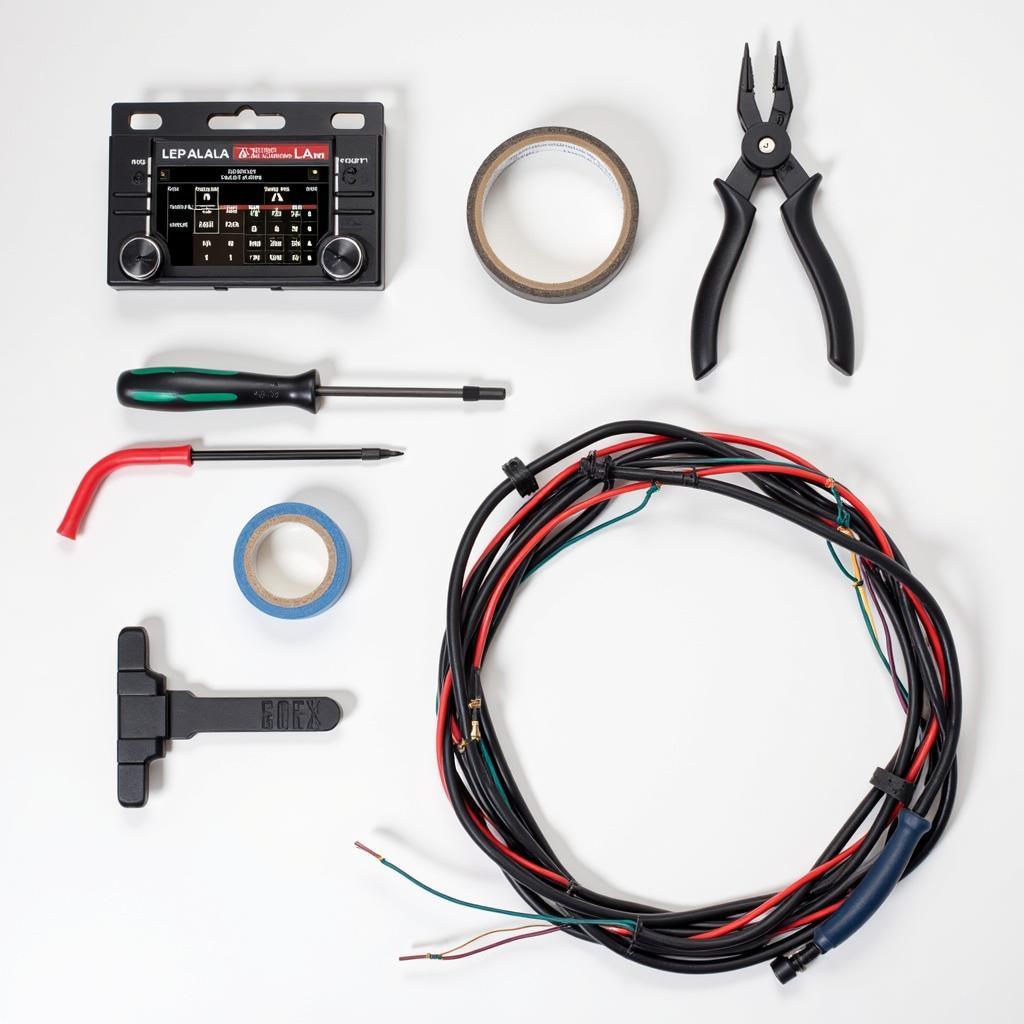
Before you start, gather everything you’ll need: a screwdriver set, wire strippers/crimpers, electrical tape, a panel removal tool, and the wiring harness adapter (if applicable). Having these ready will save you time and frustration during the installation process.
 Tools and wiring harness for car radio installation
Prepping the Old Car and the New Radio
Disconnect your car’s battery negative terminal before starting any electrical work. This is crucial for safety. Then, carefully remove the old radio using the panel removal tool. Take your time to avoid damaging the dashboard. car radio bluetooth aux and 6 cd highlights various options available, showcasing the advancements in car audio technology.
Wiring the New Radio
This is where the wiring harness adapter comes in handy. Match the wires on the adapter to the corresponding wires on the new radio’s harness. Use the wiring diagrams for both the radio and the adapter to ensure accuracy. Secure the connections with electrical tape. A securely wired radio is essential for optimal performance and safety. If your radio includes features like steering wheel controls, be sure to connect those wires correctly as well.
Connecting the Antenna and Other Components
Don’t forget the antenna! Connect it to the designated port on the new radio. If you’re adding amplifiers or other components, wire them up according to their instructions. Remember, proper grounding is essential to avoid electrical issues.
Testing and Finalizing the Installation
Before fully installing the radio, reconnect the car battery negative terminal and test everything. Make sure the radio powers on, the sound works, and all the features are functioning correctly. sony car radio bluetooth passcode can help if you encounter any Bluetooth pairing issues. If everything checks out, secure the radio in the dashboard and replace any trim panels you removed earlier.
Conclusion
Installing a radio in an old car can be a rewarding DIY project. With careful planning and attention to detail, you can upgrade your classic ride with modern audio technology. Take your time, follow the instructions, and don’t be afraid to consult resources like how to change language on t10 bluetooth car radio for specific model information. Enjoy the upgraded sound system in your classic car! car radio am bluetooth transmitter can be a great option for older cars if you want to retain the original radio. Now you know how to install a radio in an old car, bringing it roaring into the 21st century.

