Upgrading the old radio in your car can drastically improve your driving experience. However, installing a new car radio in an older model might seem daunting if you’re unfamiliar with car electronics. Don’t worry! This guide will walk you through the process step-by-step, making it a smooth and successful upgrade.
Understanding Car Radio Compatibility
Before diving into the installation, it’s crucial to ensure the new radio is compatible with your car’s electrical system and dashboard dimensions.
Common Car Radio Issues
Older car radios may experience various problems, including:
- Poor Reception: This could be due to a failing antenna or outdated radio technology.
- Faded Sound: Worn-out speakers or a failing amplifier can lead to distorted or low-quality sound.
- Limited Functionality: Older radios often lack modern features like Bluetooth connectivity, USB inputs, and smartphone integration.
Causes of Car Radio Problems
These issues can stem from various factors:
Hardware Issues:
- Damaged wiring
- Blown fuses
- Malfunctioning radio unit
Software Issues:
- Outdated firmware
- Compatibility problems with newer devices
Identifying and Diagnosing Car Radio Issues
Start by checking for simple issues like loose connections or blown fuses. If the problem persists, you might need a professional diagnosis.
Diagnostic Tools:
- Multimeter: To check for continuity in wiring and voltage at different points.
- Car Diagnostic Software: Advanced software like those offered by Cardiagtech can help pinpoint issues within the car’s electrical system, including the radio.
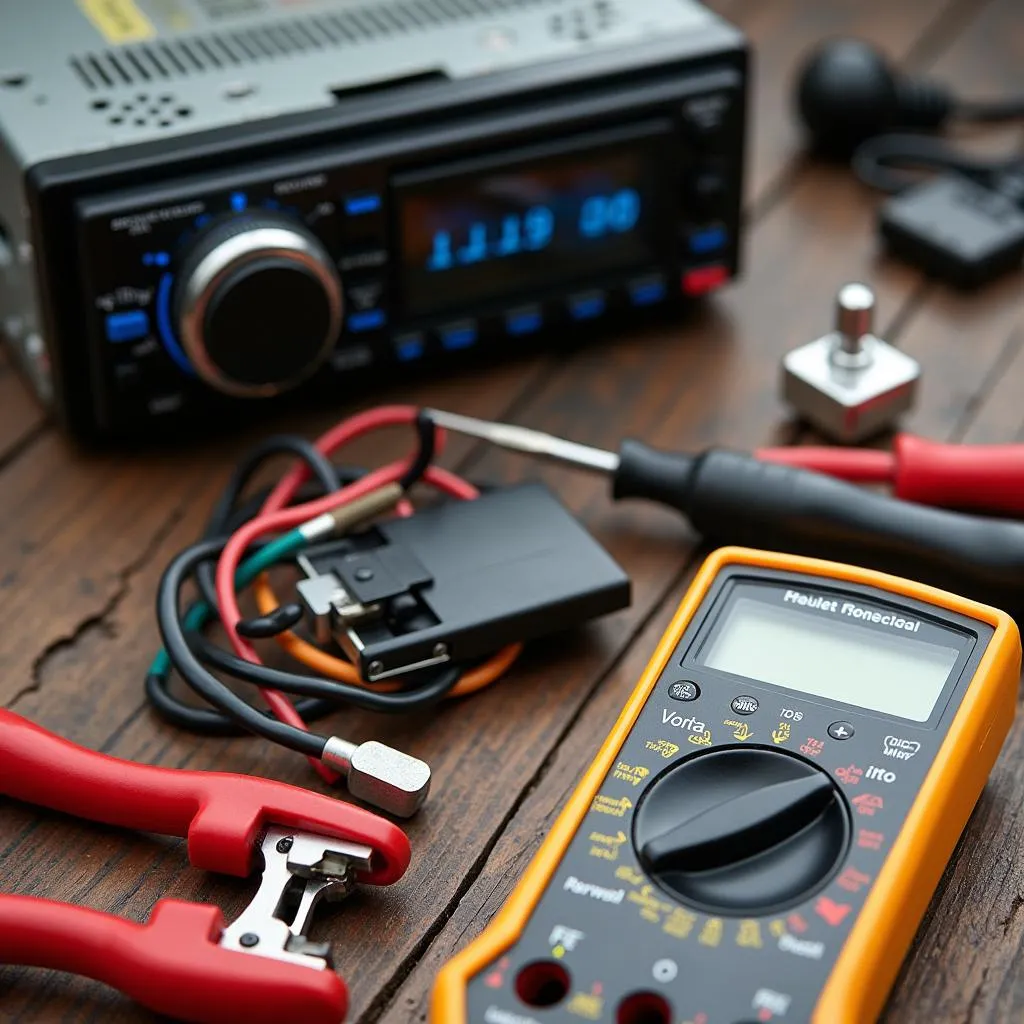 Car radio installation tools
Gathering the Necessary Tools and Equipment
Having the right tools and equipment is crucial for a successful installation. Here’s a list of what you’ll need:
- Screwdrivers: Phillips and flathead, in various sizes to fit the screws in your dashboard and on the radio.
- Panel Removal Tool: To pry open the dashboard panels without causing damage.
- Wire Strippers/Crimpers: For connecting the new radio’s wiring harness to your car’s wiring system.
- Electrical Tape: To secure and insulate wire connections.
- New Radio Wiring Harness (if not included): This adapter connects your new radio to your car’s existing wiring system.
- User Manuals: Keep both your car’s and the new radio’s manuals handy for reference.
Step-by-Step Installation Guide
- Disconnect the Battery: Before starting any electrical work, always disconnect the negative (-) terminal of your car battery to prevent shorts or electrical shocks.
- Remove the Old Radio: Use the panel removal tool to carefully pry open the dashboard panels surrounding the old radio. Unscrew the mounting brackets holding the radio in place and gently pull it out.
- Disconnect the Wiring: Take note of how the wires are connected to the old radio. If you have a wiring harness, consult its diagram and carefully disconnect each wire.
- Connect the New Radio: Connect the wiring harness to the new radio, ensuring each wire is securely fastened in its designated slot. If you’re not using a harness, consult the wiring diagrams for both the old and new radios to make the correct connections.
- Test the New Radio: Before fully securing everything, reconnect the negative battery terminal and turn on the ignition. Test all the functions of the new radio, including the speakers, Bluetooth, and radio reception.
- Secure the New Radio: If everything works correctly, disconnect the battery again and carefully slide the new radio into the dashboard opening. Secure it using the mounting brackets and screws.
- Reassemble the Dashboard: Reattach the dashboard panels in reverse order, ensuring all clips and screws are properly fastened.
- Reconnect the Battery: Finally, reconnect the negative battery terminal. Your new radio is ready to go!
FAQs about Car Radio Installation
Can I install a new radio in my old car myself?
Yes, installing a car radio is a manageable DIY project with the right tools and information.
What if my new radio doesn’t fit my dashboard?
You might need a dash kit, which is a plastic adapter that bridges the gap between your car’s dashboard opening and the new radio.
How do I know if I need a wiring harness?
A wiring harness simplifies the installation process and ensures correct wire connections. Consult your car’s and radio’s manuals or a car audio professional to determine if you need one.
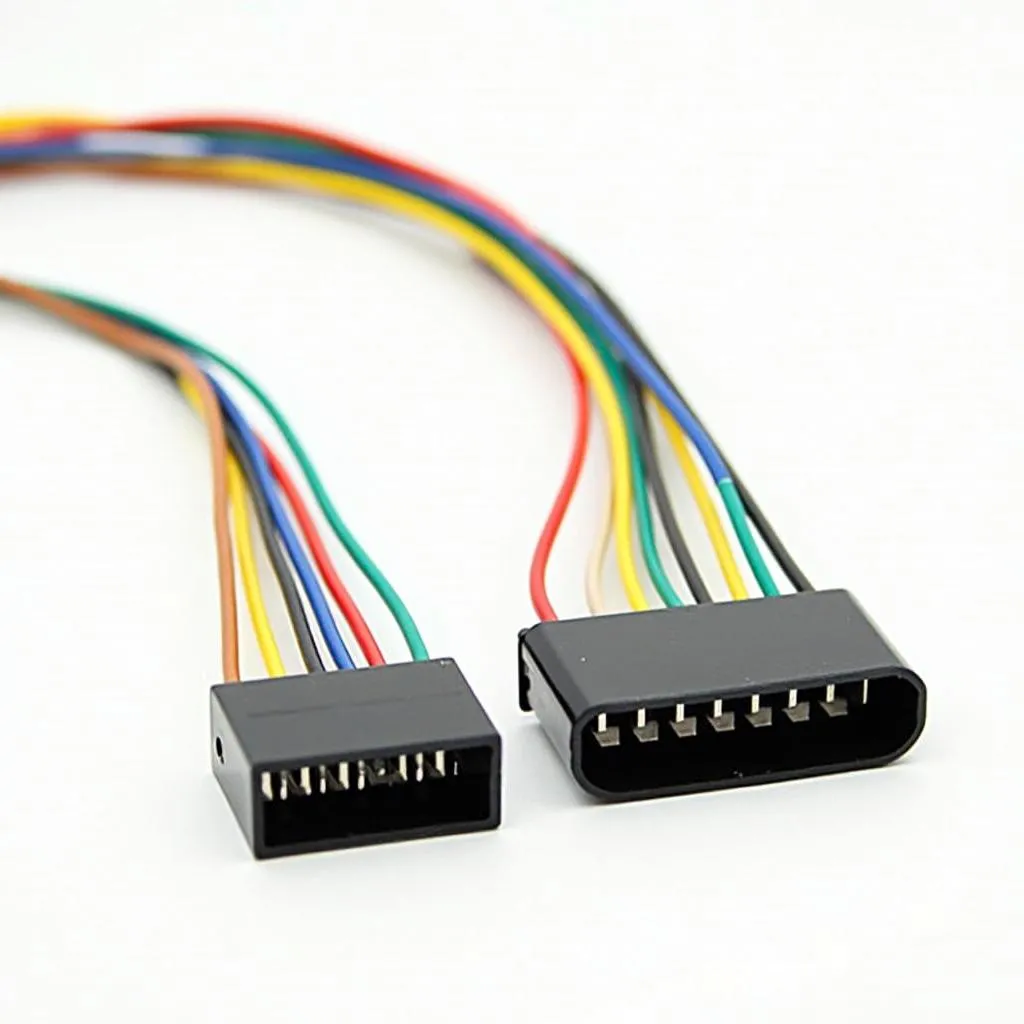 Close-up of car radio wiring harness
My new radio has more features than my old one. Will it still work?
In most cases, yes. Even if your new radio has additional features, it should still be compatible with your car’s basic electrical system.
What if I’m not comfortable with the installation process?
If you’re unsure about any part of the installation, it’s always best to consult a professional car audio installer.
Cardiagtech: Your Partner in Car Diagnostics
Are you facing issues with your car’s electronics, including your radio? Cardiagtech offers a range of advanced car diagnostic tools and software that can help identify and resolve these issues. Visit our website Cardiagtech.com to learn more about our products and services.
Conclusion
Installing a new radio in your old car is a rewarding upgrade that can significantly enhance your driving experience. By following this comprehensive guide, you can confidently tackle this project and enjoy your favorite tunes with improved sound quality and modern features. If you need further assistance or have any questions, feel free to contact CARDIAGTECH. We’re here to help you keep your car running smoothly!