Upgrading your car stereo system can drastically improve your driving experience. A new Pioneer car radio can offer features like Bluetooth connectivity, Apple CarPlay, Android Auto, and enhanced audio quality. While the idea of installing a car radio might seem daunting, it’s a manageable project with the right guide. This article will provide a step-by-step guide on how to install a Pioneer car radio.
Understanding Your Car Stereo System
Before we dive into the installation process, it’s essential to understand the different components of your car stereo system.
Common Car Stereo Problems
Several issues can arise with your car stereo, ranging from simple to complex:
- No Power: The radio doesn’t turn on, indicating a potential wiring issue or a blown fuse.
- Poor Sound Quality: Distorted or muffled audio could signify a problem with the speakers, wiring, or the head unit itself.
- Bluetooth Connectivity Issues: Difficulty pairing your phone or intermittent dropouts could be due to software glitches or compatibility problems.
- Erratic Display: A flickering or blank display often points to a faulty head unit or wiring harness issue.
Causes of Car Stereo Problems
Car stereo problems can stem from a variety of factors:
- Loose or Damaged Wiring: Vibrations and heat can loosen connections or damage wires over time.
- Blown Fuses: Power surges or short circuits can blow fuses, disrupting the flow of electricity to your stereo.
- Water Damage: Spilled liquids or exposure to moisture can corrode connections and damage electronic components.
- Software Malfunctions: Firmware glitches can lead to various problems, from connectivity issues to erratic behavior.
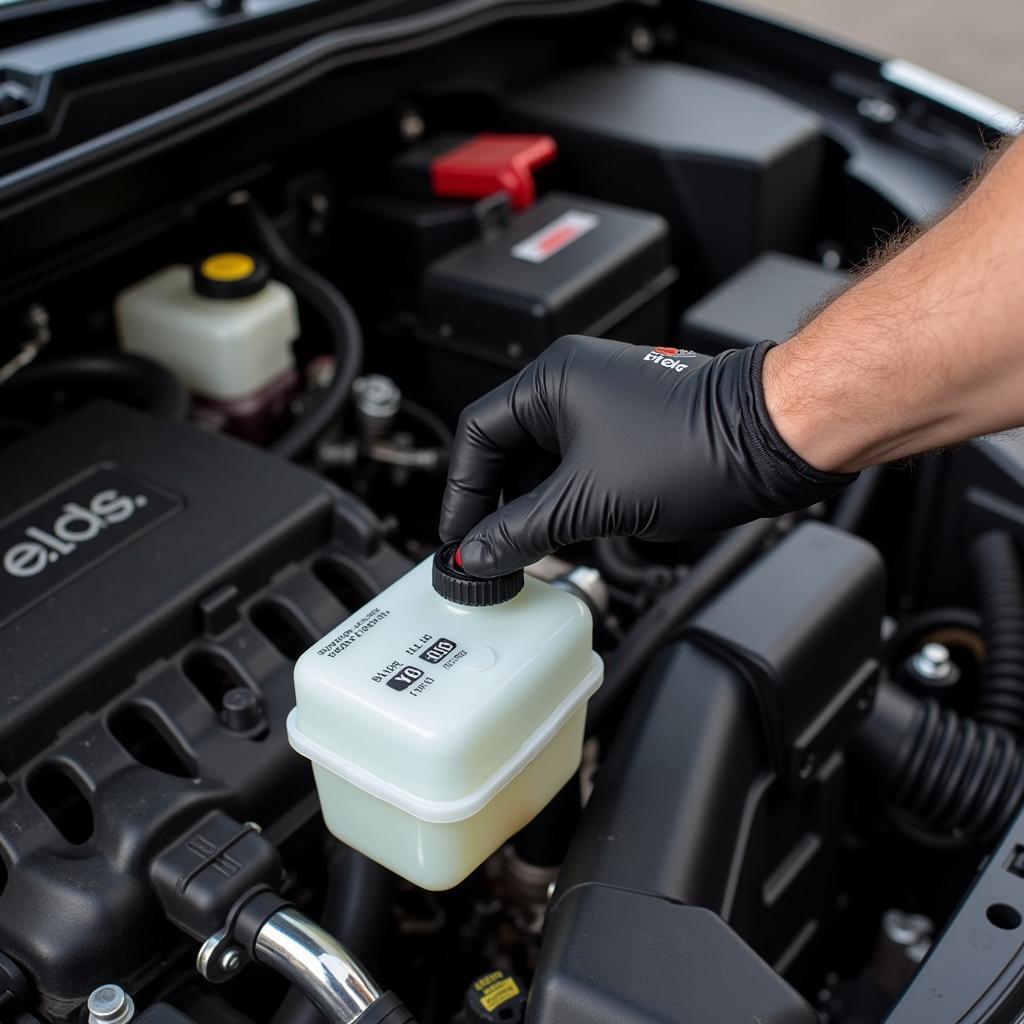
Diagnosing the Issue
Before installing your new Pioneer car radio, you’ll want to make sure the existing issues aren’t something you can easily fix:
- Check the Fuses: Locate your car’s fuse box (consult your owner’s manual) and check the fuses related to the radio. Replace any blown fuses.
- Inspect the Wiring: Carefully examine the wiring harness behind the stereo for any loose, disconnected, or damaged wires.
- Consult a Professional (If Needed): If the above steps don’t resolve the issue or you suspect a more complex problem, it’s best to consult a qualified auto electrician.
Preparing for Installation
Tools and Materials You’ll Need:
- Pioneer Car Radio: This seems obvious, but ensure you have your new Pioneer head unit.
- Dash Kit: A dash kit is designed to seamlessly integrate your new radio into your car’s dashboard.
- Wiring Harness Adapter: This connects your car’s wiring to the Pioneer radio.
- Antenna Adapter: Needed if your car has a factory amplified antenna system.
- Screwdrivers (Phillips and Flathead): For removing screws holding the old radio and installing the new one.
- Panel Removal Tool: To safely pry open dashboard panels without causing damage.
- Wire Strippers and Crimpers: For connecting wires (if necessary).
- Electrical Tape: For securing wire connections.
- multimeter: Used for testing circuits and continuity.
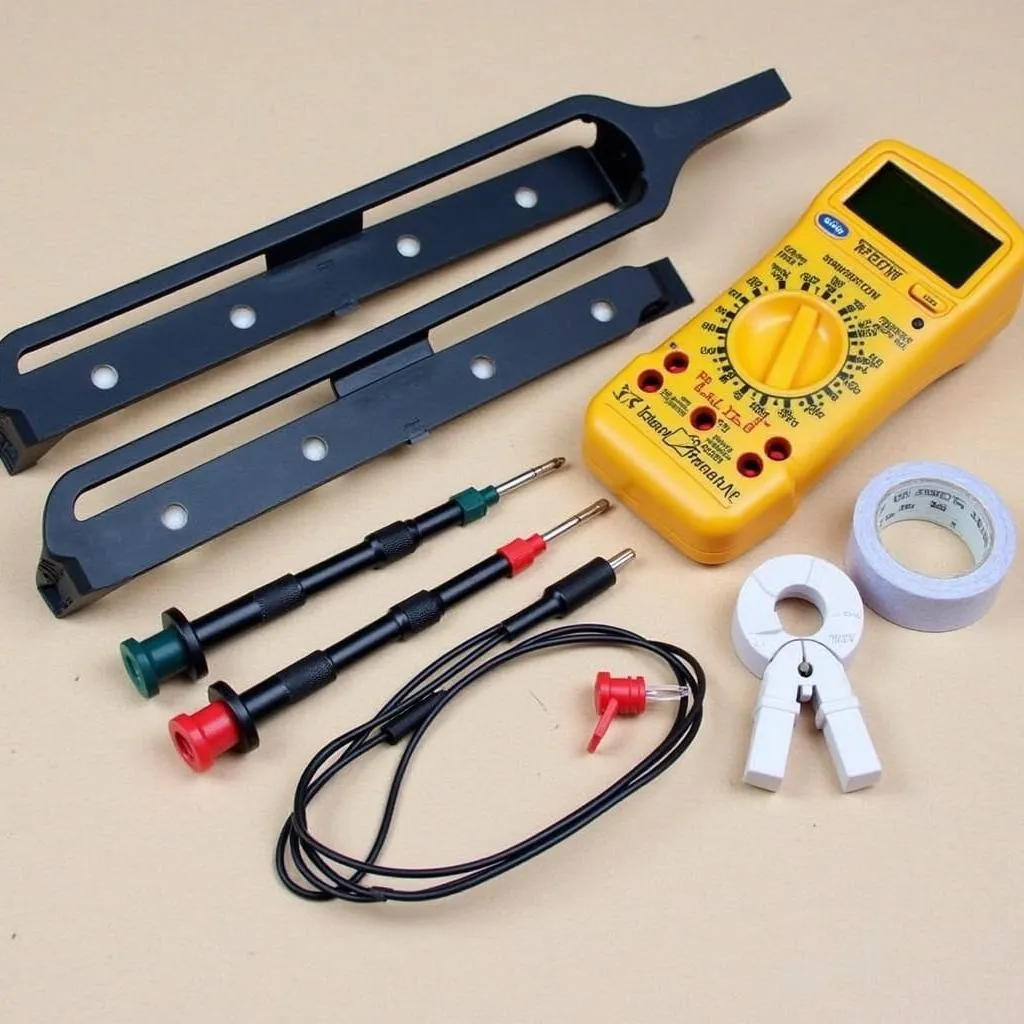 Car stereo installation tools
Installation Steps
-
Disconnect the Battery: Before working on any electrical system in your car, disconnect the negative (-) battery terminal.
-
Remove the Old Radio: Use the panel removal tool to carefully pry open the dashboard panels around your existing radio. Unscrew the old radio and disconnect the wiring harness and antenna.
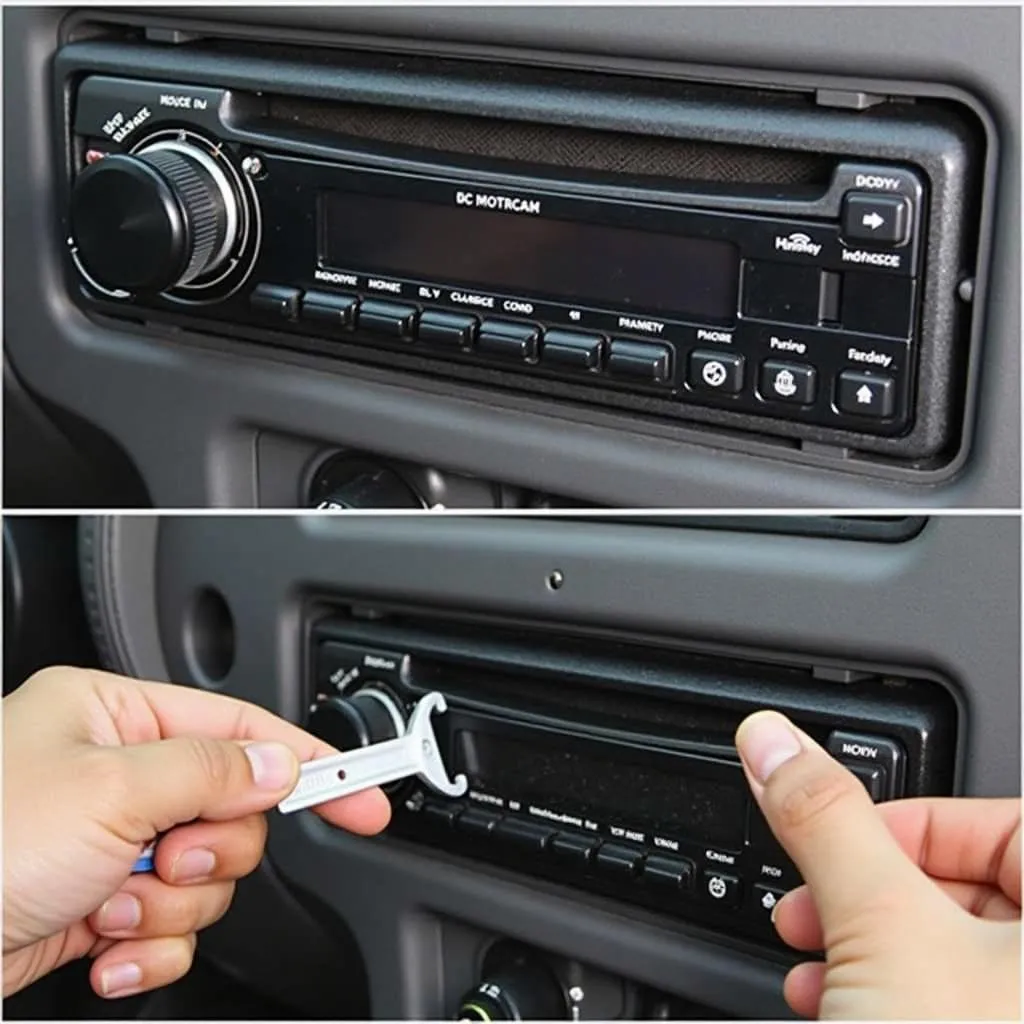 Removing an old car radio
-
Install the Dash Kit: Follow the instructions provided with the dash kit to properly install it into your dashboard opening.
-
Wire the New Radio: This is where the wiring harness adapter comes in. Connect the corresponding wires from the adapter to the wiring harness of your new Pioneer radio, following the color codes and diagrams provided.
-
Connect the Antenna: If you require an antenna adapter, connect it to the antenna cable in your car and then to the antenna input on the back of the Pioneer radio.
-
Test the Connections: Before fully securing the new radio, reconnect the negative battery terminal and turn on the ignition to ensure the radio powers on and that the speakers work. Don’t forget to test other features like Bluetooth and the CD/USB inputs.
-
Secure the New Radio: If everything works correctly, carefully slide the Pioneer radio into the dash kit until it clicks into place. Reinstall any screws or retaining clips to secure the radio.
-
Reassemble the Dashboard: Reattach any dashboard panels that were removed and ensure they are properly secured.
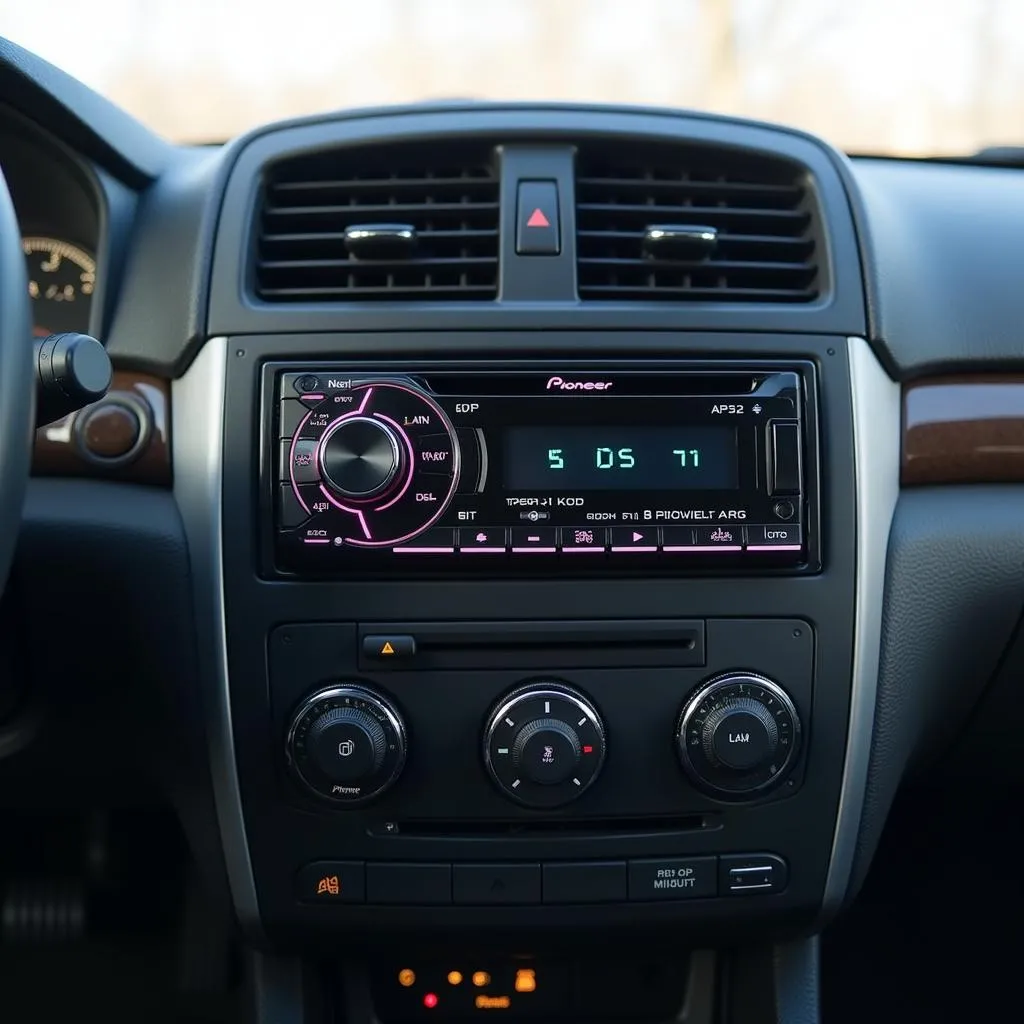 A newly installed Pioneer car radio
FAQs
Can I install a Pioneer car radio myself?
Yes, with some patience and the right tools, many car owners find installing a Pioneer car radio to be a manageable DIY project.
What if my new radio doesn’t fit my dashboard?
You’ll need to purchase a dash kit specifically designed for your car’s make, model, and year to ensure a proper fit.
Where can I find reliable wiring diagrams?
Your Pioneer car radio manual will include wiring diagrams. Additionally, online resources like Crutchfield and Metra offer comprehensive wiring information.
What if I encounter problems during installation?
Don’t hesitate to consult a professional car audio installer if you face any difficulties or are unsure about any step of the process.
Conclusion
Installing a new Pioneer car radio can significantly enhance your driving experience. By following this guide, you can tackle this project with confidence. However, if you are uncomfortable working with car electronics, seeking assistance from a qualified professional is always a wise decision. For more information and assistance with car diagnostics and software solutions, explore the services offered by CARDIAGTECH.