Installing a car radio can seem daunting, but with the right tools and a bit of patience, it’s a manageable DIY project. This guide will walk you through the process, from gathering the necessary equipment to fine-tuning your new sound system. Whether you’re upgrading to a modern touchscreen or simply replacing a faulty unit, understanding how to install a radio in your car can save you time and money.
Upgrading your car’s audio system can significantly enhance your driving experience. A new radio can provide better sound quality, modern features like Bluetooth connectivity and smartphone integration, and even improve the overall aesthetics of your car’s interior. However, a faulty radio can be more than just an inconvenience. It can affect your GPS navigation, hands-free calling, and even your car’s diagnostic systems in some cases. If you’re experiencing issues with your existing radio, like a car battery not starting, it might be time for a replacement.
Gathering Your Supplies for Car Radio Installation
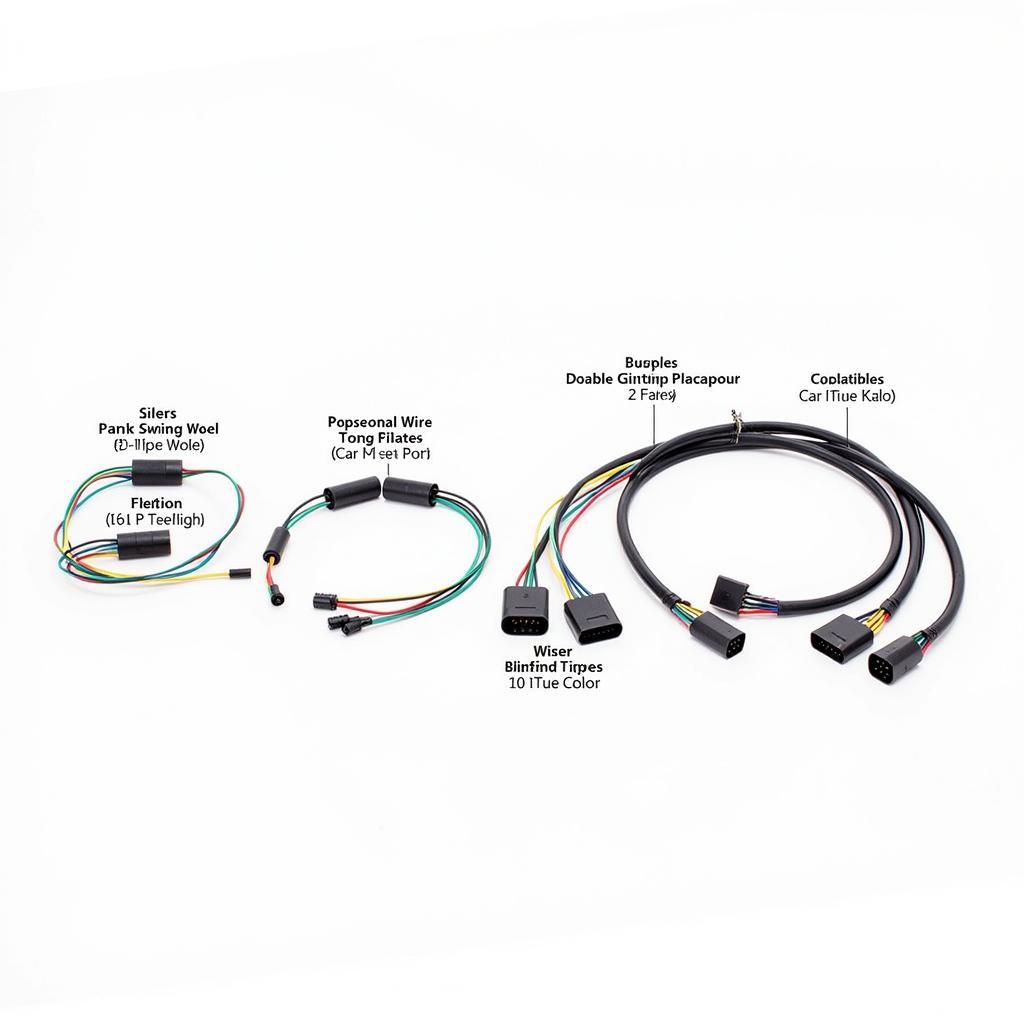
Before you begin, it’s crucial to gather all the necessary tools and parts. This will streamline the installation process and prevent unnecessary delays. You’ll need a new car radio, a wiring harness adapter, a dash kit (if necessary), a panel removal tool, a screwdriver set, and a crimping tool. The wiring harness adapter is essential for connecting the new radio to your car’s existing wiring system without cutting or splicing wires. The dash kit ensures a seamless fit for your new radio in your car’s dashboard.
Choosing the Right Wiring Harness
Selecting the correct wiring harness is crucial for a successful installation. The wrong harness can lead to blown fuses, malfunctioning equipment, or even damage to your car’s electrical system. Consult your car’s owner’s manual or a reputable car audio retailer to ensure you purchase the correct wiring harness for your specific make and model.
 Different Types of Wiring Harness Adapters
What if you have a key car battery low? While seemingly unrelated, a low key fob battery can sometimes lead to issues with starting the car, affecting the radio as well. Always ensure your key fob battery is in good condition to prevent unexpected problems.
Installing Your New Car Radio
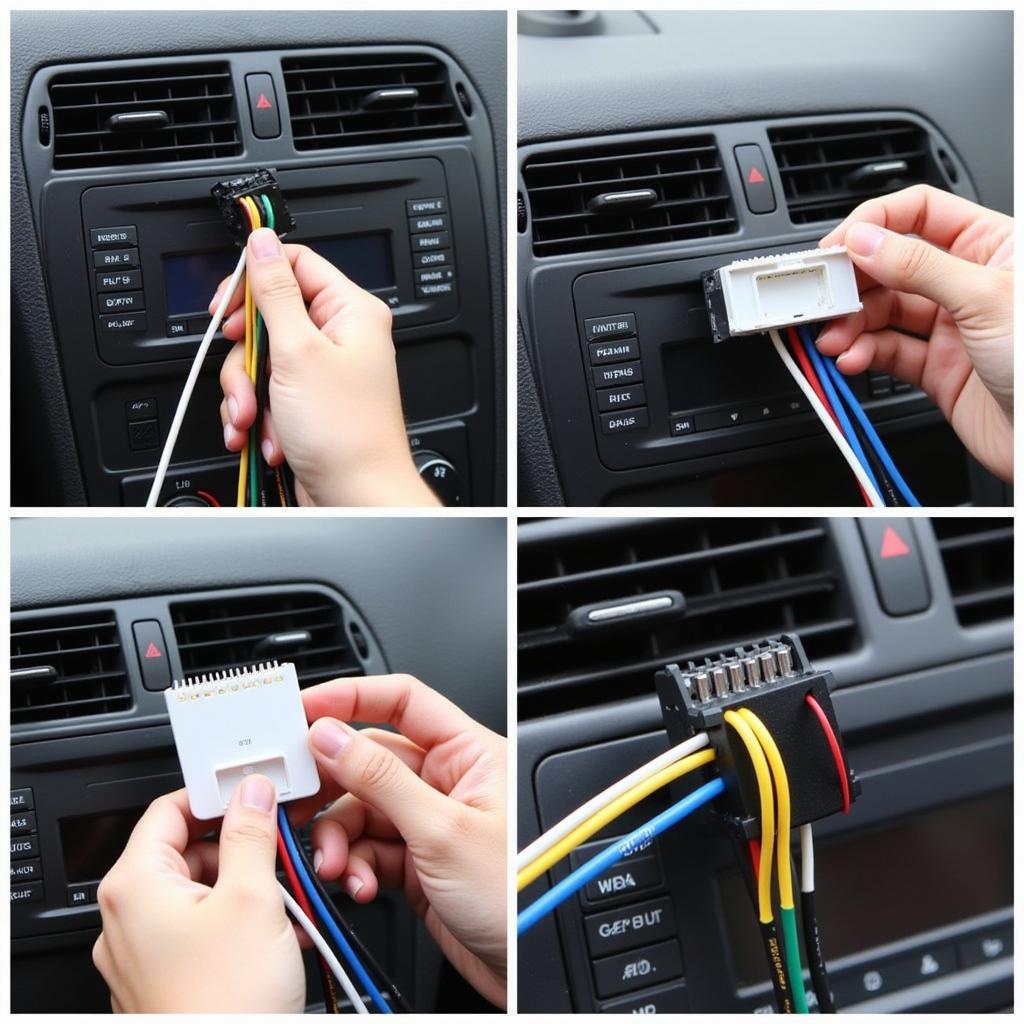
With your supplies gathered, you can begin the installation process. First, disconnect the negative terminal of your car’s battery to prevent electrical shocks. Next, carefully remove the old radio using the panel removal tool. Once the old radio is out, disconnect the wiring harness and antenna. Now, connect the wiring harness adapter to your new radio, following the color-coded wires and the instructions provided with the adapter.
Connecting the Wiring Harness and Antenna
Connecting the wiring harness can be tricky, so double-check all connections to ensure they are secure. Properly connecting the antenna is also vital for clear radio reception. A loose or improperly connected antenna can result in static or poor signal quality.
 Connecting the Car Radio Wiring Harness
“A common mistake people make is rushing the wiring process,” says John Smith, a certified automotive electrician. “Take your time, double-check the connections, and refer to the wiring diagram if needed. This will save you headaches down the road.”
Next, install the dash kit (if required) and slide the new radio into the dashboard opening. Secure the radio using the mounting brackets or screws provided. Reconnect the negative battery terminal and test the new radio.
Fine-Tuning and Troubleshooting
Once installed, fine-tune the radio settings to your preference. Adjust the equalizer, balance, and fader to achieve the desired sound quality. If you encounter any issues, such as the radio not powering on or poor sound quality, double-check all connections and consult the troubleshooting section of the radio’s manual.
A battery dead car wont start situation can sometimes be misdiagnosed as a faulty radio. Always ensure your car battery is in good working order before assuming a problem with the radio.
“Another crucial step is testing all the radio’s features after installation,” advises Maria Garcia, a senior car audio technician. “Ensure everything works correctly, from Bluetooth connectivity to radio reception, before putting everything back together.” If you suspect a faulty battery or alternator, it’s important to have it checked by a professional.
In conclusion, installing a car radio is a rewarding DIY project that can enhance your driving experience. By following these steps and taking your time, you can successfully install a new radio and enjoy your favorite tunes on the road. Remember to always disconnect the negative battery terminal before working on your car’s electrical system. If you’re unsure about any step, consult a professional car audio installer. If you find your car battery 11 volts wont start, it might indicate a deeper electrical issue.
Is it difficult to install a car radio?
How do I choose the right car radio for my car?
What tools do I need to install a car radio?
How do I connect the wiring harness?
How do I troubleshoot car radio installation problems?
What is a dash kit, and do I need one?
Where can I find professional help for car radio installation?

