Want to upgrade your old car’s audio system but dreading the installation process? We get it. Retrofitting your classic with a modern stereo doesn’t have to be a daunting task. This guide provides a detailed walkthrough on how to install a radio in your old car, covering everything from gathering the right tools to troubleshooting common problems. Let’s get started!
Understanding Your Car’s Electrical System
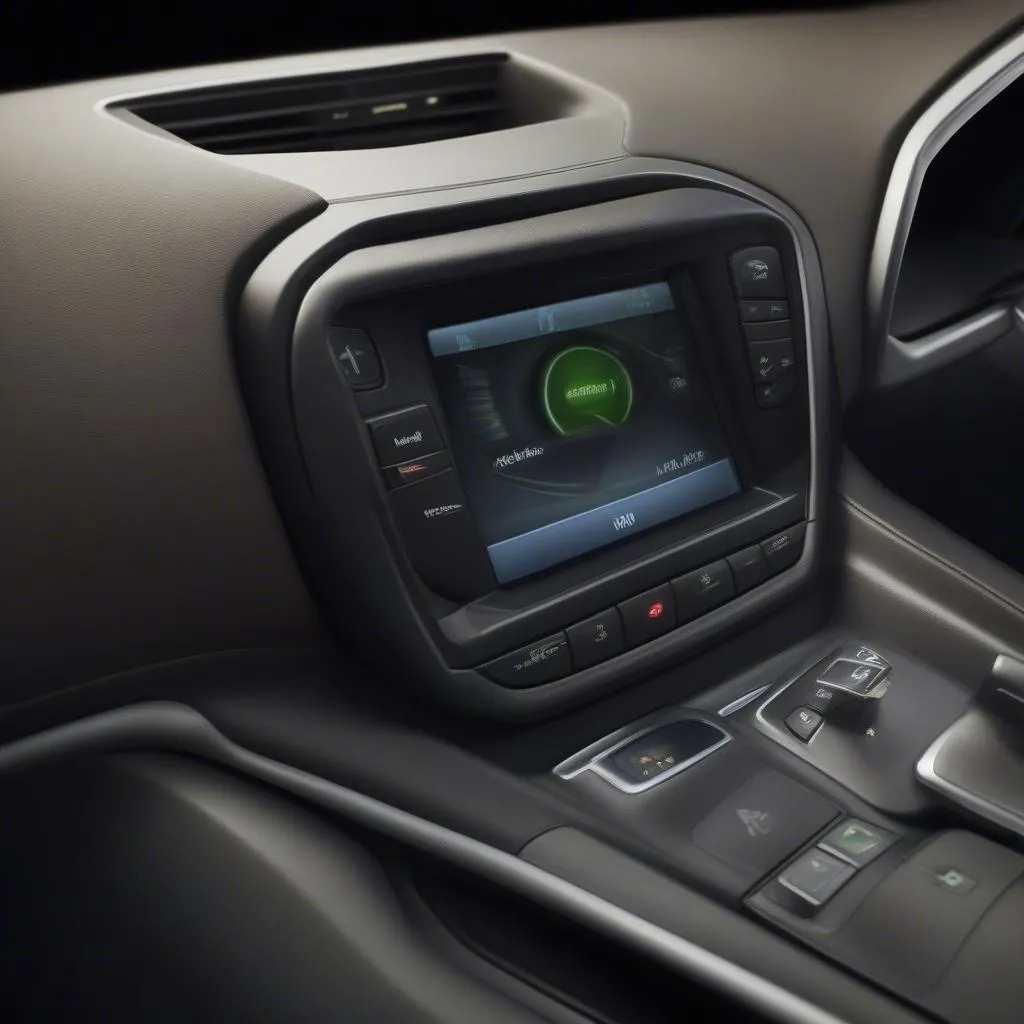
Before diving into the installation, it’s crucial to understand the basics of your car’s electrical system. Most car stereos operate on a 12-volt DC system. The positive (+) and negative (-) terminals of the car battery correspond to the similarly marked wires on your new radio.
Common Car Radio Problems
A malfunctioning car radio can stem from various issues, ranging from simple wiring errors to more complex component failures.
Common Symptoms of Car Radio Issues:
- No power: This often points to a blown fuse, a disconnected power wire, or a faulty head unit.
- Poor reception: This could be due to a damaged antenna or poor grounding.
- Distorted sound: This usually indicates a problem with the speakers, wiring, or the head unit’s amplifier.
Diagnosing the Problem
- Visual inspection: Start by checking the wiring harness for any loose or damaged wires. Ensure the fuse connected to the radio circuit is not blown.
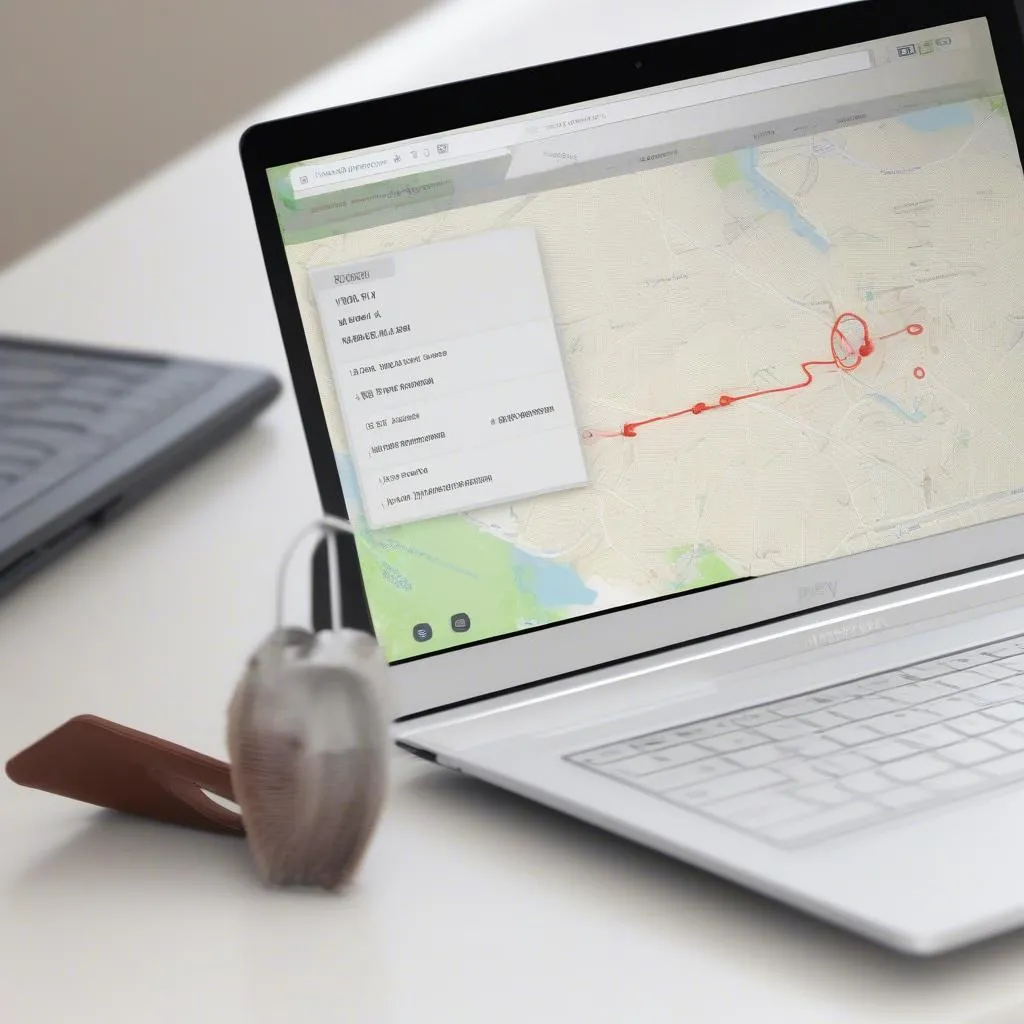
- Software diagnostics: For modern vehicles, using an OBD-II scanner can help pinpoint software-related issues affecting the radio.
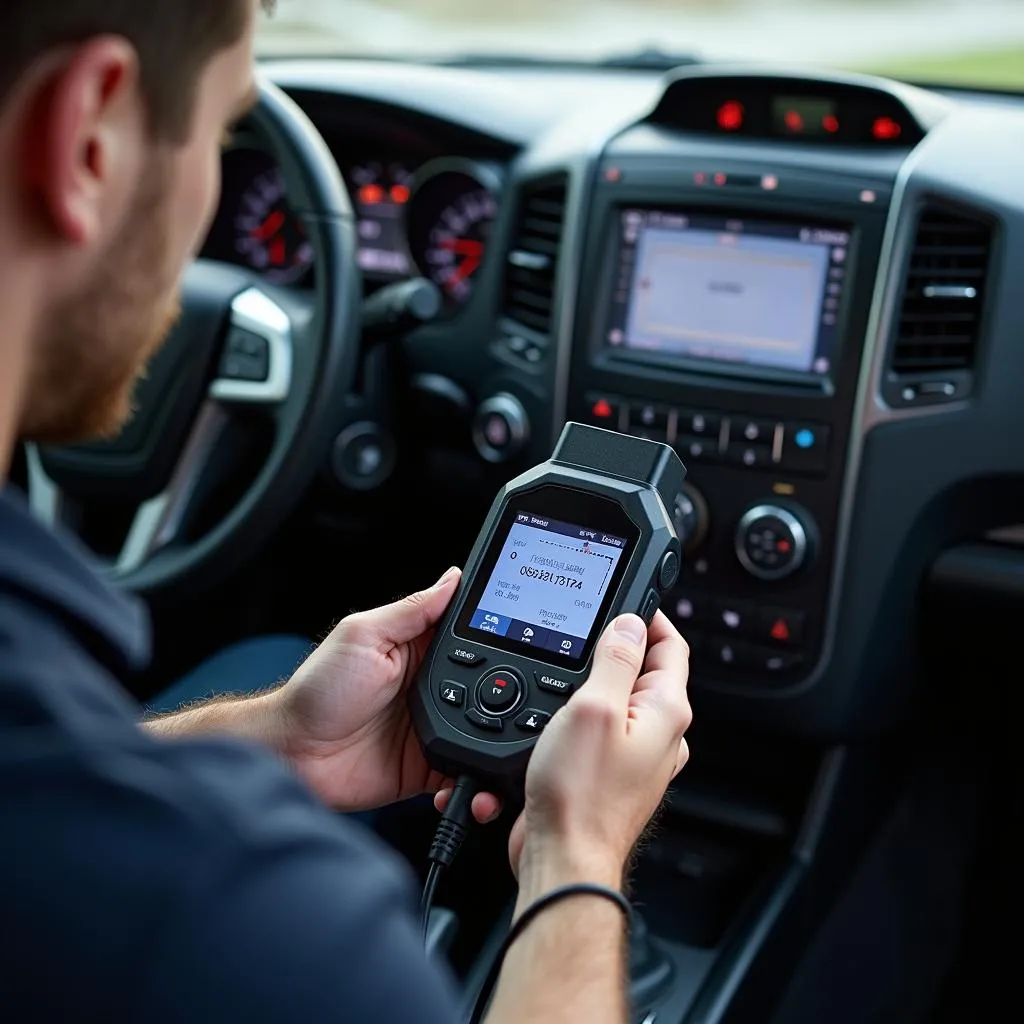 OBD-II scanner diagnosing car radio problems
 - Testing with a multimeter: A multimeter can be used to check for continuity in the wiring and test the voltage at various points in the circuit.
Tools and Materials You’ll Need
Before you begin, gather the following tools:
- Screwdrivers (Phillips and flathead): For removing screws holding your old radio and installing the new one.
- Socket wrench set: Might be needed to remove mounting brackets in some cars.
- Wire strippers/crimpers: For preparing and connecting wires.
- Electrical tape: For insulating wire connections.
- Panel removal tools: These help prevent damage to your car’s dashboard while prying off panels.
- Wiring harness adapter: This ensures compatibility between your new radio and your car’s wiring.
- User manuals: Refer to both your car’s and new radio’s manuals for specific instructions.
Installation Steps
1. Disconnect the Battery
Safety first! Disconnect the negative (-) terminal of your car battery to prevent electrical shorts.
2. Remove the Old Radio
Carefully pry off the trim pieces around your existing radio using panel removal tools. Unscrew the mounting brackets holding the radio in place and gently pull it out. Disconnect the wiring harness and antenna cable from the back.
3. Prepare the New Radio
Connect the wiring harness adapter to the wiring harness of your new radio. Match the color-coded wires on the adapter to those on the radio’s harness, ensuring a secure connection. Consult the wiring diagram in your car and radio manuals if needed.
4. Connect the Wiring Harness
Connect the wiring harness adapter to your car’s wiring harness. Again, ensure each wire is securely connected and matches its corresponding color.
5. Install the New Radio
Slide the new radio into the dashboard opening, ensuring it’s properly aligned with the mounting brackets. Secure it in place using the screws or mounting brackets. 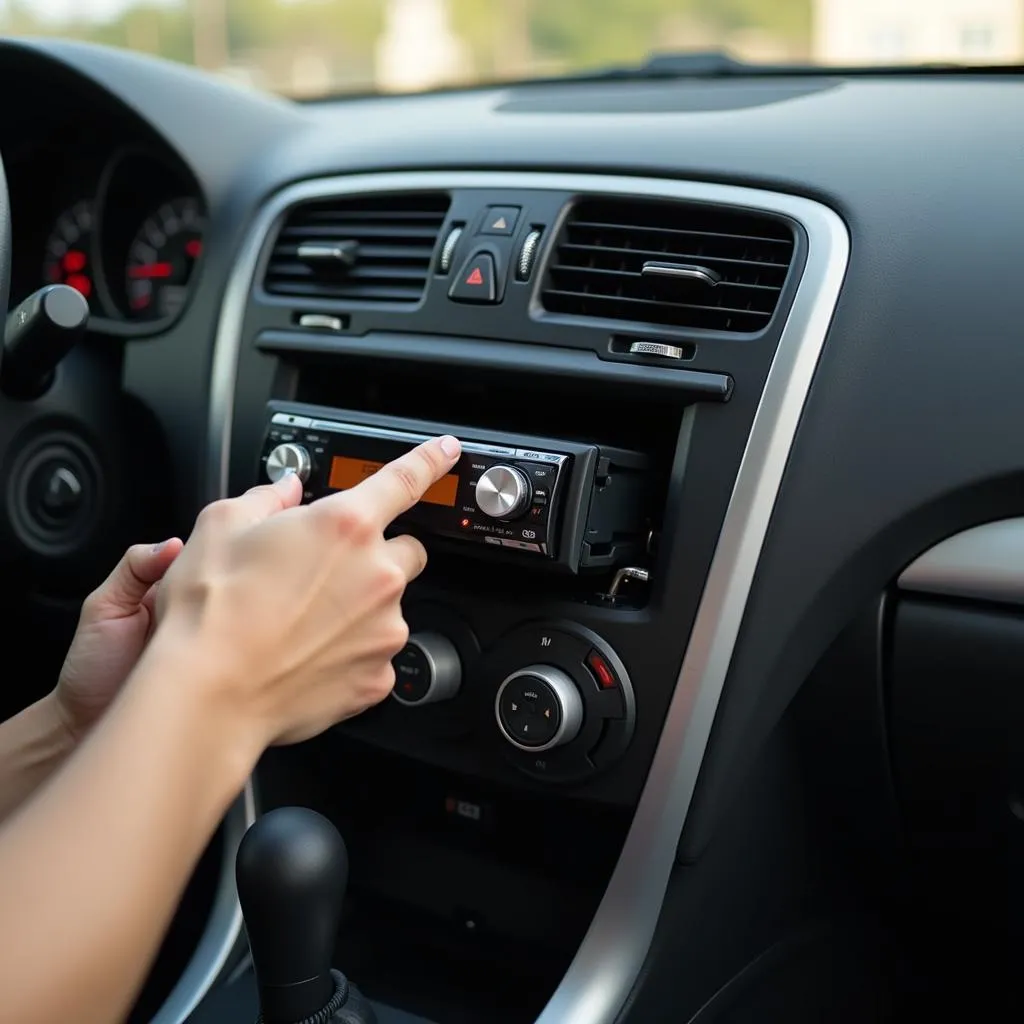 Installing new car radio into dashboard
6. Connect the Antenna and Test
Connect the antenna cable to the back of the new radio. Before reassembling the dashboard, reconnect the negative battery terminal and turn on the car to test the radio. Ensure it powers on, receives stations, and the speakers work correctly.
7. Reassemble the Dashboard
Once you’ve confirmed the radio is functioning correctly, carefully reassemble the dashboard trim pieces. Ensure all clips and screws are properly secured.
FAQs
Q: Can I install a modern radio in a vintage car?
A: Absolutely! While it might require additional adapters or modifications to the dashboard opening, it’s certainly doable. Seeking advice from a professional car audio installer is recommended for vintage cars.
Q: What is a CAN bus, and how does it affect my radio installation?
A: A Controller Area Network (CAN bus) is a communication system in modern vehicles that allows various electronic components, including the radio, to exchange data. Some radios might require additional adapters to interface with the CAN bus system.
Q: My new radio doesn’t have a CD player. Can I still use it?
A: Yes, many modern radios utilize Bluetooth, USB, or auxiliary inputs for audio streaming. You can connect your phone or other devices to play music.
Need Further Assistance?
For specialized diagnostic and programming services, consider CARDIAGTECH. We provide advanced solutions for automotive electronic systems, ensuring your car’s electronics operate flawlessly. Check out our website for a wide range of diagnostic tools and services.