Car theft is a pervasive issue, and traditional security systems often fall short. If you’re looking for an incredibly robust way to secure your vehicle, the Ravelco Anti Theft Device offers a unique solution that’s notoriously difficult to bypass. While professional installation is always recommended, we understand the desire for DIY solutions. This guide provides a simplified overview of the installation process.
Understanding the Ravelco System
The Ravelco system utilizes a removable 16-pin connector that disrupts critical circuits in your vehicle, preventing it from starting. Unlike systems that rely on electronics vulnerable to hacking, the Ravelco’s purely mechanical design makes it incredibly secure.
Before You Begin
Important: Installing a Ravelco system involves working with your vehicle’s electrical system. If you’re not comfortable with this, it’s crucial to consult a qualified automotive electrician.
Gather Your Tools and Materials
- Ravelco Anti Theft Device Kit
- Wire strippers and crimpers
- Electrical tape
- Basic hand tools (screwdrivers, pliers, etc.)
Ravelco Installation Steps
1. Disconnect the Battery: This is crucial for safety when working with electrical components. Locate your vehicle’s battery and disconnect the negative terminal.
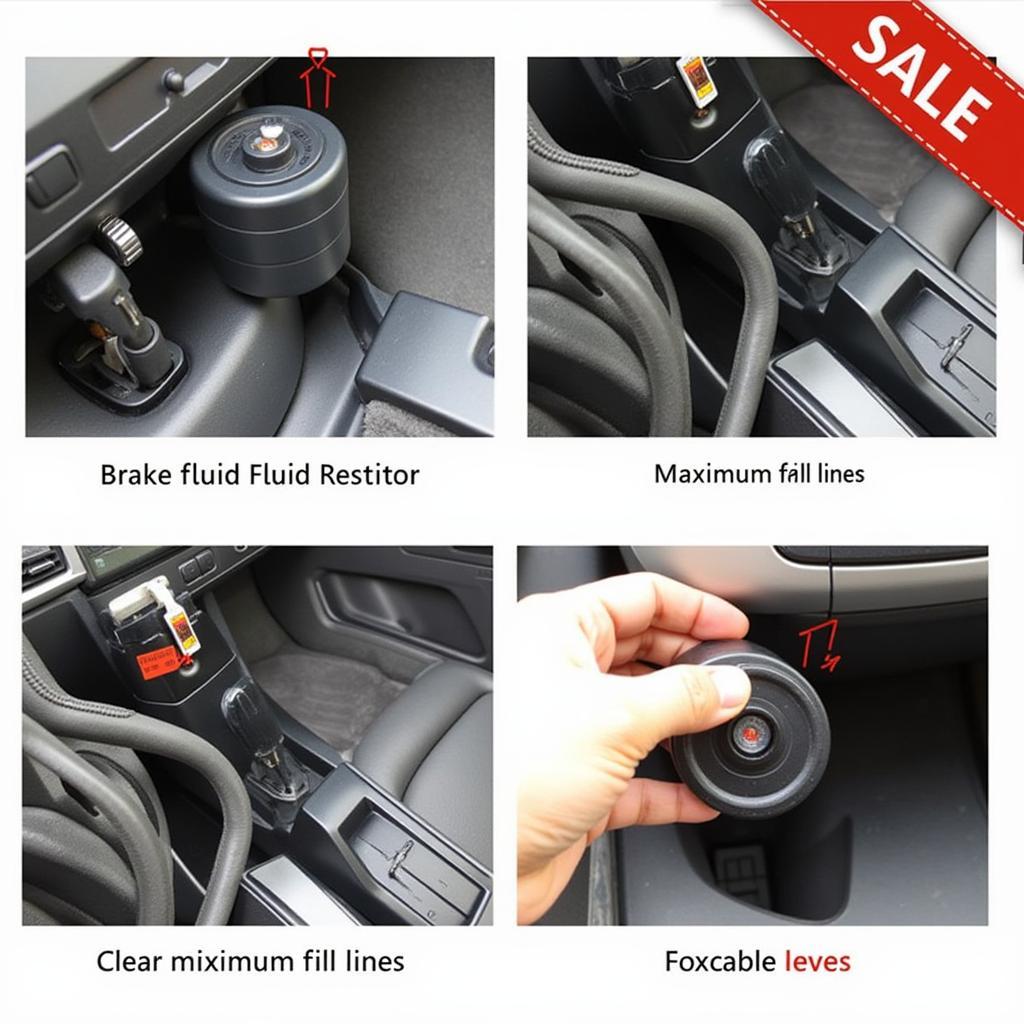
2. Choose an Installation Location: The Ravelco base unit needs to be mounted in a hidden, secure location within your vehicle’s dashboard or center console.
3. Identify and Access Wiring: Consult your vehicle’s wiring diagram and the Ravelco instructions to identify the specific wires that need to be intercepted. Carefully access these wires without causing damage.
4. Connect the Ravelco Harness: The Ravelco kit includes a wiring harness with connectors. Following the instructions, carefully splice these into the identified wires using the supplied connectors, ensuring secure connections.
5. Mount the Base Unit: Securely mount the Ravelco base unit in your chosen location using screws or zip ties, making sure it’s hidden from view.
6. Test the System: Before buttoning everything up, reconnect your battery’s negative terminal and test the Ravelco system thoroughly to ensure it functions correctly.
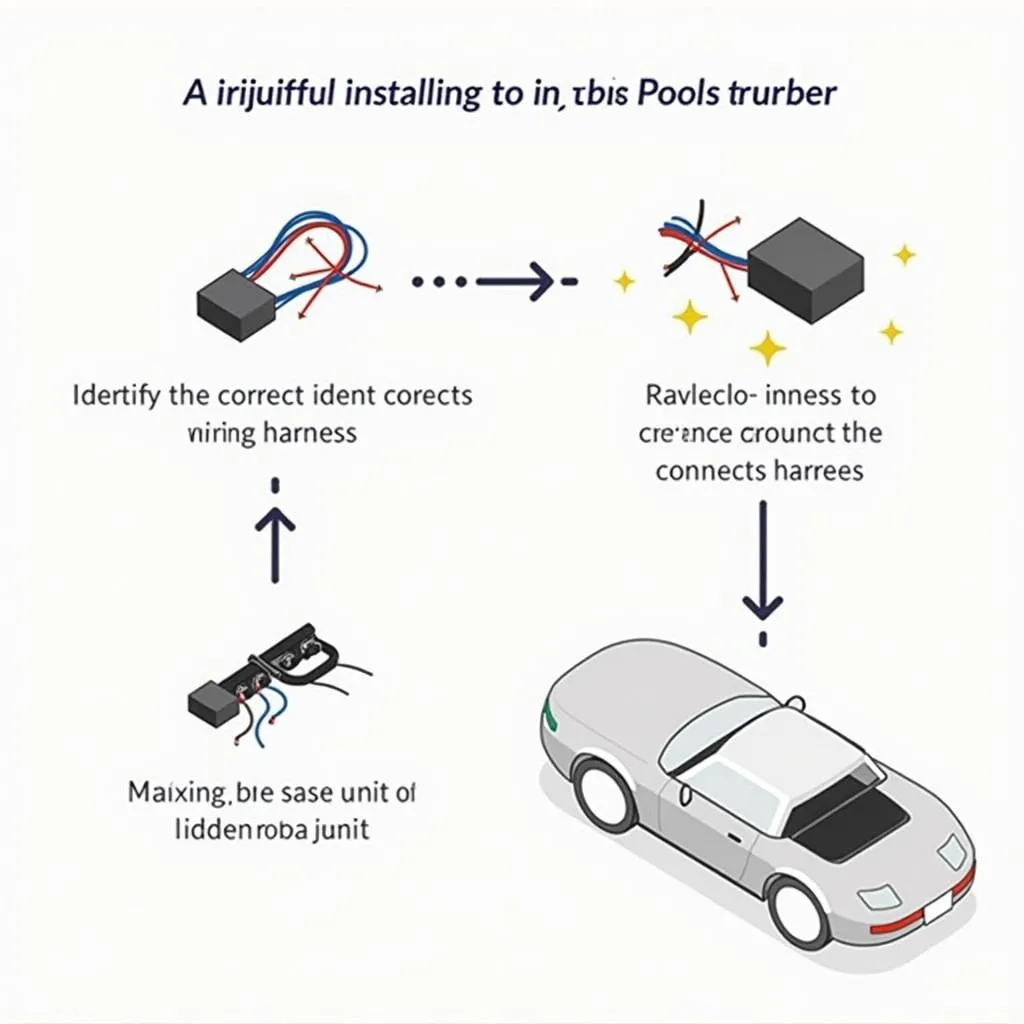 Ravelco anti-theft device installation process
Frequently Asked Questions about Car Security
What are the most common car diagnostic trouble codes?
While the Ravelco system itself doesn’t generate diagnostic trouble codes, you might encounter codes related to the circuits it affects during installation. It’s important to address any such codes using a reliable OBD-II scanner. For a deeper dive into diagnostic codes, check out our article on How to Understand and Clear Car Diagnostic Trouble Codes.
 OBD2 scanner displaying car diagnostic trouble codes
How can I enhance my car’s security beyond a Ravelco device?
Layering your security is always a good idea. Consider adding a steering wheel lock, a GPS tracker, or even a dashcam for added protection. For a comprehensive look at advanced automotive diagnostics, including using software for troubleshooting, explore the resources available at Cardiagtech.
By following these steps, you can take a significant step towards safeguarding your vehicle from theft. Remember, if you’re ever unsure about any part of the installation process, seeking professional assistance is always the safest option. CARDIAGTECH can connect you with trusted automotive electricians who specialize in anti-theft device installation.