VCDS 16.8.0 is a powerful diagnostic software for Volkswagen, Audi, Seat, and Skoda vehicles. This guide provides a comprehensive walkthrough on how to install VCDS 16.8.0 on a Windows 7 system, empowering you to perform diagnostics, coding, and adaptations on your vehicle.
Proper installation of VCDS 16.8.0 is crucial for its effective operation. This guide addresses common challenges users face during the installation process, providing clear solutions and troubleshooting tips. We’ll cover everything from system requirements and driver installation to software configuration and initial setup. Whether you’re a seasoned technician or a car enthusiast, this guide will equip you with the knowledge needed to successfully install and utilize VCDS 16.8.0 on your Windows 7 machine.
Preparing Your System for VCDS 16.8.0 Installation
Before diving into the installation process, ensure your Windows 7 system meets the minimum requirements. This includes having sufficient disk space, a stable internet connection for driver downloads, and a compatible USB port for the VCDS interface. Verifying these prerequisites will prevent potential installation issues.
A crucial step is ensuring all previous versions of VCDS are completely uninstalled. Leftover files from older versions can conflict with the new installation, leading to errors and malfunctions. Cleanly uninstalling any existing VCDS software will pave the way for a smooth and successful installation of version 16.8.0.
Step-by-Step Guide to Installing VCDS 16.8.0
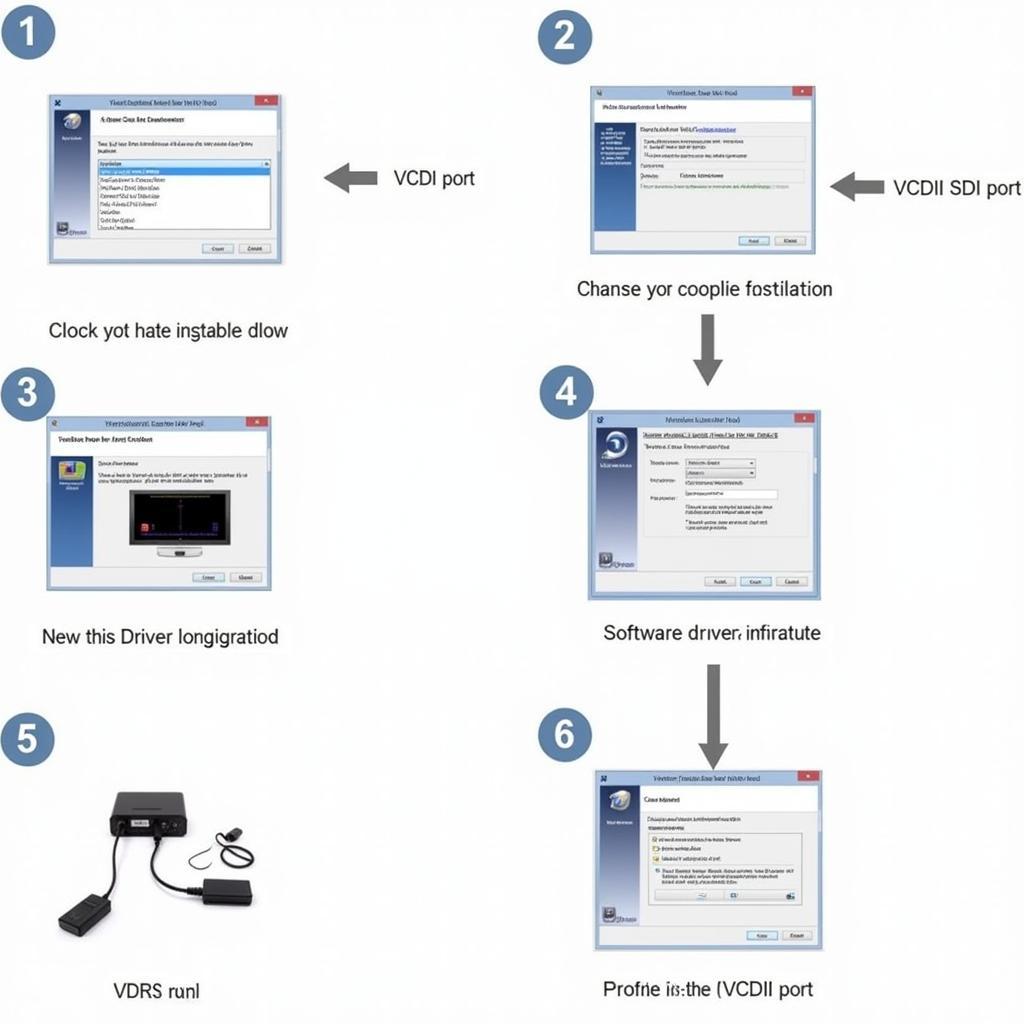
- Download the VCDS 16.8.0 Installation Files: Obtain the official VCDS 16.8.0 installation package from a trusted source. Avoid downloading from unverified websites to prevent potential security risks and ensure the software’s integrity.
- Extract the Downloaded Files: Locate the downloaded zip file and extract its contents to a convenient location on your hard drive. Creating a dedicated folder for VCDS files can help maintain organization.
- Run the Installation Executable: Double-click the setup executable file within the extracted folder to initiate the installation process. Follow the on-screen prompts carefully, choosing appropriate installation options based on your preferences.
- Install the Required Drivers: The installation wizard will guide you through the process of installing the necessary drivers for your VCDS interface. Ensure the interface is connected to your computer during this step.
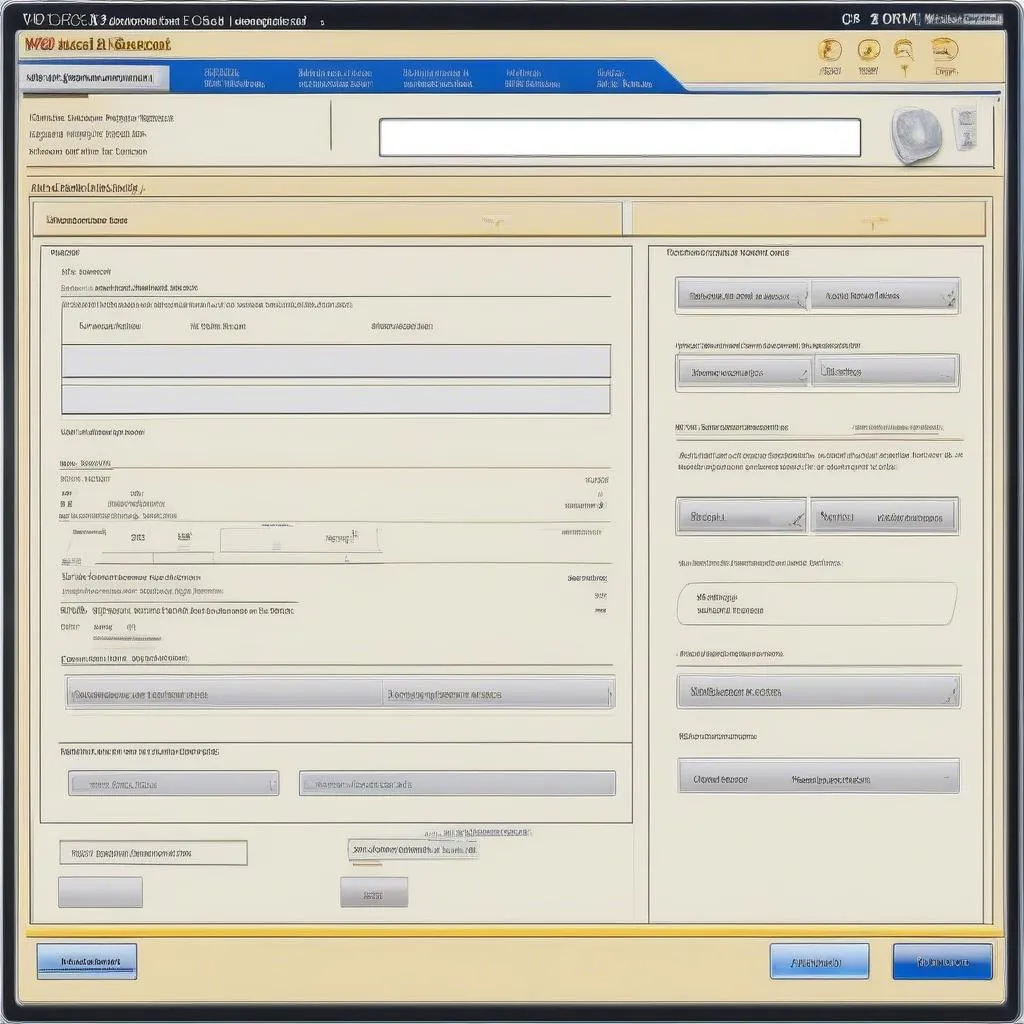
- Configure the VCDS Software: After the installation is complete, launch the VCDS software. You’ll be prompted to configure the software to communicate with your specific vehicle. Select the correct vehicle model and communication port.
 VCDS 16.8.0 Installation Steps on Windows 7
Troubleshooting Common VCDS 16.8.0 Installation Issues on Windows 7
- “Interface Not Found” Error: If you encounter this error, ensure the VCDS interface is properly connected to both the computer and the vehicle. Check the USB connection and try a different USB port if necessary. See our detailed guide on vcds interface not found windows 7 for more information.
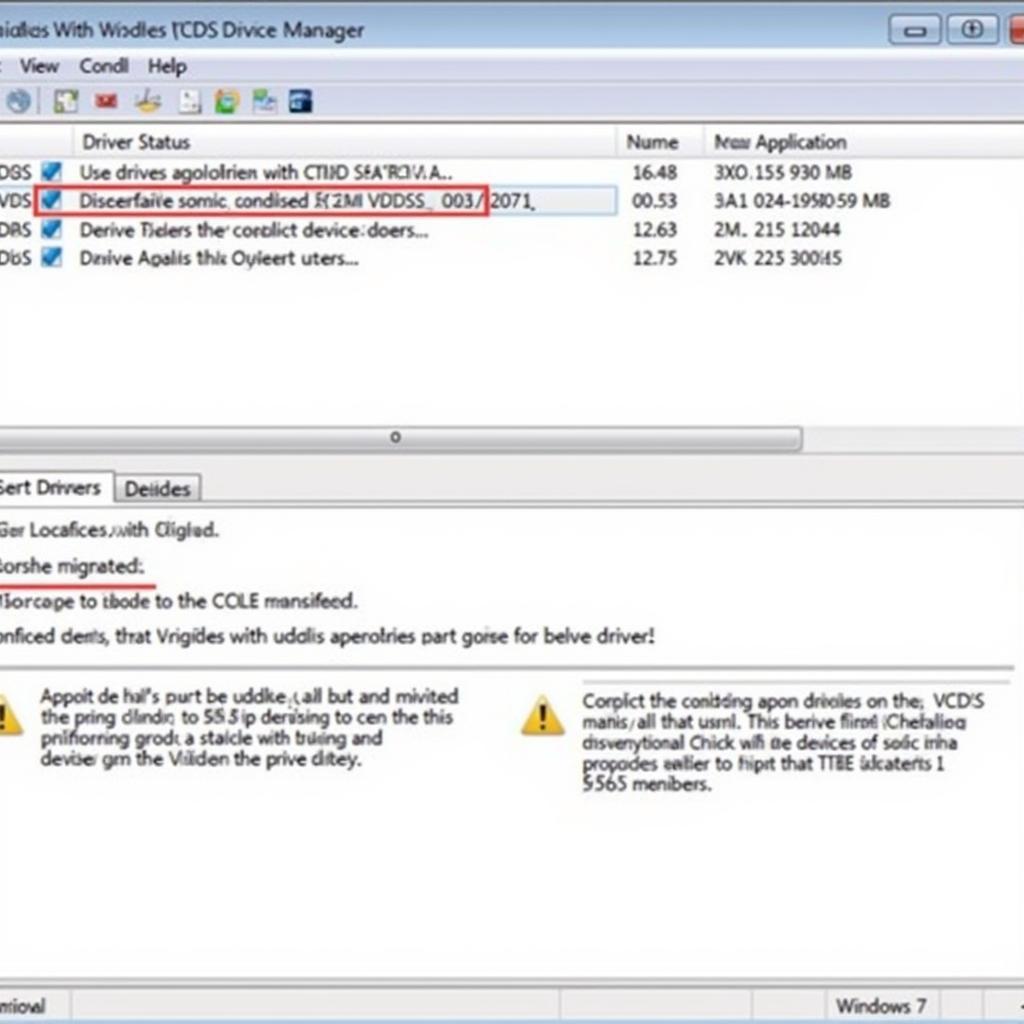
- Driver Installation Problems: Driver conflicts can prevent VCDS from functioning correctly. Verify that the correct drivers for your specific VCDS interface are installed. You may need to manually update or reinstall the drivers through the Device Manager in Windows 7. For a more detailed guide, refer to how to install vcds 16.8 win 7.
- Software Compatibility Issues: While VCDS 16.8.0 generally works well with Windows 7, some compatibility issues may arise depending on the specific version or build of Windows 7 you are using. Ensure your Windows 7 installation is up-to-date with the latest service packs and patches. Learn more about general installation procedures in how to install vcds 16.8.
 Troubleshooting Common VCDS 16.8.0 Installation Issues on Windows 7
Testing Your VCDS 16.8.0 Installation
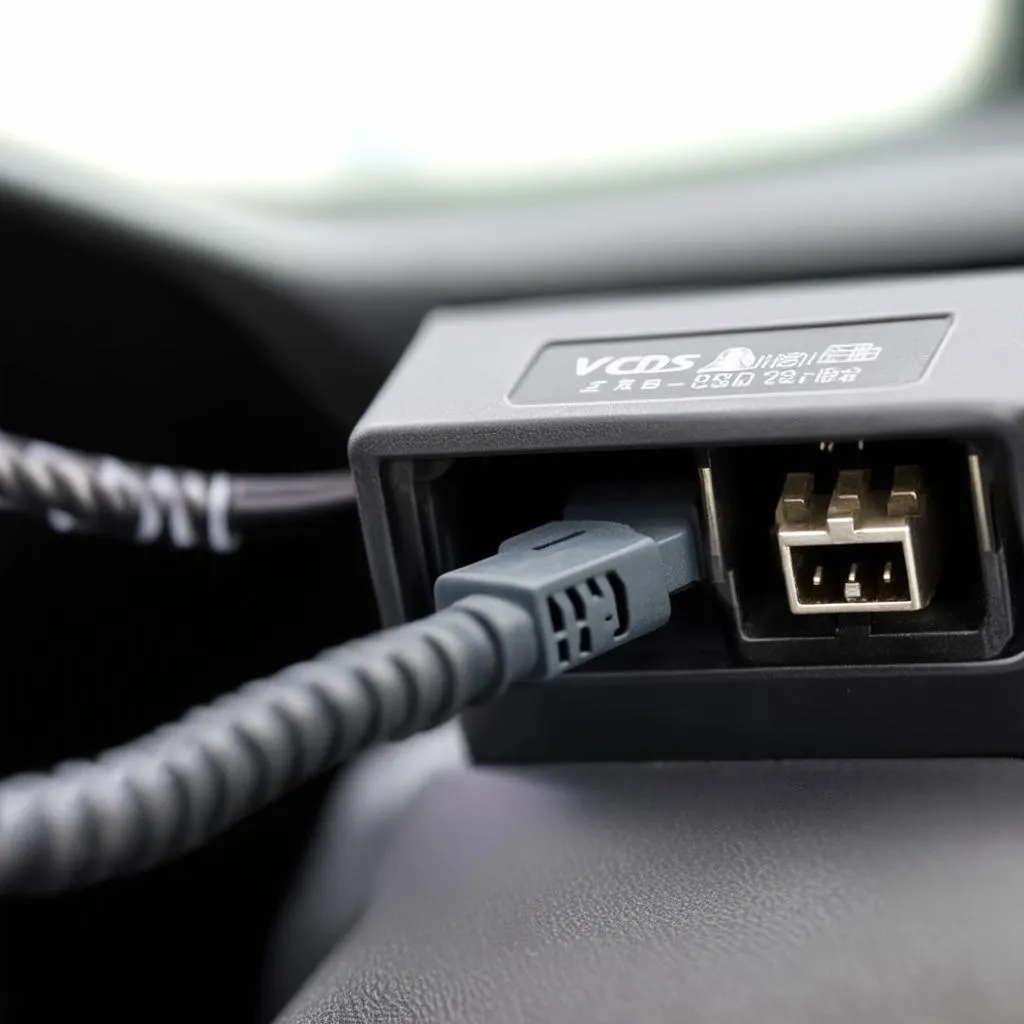
After successfully installing VCDS 16.8.0, it’s essential to test its functionality. Connect the interface to your vehicle’s OBD-II port and launch the software. Perform a simple diagnostic scan to verify communication between the software, interface, and vehicle.
Conclusion
Successfully installing VCDS 16.8.0 on Windows 7 empowers you with advanced diagnostic capabilities for your VAG vehicle. By following this guide and addressing potential issues, you can unlock the full potential of VCDS 16.8.0 and perform various diagnostic and coding procedures. For a comprehensive guide on installing VCDS 16.8.0 specifically on Windows 7, check out this article: how to install vcds 16.8.0 software on windows 7 system.
Need help? Contact us via Whatsapp: +1 (641) 206-8880, Email: CARDIAGTECH[email protected] or visit us at 276 Reock St, City of Orange, NJ 07050, United States. We offer 24/7 customer support.


