Want to enjoy over 100 channels of commercial-free music, plus sports, news, and entertainment right in your car? Installing an XM radio car kit might seem daunting, but it’s a manageable DIY project with the right guidance. This comprehensive guide will walk you through every step, ensuring you’ll be cruising with your favorite tunes in no time.
Understanding XM Radio and Car Kits
Before diving into the installation process, it’s crucial to grasp the basics of XM radio and the components involved.
What is XM Radio?
XM Radio is a satellite radio service broadcasting a diverse range of audio entertainment directly to your car. Unlike traditional radio, XM offers coast-to-coast coverage with crystal-clear reception, free from static and signal fades.
XM Radio Car Kits: The Essentials
To enjoy XM Radio in your vehicle, you’ll need a compatible XM radio car kit. These kits generally comprise:
- XM Tuner: This component receives the XM satellite signals.
- Antenna: Captures the XM signals and relays them to the tuner.
- Control Unit: Allows you to navigate channels, adjust volume, and manage other settings.
- Wiring Harness: Connects the XM radio components to your car’s electrical system and audio system.
Common Issues & Troubleshooting
Even with meticulous installation, encountering issues is possible. Here’s a breakdown of frequent problems and how to address them:
No Signal or Weak Reception
- Obstructed Antenna: Ensure your antenna has a clear line of sight to the sky, unobstructed by buildings, trees, or other large objects.
- Faulty Antenna Connection: Check the antenna cable for any damage or loose connections at both the antenna and tuner ends.
- Tuner Malfunction: If other solutions fail, the tuner might be faulty and require replacement.
Sound Problems
- Incorrect Wiring: Verify the wiring harness is correctly connected to both the XM radio components and your car’s audio system.
- Speaker Issues: Test your car speakers with a different audio source to rule out any inherent problems.
- Software Glitch: A software reset on the XM radio unit might resolve sound glitches.
Power Issues
- Blown Fuse: Check the fuse related to your car stereo system. If blown, replace it with a fuse of the same amperage.
- Loose Wiring Harness: Ensure the wiring harness connections are secure and free from any damage.
Essential Tools for Installation
Before you begin, gather the following tools to ensure a smooth installation:
- Screwdrivers: A set of both Phillips and flathead screwdrivers in various sizes.
- Panel Removal Tools: Plastic pry tools help prevent damage to your car’s interior trim when removing panels.
- Wire Strippers/Cutters: For making clean cuts and stripping insulation off wires if needed.
- Electrical Tape: Secure any wire connections and insulate exposed wires.
- Zip Ties: Neatly organize and secure any excess wiring.
Installation Steps
While specific installation procedures may vary depending on your car model and XM radio kit, here’s a general guideline:
- Disconnect Your Car Battery: Always disconnect the negative terminal of your car battery before working on any electrical system to prevent shorts.
- Position the XM Tuner and Antenna: The XM tuner is typically installed under the dashboard or in the glove box. The antenna is usually mounted on the roof or trunk for optimal signal reception.
- Connect the Wiring Harness: Following the instructions provided with your specific kit, connect the wiring harness to the XM tuner, antenna, and your car’s electrical system.
- Connect to Car Audio: Depending on your car’s audio system, you’ll connect the XM radio using an auxiliary input, FM modulator, or direct connection.
- Secure Components: Mount the XM tuner, control unit, and route the wiring discreetly, securing with zip ties where needed.
- Reconnect Battery and Test: After double-checking all connections, reconnect your car battery and power on your car radio to test the XM reception and ensure everything functions correctly.
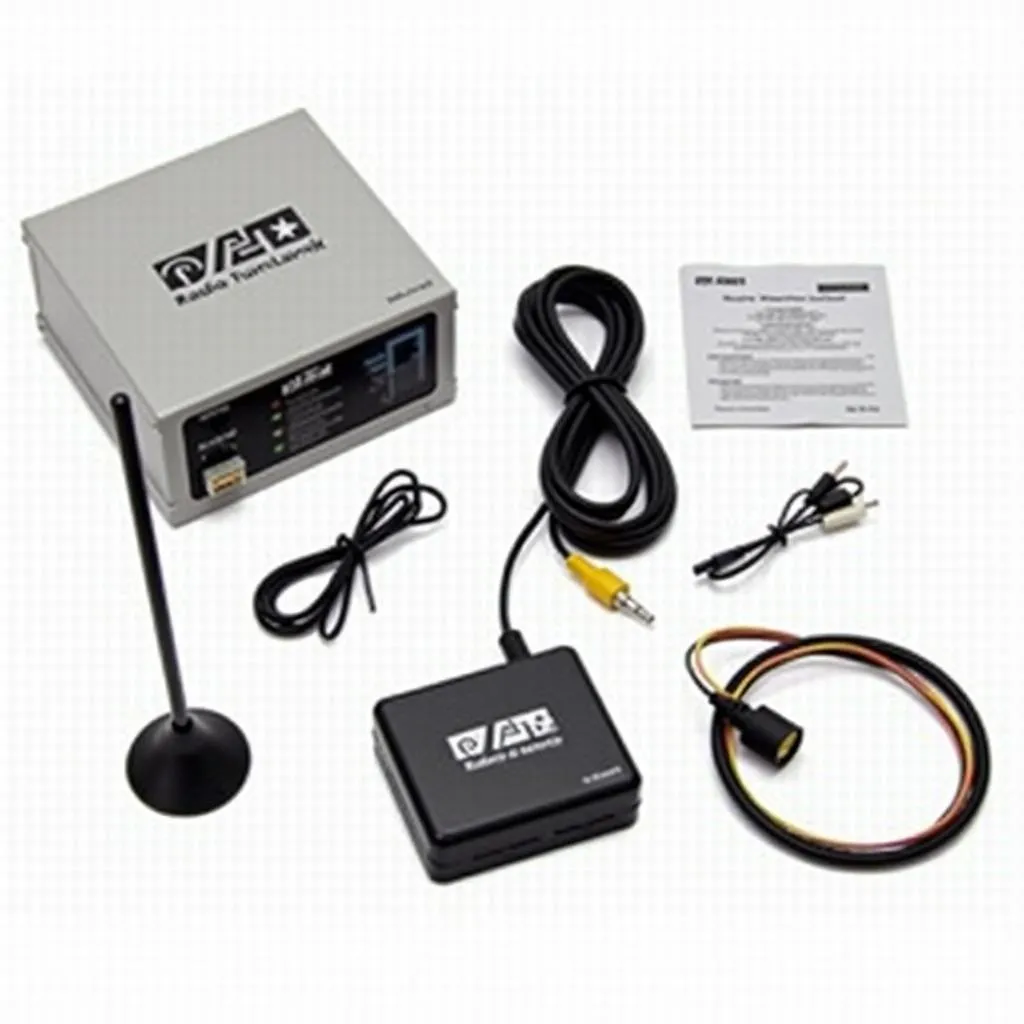 XM Radio Installation Kit
FAQs
Can I install an XM radio kit myself, or do I need professional help?
Installing an XM radio kit is often manageable as a DIY project, especially if you’re comfortable with basic car electronics. However, if you’re unsure about any step or encounter difficulties, seeking help from a professional car audio installer is always recommended.
What factors affect XM radio reception quality?
Several factors can affect XM radio reception, primarily:
- Antenna Placement: Obstructions like buildings, trees, and tunnels can significantly hinder reception.
- Weather Conditions: Heavy rain or snow can temporarily disrupt satellite signals.
- Geographic Location: While XM offers extensive coverage, some remote areas might experience weaker signals.
Can I transfer my XM radio subscription to a new vehicle?
Yes, XM allows subscription transfers to different vehicles. You might need to contact their customer service to facilitate the transfer process.
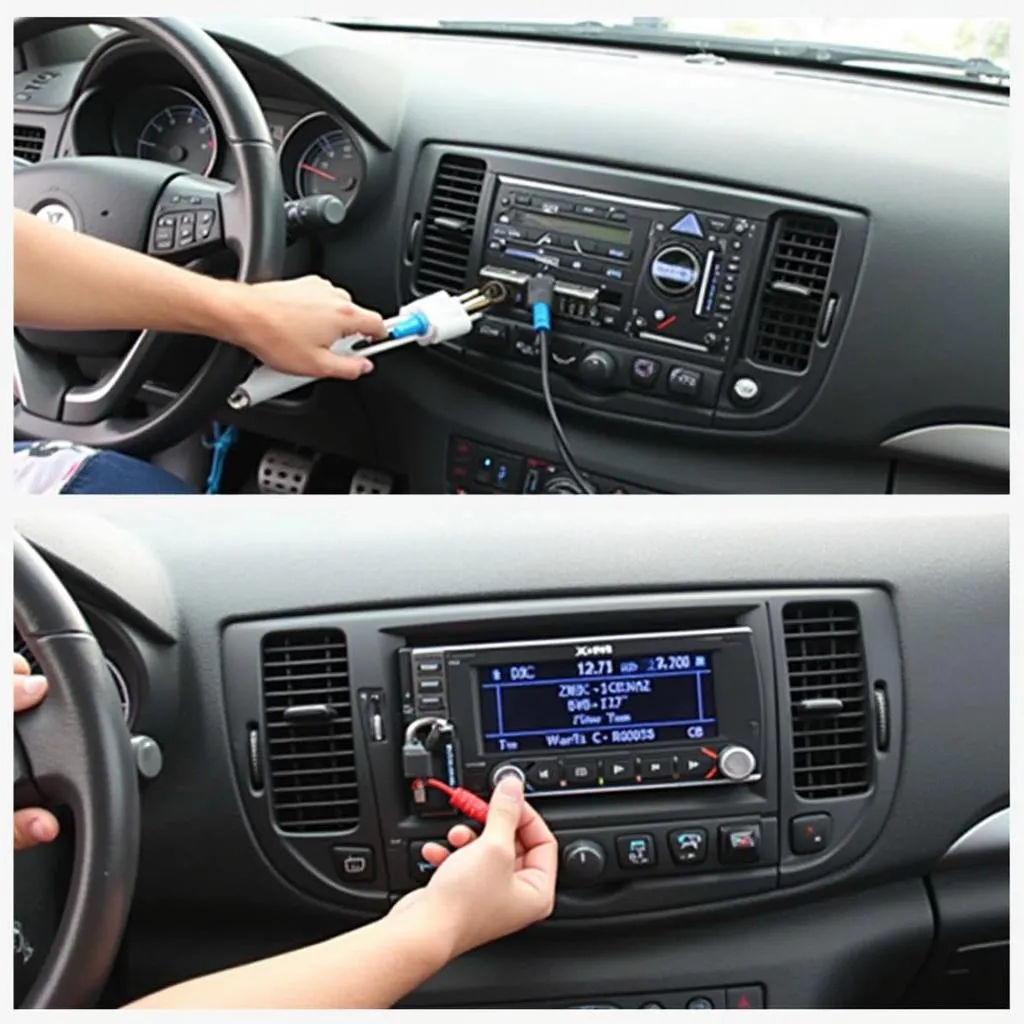 Connecting XM Antenna to Car Stereo
Conclusion
Installing an XM radio car kit can significantly enhance your in-car entertainment experience. By following the steps in this guide, you can enjoy a vast selection of music, news, and more with exceptional clarity and nationwide coverage. Remember, patience and attention to detail are key to a successful installation. If you encounter any challenges, don’t hesitate to consult with a professional car audio installer or contact CARDIAGTECH for assistance. We offer a range of automotive diagnostic and installation services, ensuring your car’s electronics are in top condition.