Looking for ways to boost your car security without breaking the bank? In a world where vehicle theft is an unfortunate reality, it’s no surprise that you’re searching for DIY solutions. This article explores practical steps and considerations for crafting a homemade anti-theft alarm.
Understanding the Need for Vehicle Security
Before diving into the how-to, it’s crucial to grasp the importance of a robust car alarm system. “The psychological deterrent of a loud, attention-grabbing alarm cannot be overstated,” says Dr. Emily Carter, a renowned security systems consultant. “It introduces an element of risk and uncertainty for potential thieves, often making them think twice about targeting your vehicle.”
Recognizing the Signs of a Subpar Security System
A weak anti-theft system can leave your vehicle vulnerable. Here are some telltale signs:
- Your car lacks a visible deterrent: A blinking LED, even on a homemade system, can make a difference.
- The alarm is easily disabled: If you can disable it quickly, so can a thief.
- No sensor diversity: Relying on a single type of sensor limits the alarm’s effectiveness.
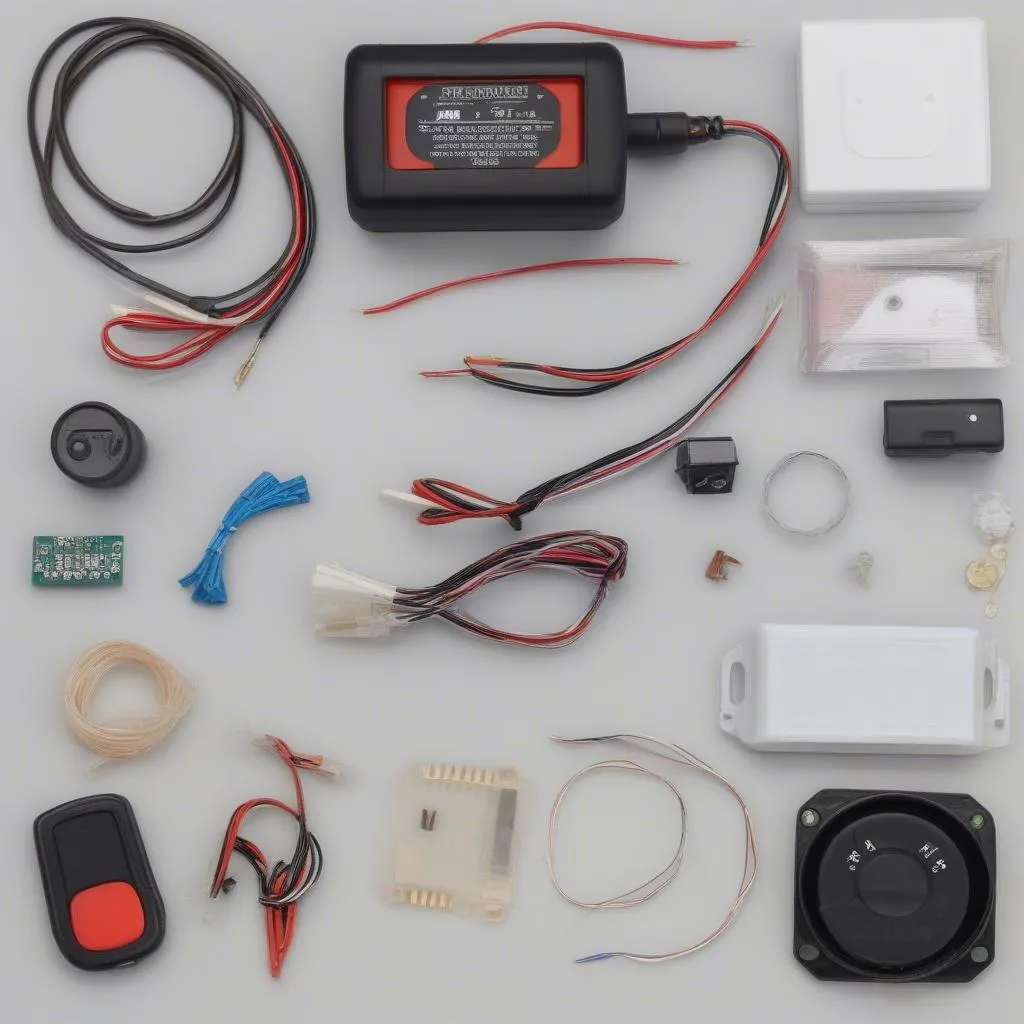 DIY Car Alarm Components
Building Your Homemade Anti-Theft Alarm: A Step-by-Step Guide
While professional systems offer comprehensive protection, a DIY approach can provide an additional layer of security. Here’s a simplified guide:
1. Gather Your Materials:
- A siren or buzzer: The louder, the better.
- A switch: This will act as the trigger.
- Wires: To connect the components.
- A battery source: A 9-volt battery will suffice.
- Soldering iron and solder (optional): For more permanent connections.
2. Connect the Components:
- Connect the positive (+) wire of the siren to one side of the switch.
- Connect the other side of the switch to the positive (+) terminal of the battery.
- Connect the negative (-) wire of the siren to the negative (-) terminal of the battery.
3. Positioning Your Alarm:
- Concealment is key: Hide the alarm unit within the vehicle, making it difficult to find.
- Switch placement: Strategically place the switch so that it’s activated when a door is opened or the hood is tampered with.
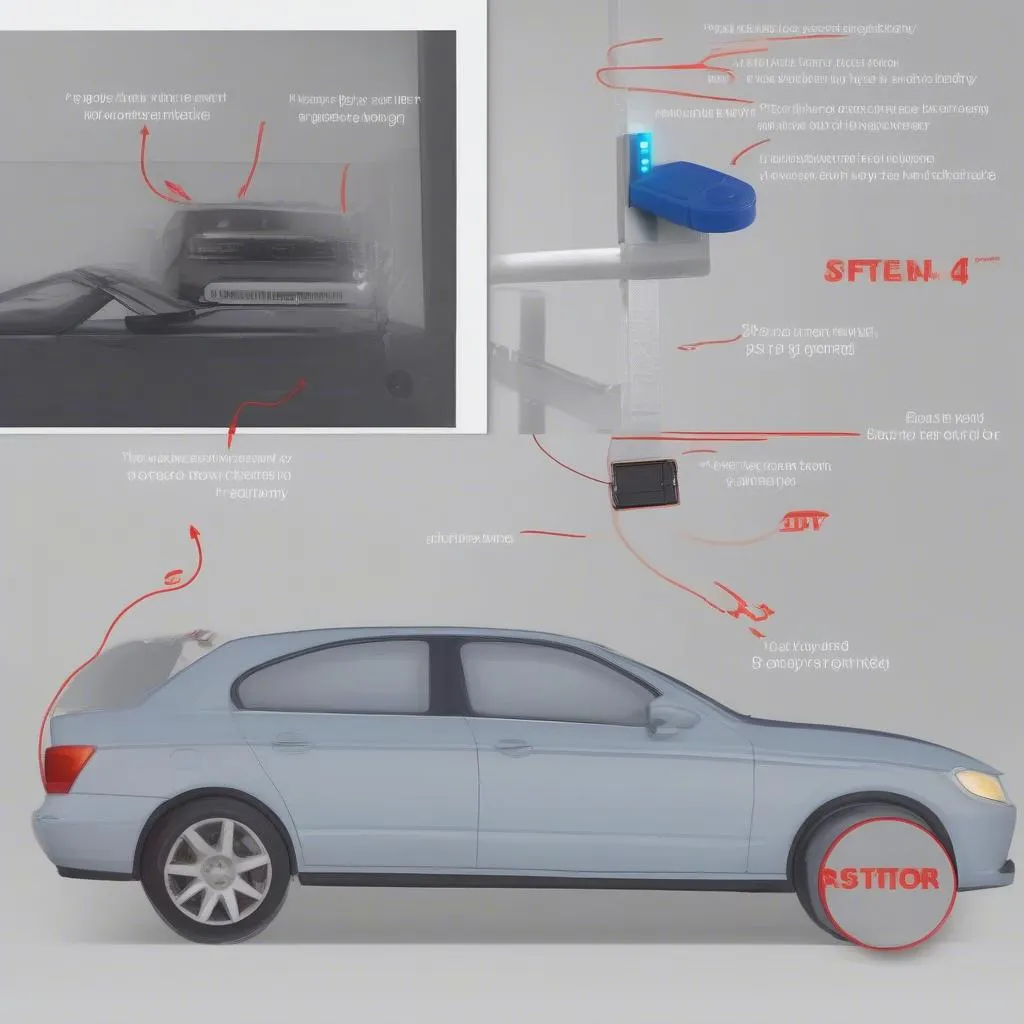 Installing Car Alarm Switch
4. Testing Your Alarm
- Ensure the switch is in the “off” position.
- Connect the battery.
- Activate the switch (simulate an intrusion).
- The siren should sound.
FAQs: Addressing Your Car Security Concerns
- Q: Can a homemade alarm drain my car battery?
- A: If wired correctly, the drain should be minimal when the alarm isn’t triggered.
- Q: Is a DIY alarm as effective as a professional system?
- A: While a good starting point, a professional system offers features like GPS tracking and smartphone alerts, which a homemade system might lack.
- Q: Can I enhance my DIY alarm with additional sensors?
- A: Yes, you can integrate vibration or tilt sensors for added security.
Remember, a multi-layered approach to vehicle security is always recommended. Consider pairing your DIY alarm with a steering wheel lock or a GPS tracker for comprehensive protection.
For those seeking advanced diagnostic solutions and professional assistance, explore the range of products and services offered by CARDIAGTECH.
If you’re looking to delve deeper into specific anti-theft measures, check out these resources:
While a DIY alarm can be a valuable deterrent, professional systems provide a more comprehensive security solution. If you’re looking to enhance your car’s protection, consider exploring the options available and consult with security experts for tailored recommendations.