Creating a car radio wiring harness might seem daunting, but with the right knowledge and tools, it’s a manageable DIY project. This guide will walk you through the process, from gathering the necessary materials to connecting the wires correctly, empowering you to upgrade your car audio system with confidence.
Understanding Car Radio Wiring
Before diving into the how-to, let’s cover the basics of car radio wiring. A wiring harness is essentially the nervous system of your car’s audio system, carrying electrical signals and power between the radio, speakers, and other components like amplifiers and antennas. A properly made harness ensures a clean, reliable connection, preventing shorts and ensuring optimal audio performance. Knowing the basics of car wiring colors and functions is crucial for this process.
Gathering Your Materials
Having the right tools and materials is half the battle. You’ll need:
- Wire: Use high-quality automotive-grade wire, preferably 18-gauge for power and ground, and 20-22 gauge for speaker wires. The correct gauge will ensure proper current flow and prevent overheating.
- Connectors: Choose connectors that match your car radio and speakers. Crimp connectors are common and easy to work with. Make sure you get the right size for your wire gauge.
- Wiring Diagram: This is your roadmap! Consult your car’s wiring diagram to identify the correct wires for each function. You can typically find this in your car’s service manual or online.
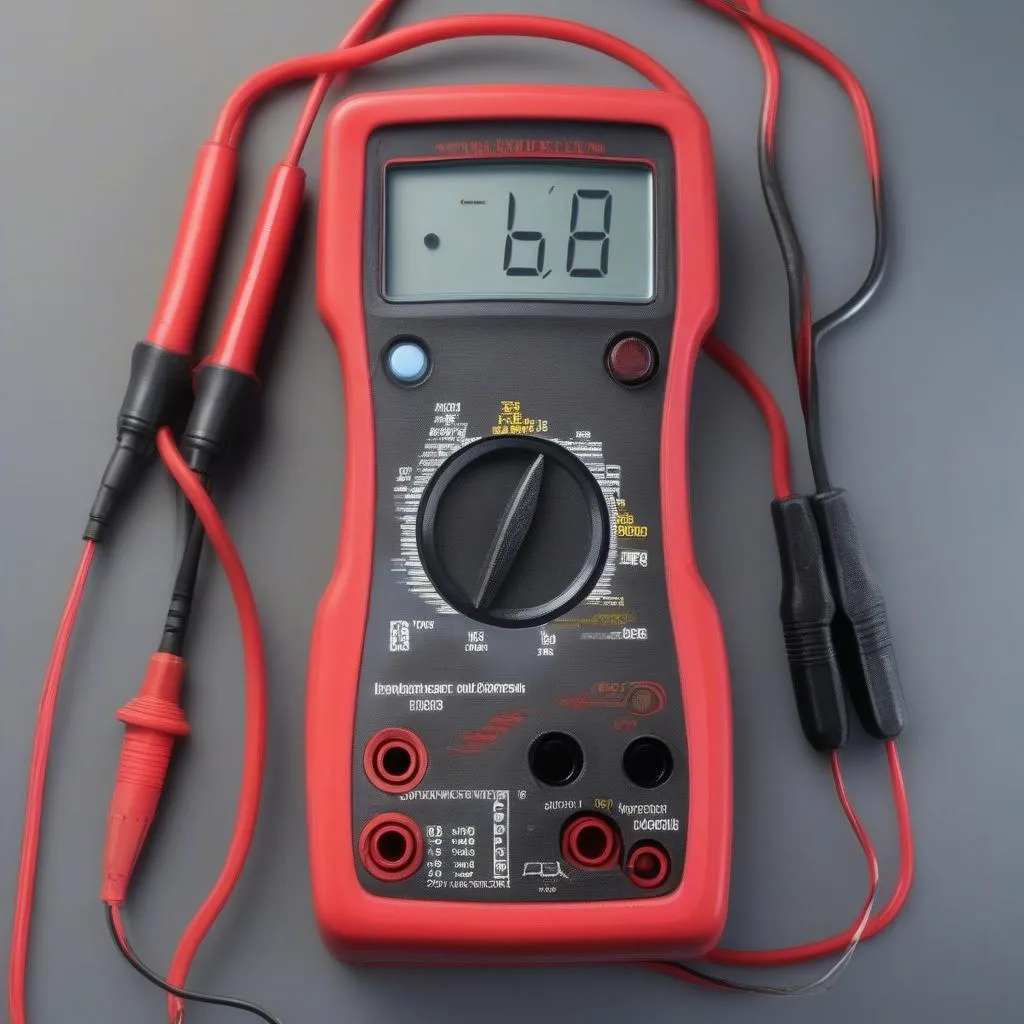
- Tools: You’ll need wire strippers, crimpers, electrical tape, a soldering iron (optional but recommended), and a multimeter.
Step-by-Step Guide to Making Your Harness
Now, let’s build that harness. Follow these steps carefully:
- Identify the Wires: Refer to your wiring diagram and label each wire according to its function (e.g., power, ground, left front speaker positive, etc.).
- Cut and Strip the Wires: Cut the wires to the appropriate lengths, leaving a little extra for connections. Strip about ½ inch of insulation from each end.
- Crimp the Connectors: Attach the appropriate connectors to each wire end. Use a crimping tool to ensure a secure connection. If soldering, apply a small amount of solder to the connection for added durability.
- Connect the Wires: Following your wiring diagram, connect the wires to the corresponding pins on the car radio connector and speaker connectors. Double-check each connection to avoid mistakes.
- Insulate and Secure: Wrap electrical tape around each connection to prevent shorts and secure the wires together using zip ties or electrical tape. This will create a neat and organized harness.
Testing Your Harness
Before installing your new harness, test it with a multimeter to ensure all connections are correct and there are no shorts. This crucial step can save you a lot of troubleshooting later.
Common Mistakes to Avoid
- Incorrect Wire Gauge: Using the wrong wire gauge can lead to overheating, blown fuses, and even fire.
- Poor Connections: Loose or improperly crimped connections can cause intermittent audio issues or complete system failure.
- Ignoring the Wiring Diagram: Not consulting the wiring diagram can lead to incorrect wiring and damage to your car’s electrical system.
“Always double-check your connections. A simple mistake can lead to frustrating problems down the road,” advises John Smith, a veteran automotive electrician with over 20 years of experience. He also emphasizes, “Using high-quality materials is crucial for a reliable and long-lasting wiring harness.” Another expert, Sarah Jones, an automotive electronics engineer, adds, “Don’t underestimate the importance of a good wiring diagram. It’s your best friend in this project.”
Conclusion
Building a car radio wiring harness is a satisfying project that can save you money and give you a better understanding of your car’s audio system. By following this guide and taking your time, you can create a professional-looking and reliable harness that will enhance your listening experience. Remember to always consult your car’s specific wiring diagram and use the correct tools and materials for the job. Now go ahead and enjoy your upgraded car radio!


