Dealing with a malfunctioning anti-theft device can be a real headache. It might prevent your car from starting, drain your battery, or even leave you stranded. But don’t worry, we’re here to guide you through safely removing an anti-theft device.
Understanding the Root of the Problem
Before we dive into the removal process, it’s important to understand why you might want to remove an anti-theft device. Common reasons include:
- Malfunctions: A faulty device can lead to false alarms, starting problems, or even disable your vehicle entirely.
- Installation Errors: Incorrect installation can cause the device to behave erratically or interfere with your car’s electronics.
- Upgrades: You might want to replace an older system with a newer, more advanced model offering better security features.
Identifying Anti-Theft System Issues
Recognizing the signs of a problematic anti-theft system is crucial:
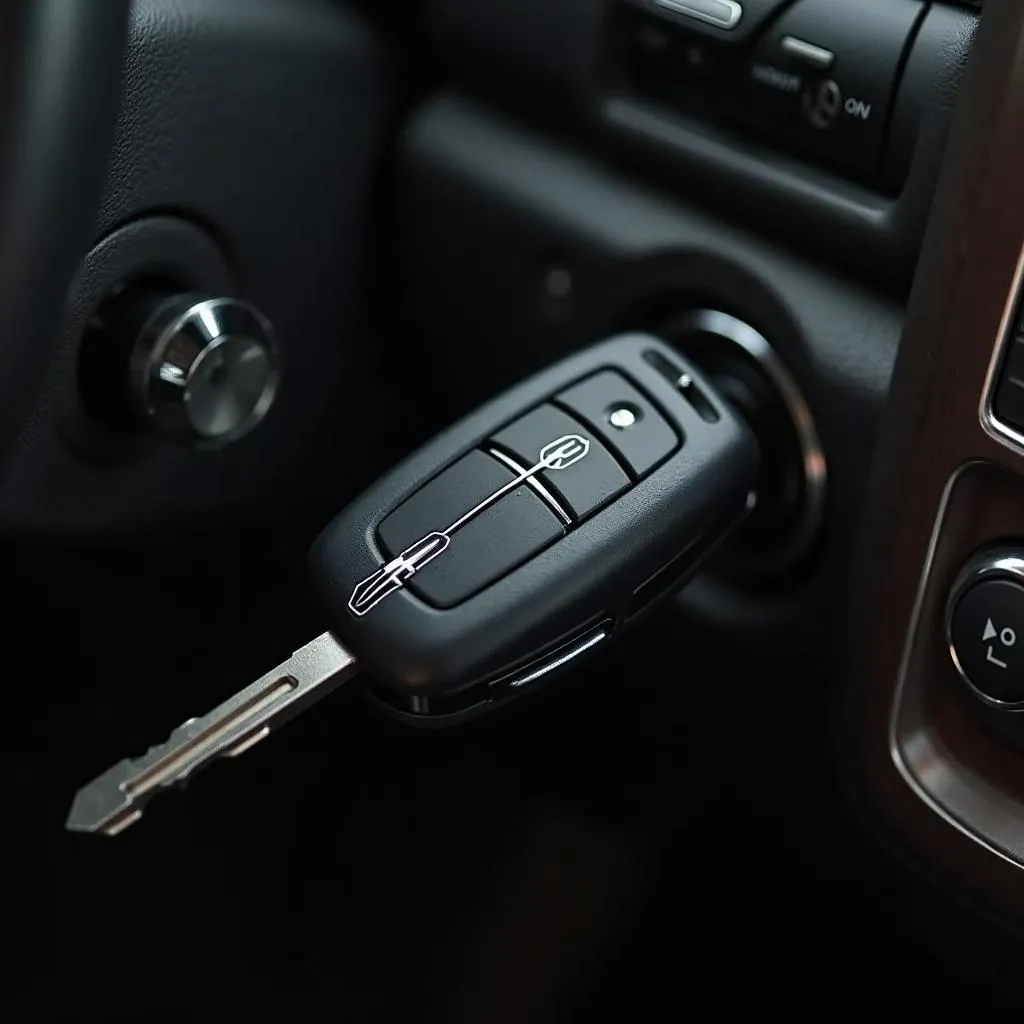
- Engine Won’t Start: A flashing security light on your dashboard while the engine refuses to turn over is a classic sign.
- Rapid Alarm Triggering: Frequent false alarms, even when there’s no apparent threat, could indicate a malfunction.
- Battery Drainage: An anti-theft system constantly drawing power even when the vehicle is off can deplete your battery.
Essential Tools for the Job
To successfully remove an anti-theft device, you’ll need a few basic tools:
- Screwdrivers: A set of Phillips and flathead screwdrivers will be essential for accessing and removing screws holding the device components in place.
- Socket Wrench Set: This comes in handy for disconnecting battery terminals and removing any bolts securing the device.
- Wire Cutters/Strippers: If you need to splice or reconnect wires, these tools are crucial.
- Electrical Tape: Use this to insulate any exposed wires after removing components.
- Your Car’s Wiring Diagram: This diagram is like a map to your car’s electrical system, helping you identify and trace the anti-theft system wiring. You can usually find this in your car’s owner’s manual or online.
 Tools for removing car anti-theft device
Step-by-Step Removal Guide
Important: Before starting, disconnect the negative terminal of your car battery to prevent electrical shorts.
- Locate the Main Control Unit: This is usually found under the dashboard, behind the glove compartment, or beneath the driver’s side seat.
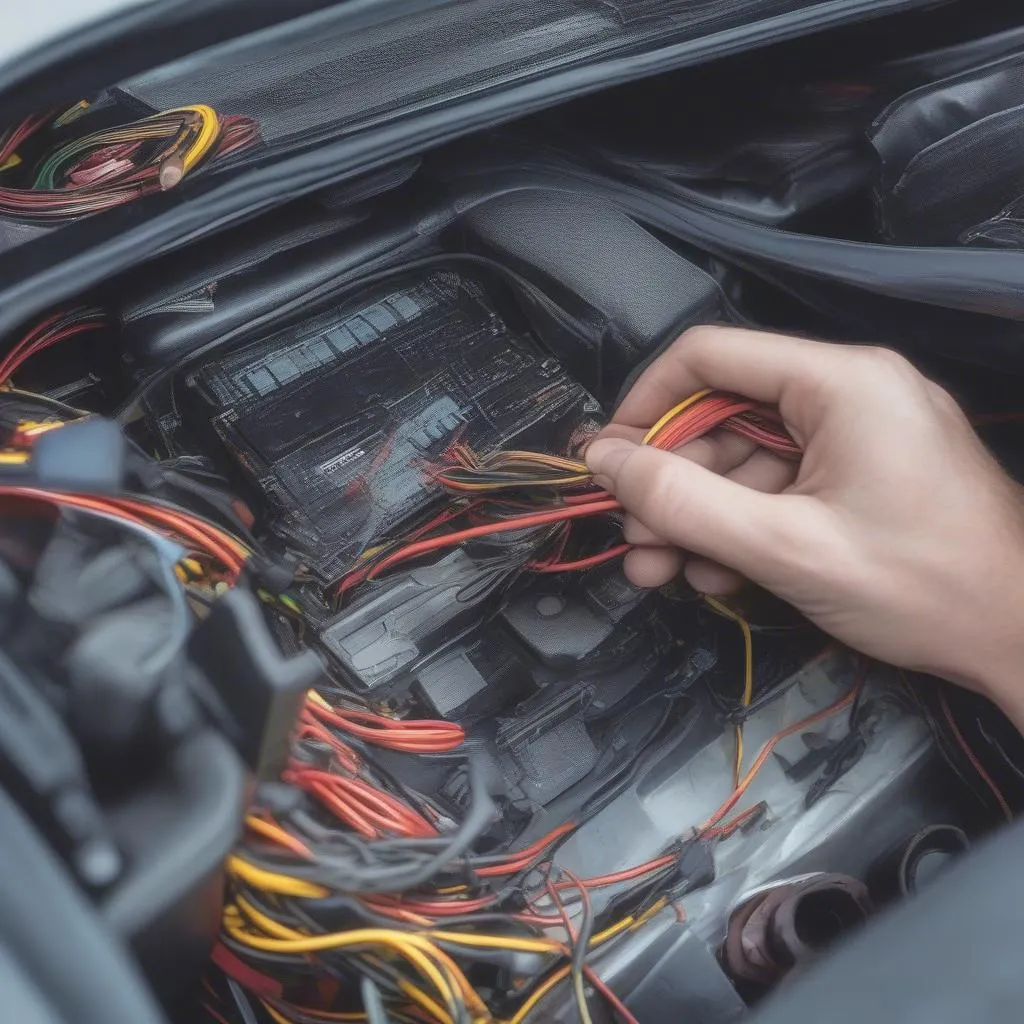
- Identify the Wiring Harness: This is the bundle of wires connecting the control unit to the rest of the car’s electrical system.
- Disconnect the Wiring Harness: Carefully disconnect each wire from the control unit, making note of their positions for reinstallation (if needed).
- Remove the Control Unit: Unscrew and remove the control unit from its mounting bracket.
- Address Additional Components: Depending on your system, there might be other components like a siren, sensors, or an immobilizer that need to be removed. Refer to your wiring diagram and carefully follow the same process.
- Reconnect Battery and Test: Once all components are removed, reconnect your battery and start your car to ensure the system is fully disabled.
 Disconnecting anti-theft device wiring harness
FAQs
Q: Can I remove an anti-theft device myself?
A: While this guide provides a general overview, removing an anti-theft device can be complex and varies significantly between vehicle makes and models. If you’re not comfortable working with car electronics, it’s best to consult a qualified mechanic or an auto electrician.
Q: Will removing the anti-theft device void my car’s warranty?
A: Tampering with your car’s electrical system might void your warranty. It’s crucial to check your warranty terms or contact your car manufacturer for clarification.
Q: What should I do with my old anti-theft device?
A: Consider responsibly recycling the device at an electronics recycling center.
For reliable car diagnostic solutions and expert advice, consider CARDIAGTECH. We offer a range of products designed to help you understand and manage your vehicle’s electronics. You can explore our diagnostic tools and resources on our website.
Disclaimer: This information is provided for general knowledge purposes only and should not be considered a substitute for professional advice. Always consult with a qualified mechanic or auto electrician for any car repairs or modifications.


