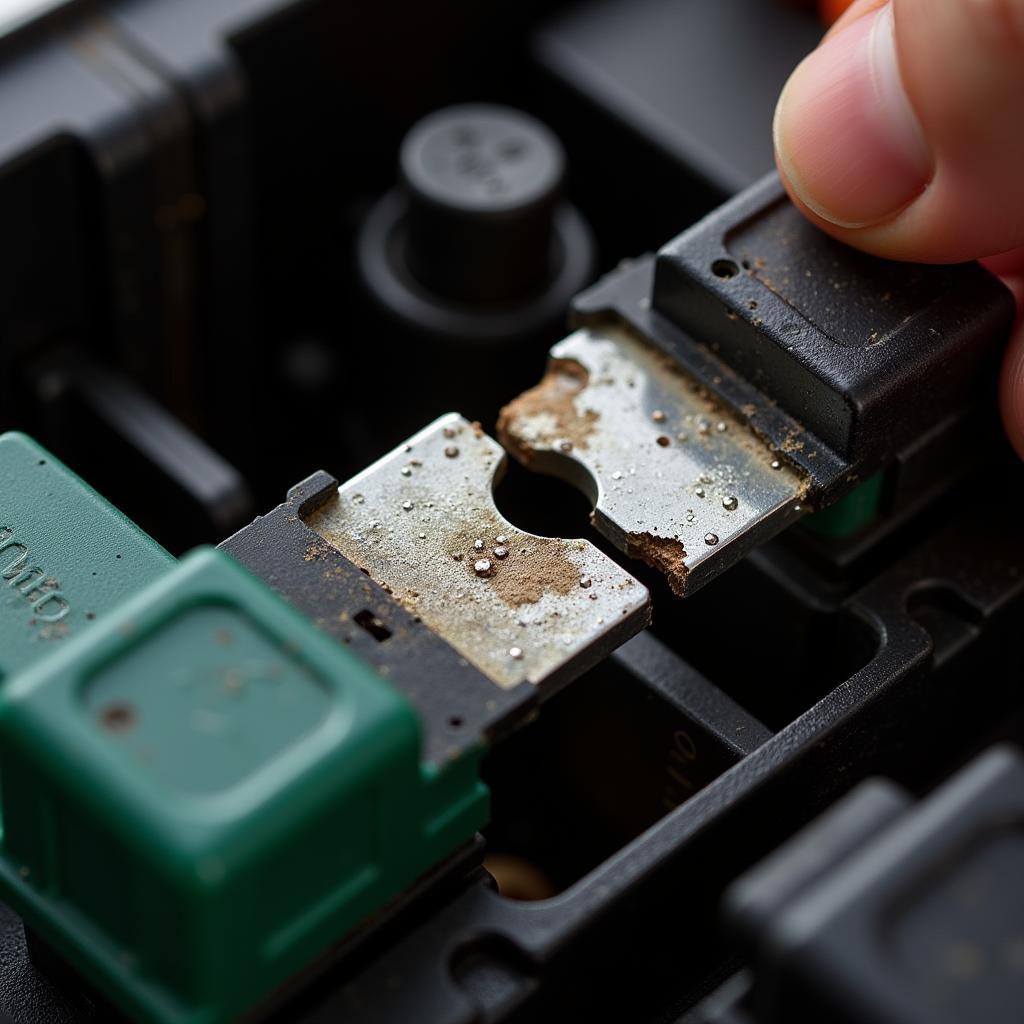
Removing a stubborn anti-theft nut from your bicycle can be a real headache. Whether you’ve lost the key, the lock is damaged, or it’s simply seized up, this guide will provide you with effective solutions to get your wheel back in action. We’ll cover various methods, from specialized tools to DIY hacks, ensuring you have the right approach for your specific situation.
Having the correct tools can make all the difference when removing anti-theft nuts. While some methods may require specialized equipment, others can be accomplished with everyday tools found in most households. We’ll discuss the benefits and drawbacks of each approach to help you choose the best course of action.
Understanding Anti-Theft Nuts and Their Challenges
Anti-theft nuts are designed to deter bike thieves, but their unique shape and hardened steel can pose challenges when it’s time for legitimate removal. They often feature a rotating outer shell, making it difficult to grip with standard tools. This can be particularly frustrating when you need to change a flat tire or perform routine maintenance.
A common issue is losing the specific key required for these nuts. These keys are often small and easily misplaced, leaving you stranded when you need them most. Furthermore, exposure to the elements can cause corrosion and seizure, further complicating removal.
Using a Dedicated Anti-Theft Nut Removal Tool
The most straightforward approach is using a dedicated anti-theft nut removal tool. These specialized sockets are designed to grip the outer shell of the nut, allowing you to apply sufficient torque without damaging the wheel. They are available at most bike shops and online retailers. Simply select the socket that matches your nut type and attach it to a wrench or ratchet.
This method is highly effective and minimizes the risk of damage to your wheel. However, it requires purchasing a specialized tool, which might not be ideal if you only encounter this issue occasionally.
DIY Methods for Removing Anti-Theft Nuts
If you don’t have a dedicated removal tool, several DIY methods can be effective. One common approach involves using a hardened steel chisel and hammer. Carefully position the chisel against one of the notches on the nut and strike it firmly with the hammer to loosen it. This method requires precision and patience to avoid damaging the surrounding components.
Another DIY solution is to use a pair of locking pliers or vice grips. These tools can sometimes grip the outer shell of the nut firmly enough for removal. However, this approach is less reliable than using a dedicated tool and can potentially damage the nut or wheel.
Preventing Future Anti-Theft Nut Issues
Preventing future problems with anti-theft nuts is crucial. Keep your key in a safe and accessible place, preferably attached to your house keys or stored in a dedicated bike tool kit. Regularly lubricate the nuts with a suitable lubricant to prevent corrosion and seizure.
Consider registering your anti-theft nut key with the manufacturer. Many companies offer key replacement services if you lose yours, saving you the hassle of removing a stubborn nut in the future.
What if Nothing Works?
If all else fails, you may need to seek professional assistance. A qualified bike mechanic will have the expertise and tools necessary to remove the nut without causing damage to your bicycle. They can also advise on appropriate replacements and preventative measures.
Conclusion
Removing an anti-theft nut can be a challenge, but with the right tools and techniques, it’s a manageable task. Whether you opt for a dedicated removal tool or a DIY approach, always prioritize safety and precision to avoid damaging your bicycle. Remember to take preventative measures to avoid future issues, ensuring a smooth and hassle-free cycling experience. Properly securing your bicycle is important, but so is being able to easily access and maintain it when necessary.
FAQ
-
What are the different types of anti-theft bicycle nuts? Common types include hexagonal, keyed, and those with rotating outer shells.
-
Where can I purchase a dedicated anti-theft nut removal tool? Bike shops, online retailers, and some hardware stores carry these tools.
-
Can I use WD-40 to lubricate my anti-theft nuts? While WD-40 can offer temporary lubrication, a dedicated bike lubricant is recommended for long-term protection.
-
How much does it typically cost to have a bike mechanic remove a seized anti-theft nut? The cost varies depending on location and the complexity of the removal, but it’s generally an affordable service.
-
What should I do if I lose my anti-theft nut key? Contact the manufacturer or retailer to inquire about key replacement services.
-
Are there any alternative security measures besides anti-theft nuts? Yes, consider using a sturdy U-lock, chain lock, or cable lock in conjunction with your anti-theft nuts.
-
How often should I lubricate my anti-theft nuts? Lubrication every few months, or more frequently in wet or salty environments, is recommended.

