Dealing with a worn-out or damaged antenna mast on your Mercedes? It’s a common issue, especially with fixed rubber mast antennas. While it might seem daunting, removing the antenna mast yourself can be a straightforward process. This guide will walk you through the steps to safely remove the rubber mast from your Mercedes antenna.
Why Remove the Antenna Mast?
Before we dive into the removal process, let’s understand why you might need to remove the antenna mast in the first place:
- Wear and tear: Rubber antenna masts can deteriorate over time due to exposure to the elements, becoming brittle, cracked, or even broken.
- Physical damage: Accidents happen. A stray tree branch, a minor fender bender, or even vandalism can damage the mast.
- Improving reception: A damaged mast can hinder your radio reception. Replacing it can help restore clear signals.
Identifying a Damaged Antenna Mast
Recognizing the signs of a damaged mast is crucial. Some common indicators include:
- Visually inspecting the mast for cracks, tears, or breaks.
- Poor radio reception, especially static or fading signals.
- The mast is loose or wobbly at the base.
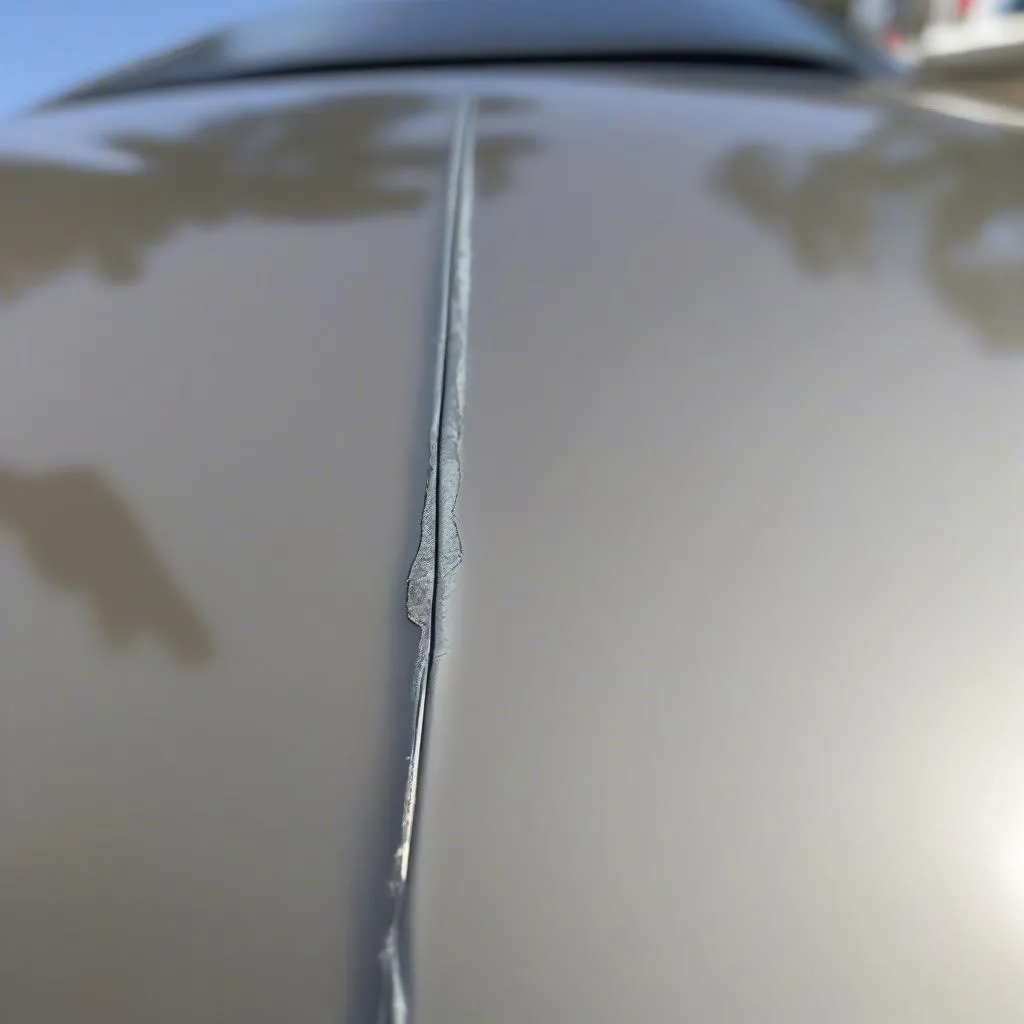 Damaged Car Antenna
Tools You’ll Need
Gathering the right tools beforehand will make the removal process smoother. You will likely need:
- A pair of pliers with a good grip.
- A soft cloth or towel.
- WD-40 or similar lubricant (optional).
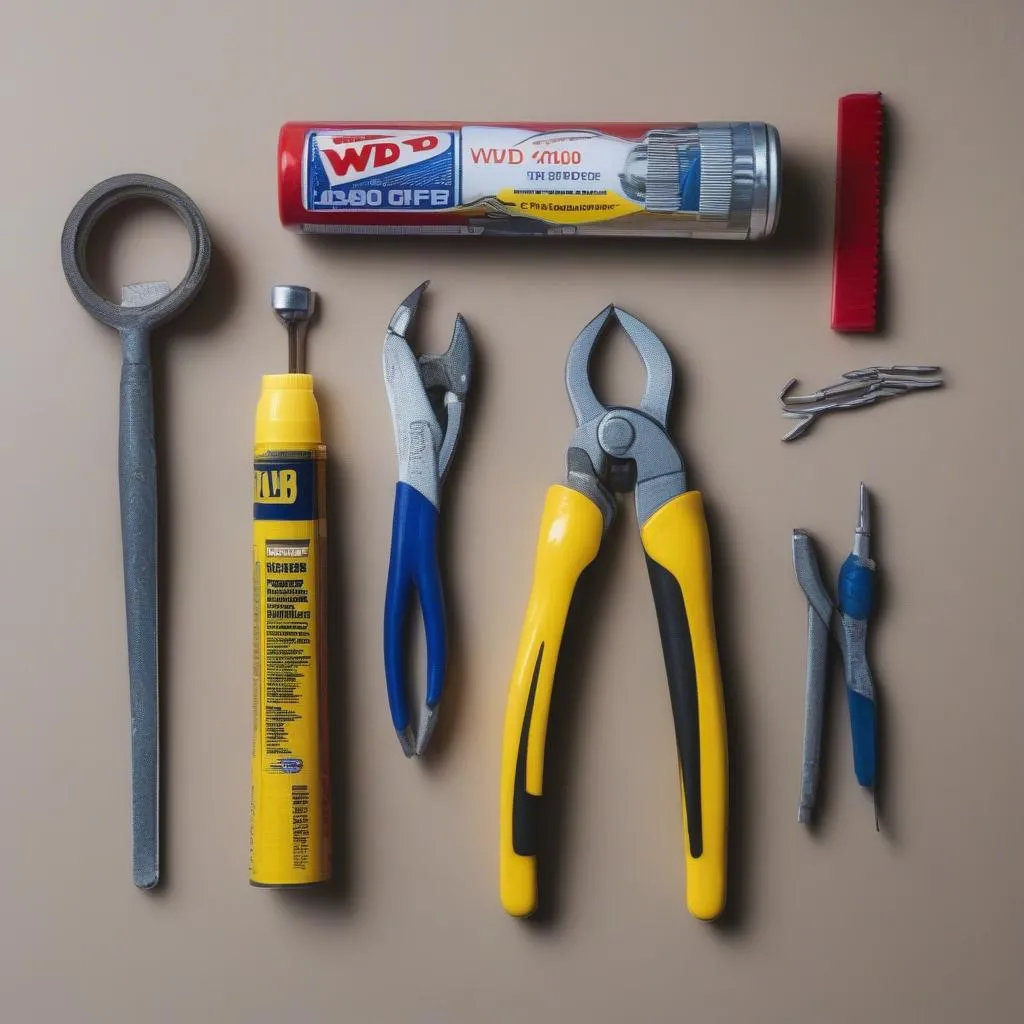 Tools for Antenna Removal
Removing the Mercedes Fixed Antenna Rubber Mast
Now, let’s get to the heart of the matter. Follow these steps to remove the antenna mast:
- Prepare the antenna: If the mast is stuck or feels difficult to move, apply a small amount of WD-40 or similar lubricant to the base where it connects to the antenna base. Let it sit for a few minutes to penetrate.
- Protect the antenna base: Wrap the soft cloth or towel around the base of the antenna to prevent scratching or damage while you work.
- Grip and twist: Use the pliers to firmly grip the rubber mast near its base. Apply a gentle but firm twisting motion while pulling upward. The mast should unscrew from the antenna base.
- Avoid excessive force: If the mast doesn’t come off easily, do not pull or twist forcefully. Excessive force can damage the antenna base or the surrounding area. Apply more lubricant and allow it more time to work if needed.
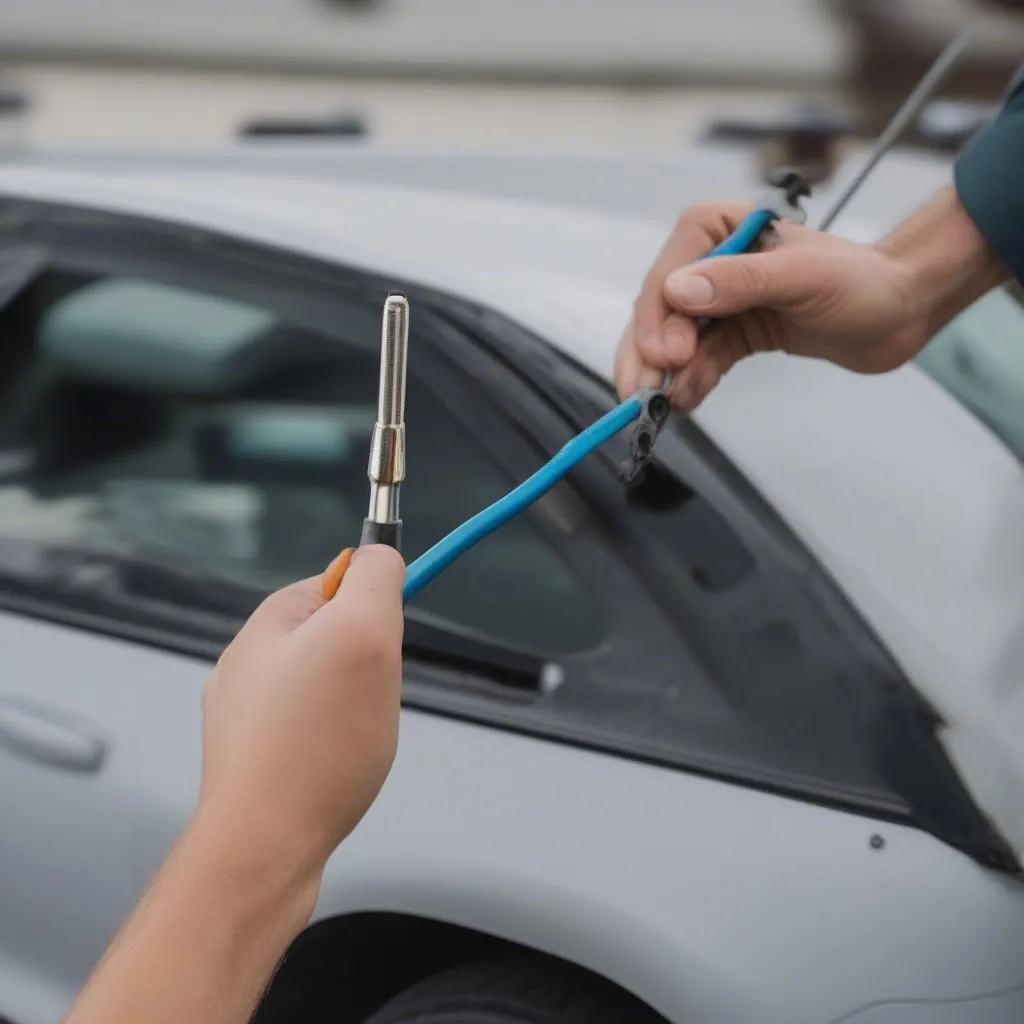 Removing Car Antenna with Pliers
Expert Insight: “It’s crucial to remember that patience is key when removing these masts. Forcing the process can lead to more costly repairs down the line,” says automotive expert John Miller, author of “The Complete Guide to Mercedes Maintenance.”
Frequently Asked Questions
Q: Can I drive my Mercedes without the antenna mast?
A: Yes, you can drive your car without the antenna mast. However, keep in mind that your radio reception will likely be affected, and you may experience more static or interference.
Q: What if I break the antenna mast while trying to remove it?
A: It happens! If you accidentally break the mast, don’t panic. You can still try to remove the remaining portion using pliers or consult a professional mechanic for assistance.
Q: I’m uncomfortable removing the mast myself. Are there other options?
A: Absolutely. Your local Mercedes dealership or a trusted mechanic can easily remove and replace the mast for you.
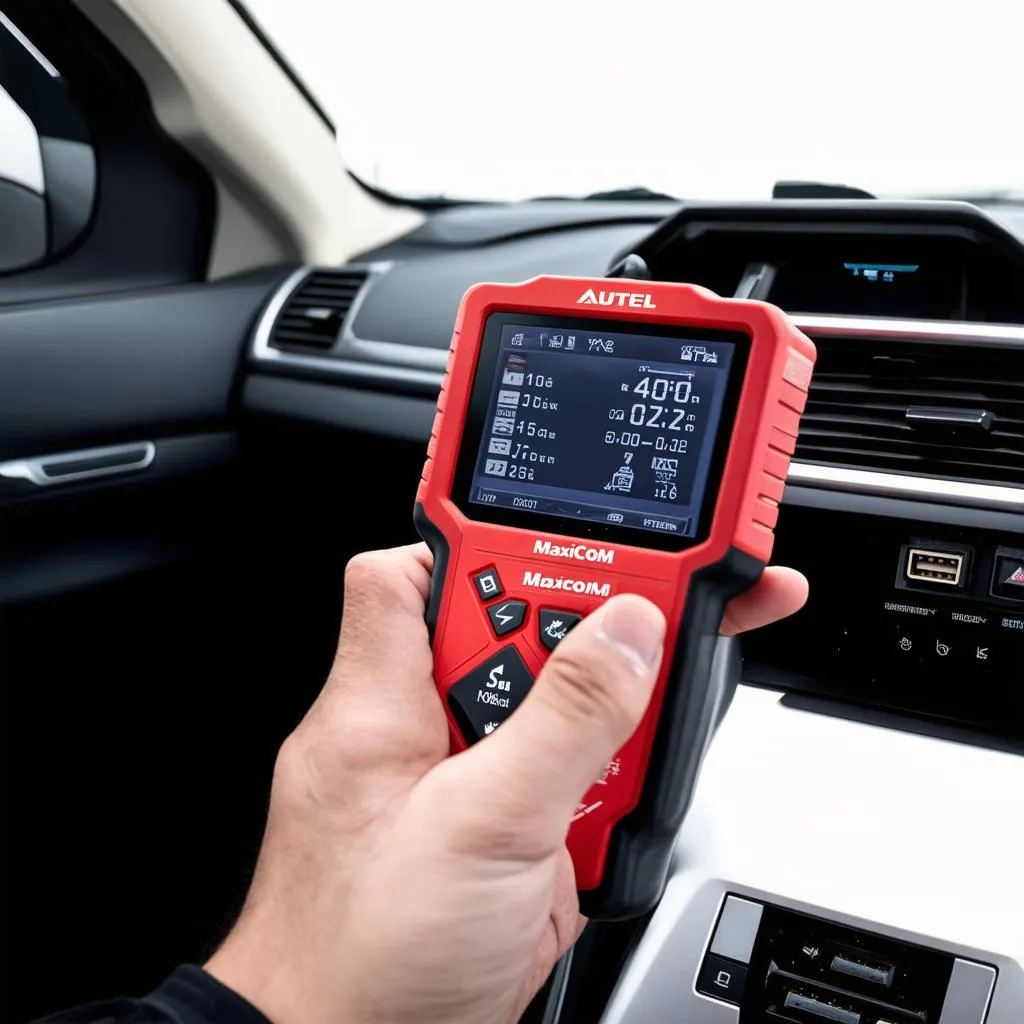
Q: My car’s dashboard is displaying an error message related to the antenna. What does it mean?
A: Error messages can vary depending on the model and year of your Mercedes. To understand specific error codes, a diagnostic tool like those offered by Cardiagtech can be helpful in pinpointing the issue. These tools can provide detailed information about the problem, helping you or a mechanic address it effectively. You can find more information about their range of products on Cardiagtech’s website.
Conclusion
Removing a Mercedes fixed antenna rubber mast is a manageable DIY task for most car owners. Remember to work patiently and avoid using excessive force. If you’re unsure or uncomfortable with the process, seeking professional help is always a good option.
And remember, if you encounter any other issues with your Mercedes, CARDIAGTECH provides a range of diagnostic tools that can help you identify and understand the problem, potentially saving you time and money in the long run.