If your 2009 Nissan Altima’s parking brake warning light stays on, flickers intermittently, or doesn’t illuminate at all, there might be an issue with the parking brake warning light switch. Thankfully, replacing this switch is a straightforward process that most DIYers can handle with a few basic tools. This comprehensive guide will walk you through the steps involved in diagnosing and replacing the parking brake warning light switch on your 2009 Altima.
Before you begin, gather the necessary tools: a flat-head screwdriver and a replacement parking brake warning light switch compatible with your vehicle model. You can easily find the correct part online or at your local auto parts store.
Identifying a Faulty Parking Brake Warning Light Switch
Before replacing the switch, it’s essential to ensure it’s the root cause of the problem. Here’s how to determine if the parking brake warning light switch needs replacement:
- Check the parking brake lever: Ensure the parking brake lever is fully released. Sometimes, a slightly engaged lever can trigger the warning light.
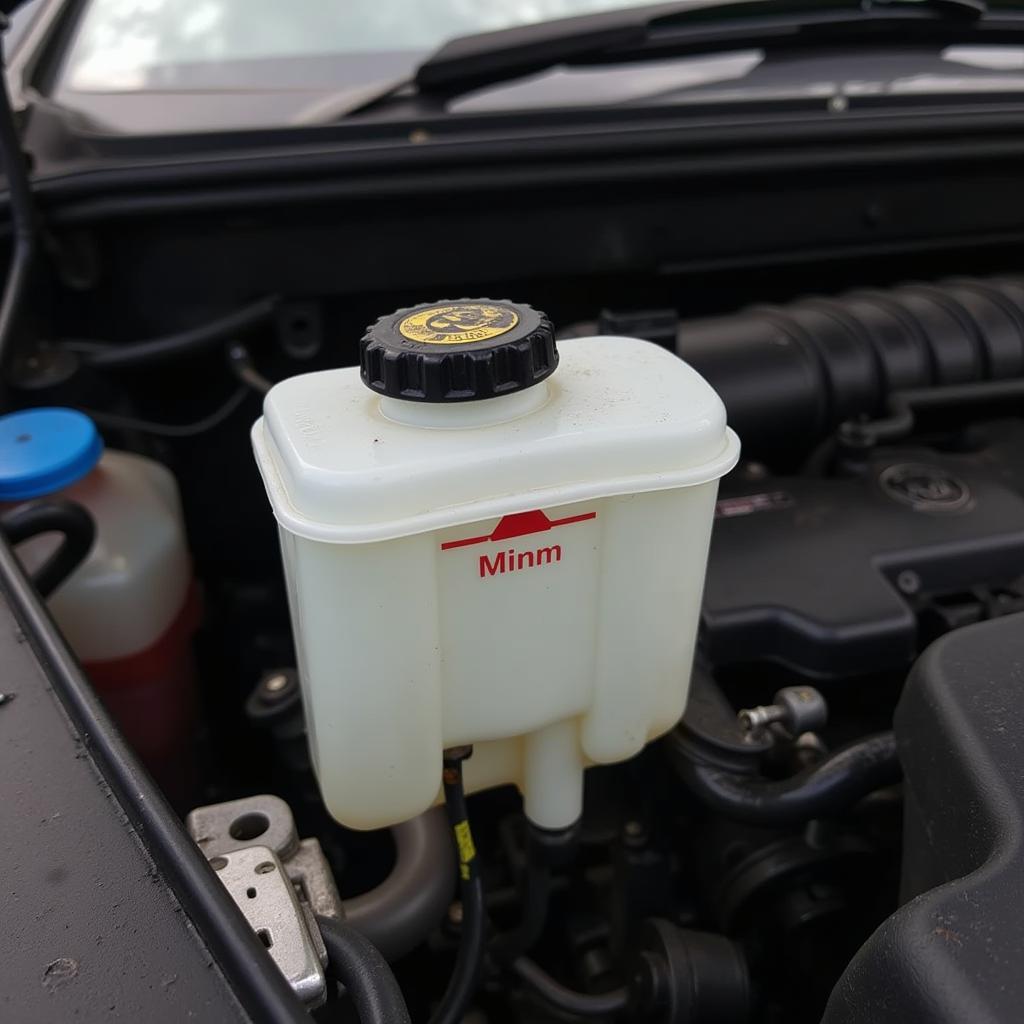
- Inspect the brake fluid level: Low brake fluid can also activate the parking brake warning light. Check the brake fluid reservoir and top it off if necessary.
- Test the switch: Locate the parking brake switch, usually situated near the parking brake lever under the dashboard. With the parking brake disengaged, press and release the switch multiple times. Observe if the warning light on the dashboard responds accordingly. If the light doesn’t change state, the switch is likely faulty and needs replacement.
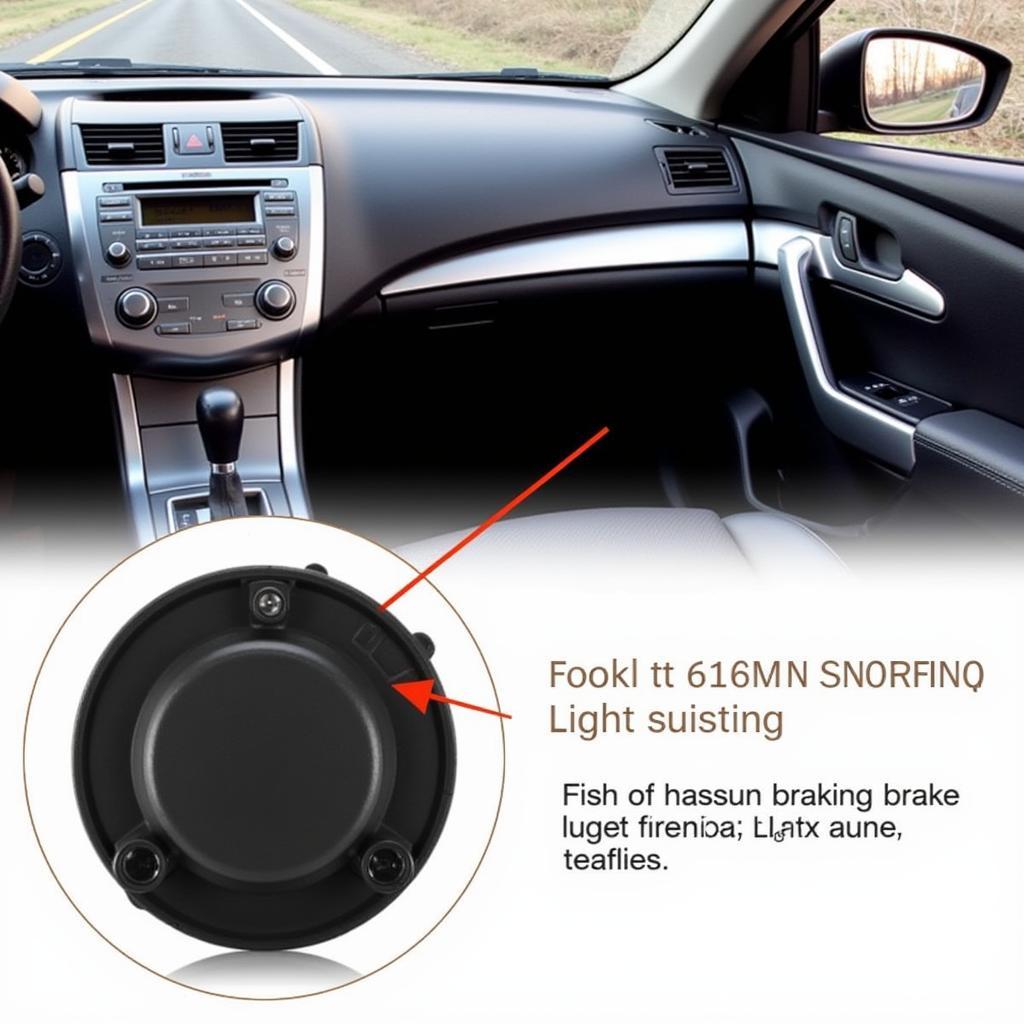 2009 Nissan Altima Parking Brake Switch Location
Replacing the Parking Brake Warning Light Switch
Once you’ve confirmed that the switch needs replacement, follow these steps:
- Disconnect the battery: As a safety precaution, always disconnect the negative battery cable before working on any electrical components in your vehicle. This will prevent electrical shorts and potential damage.
- Access the switch: Locate the parking brake warning light switch, which is typically located under the dashboard near the parking brake lever.
- Disconnect the electrical connector: Gently press the tab on the electrical connector attached to the switch and pull it out to disconnect it.
- Remove the old switch: The switch is usually held in place by a clip or a couple of screws. Carefully remove the screws or release the clip using a flat-head screwdriver.
- Install the new switch: Align the new parking brake warning light switch with the mounting points and gently push it into place until it clicks or the retaining screws are secured.
- Reconnect the electrical connector: Carefully reconnect the electrical connector to the new switch, ensuring it snaps securely into place.
- Reconnect the battery: Reconnect the negative battery cable.
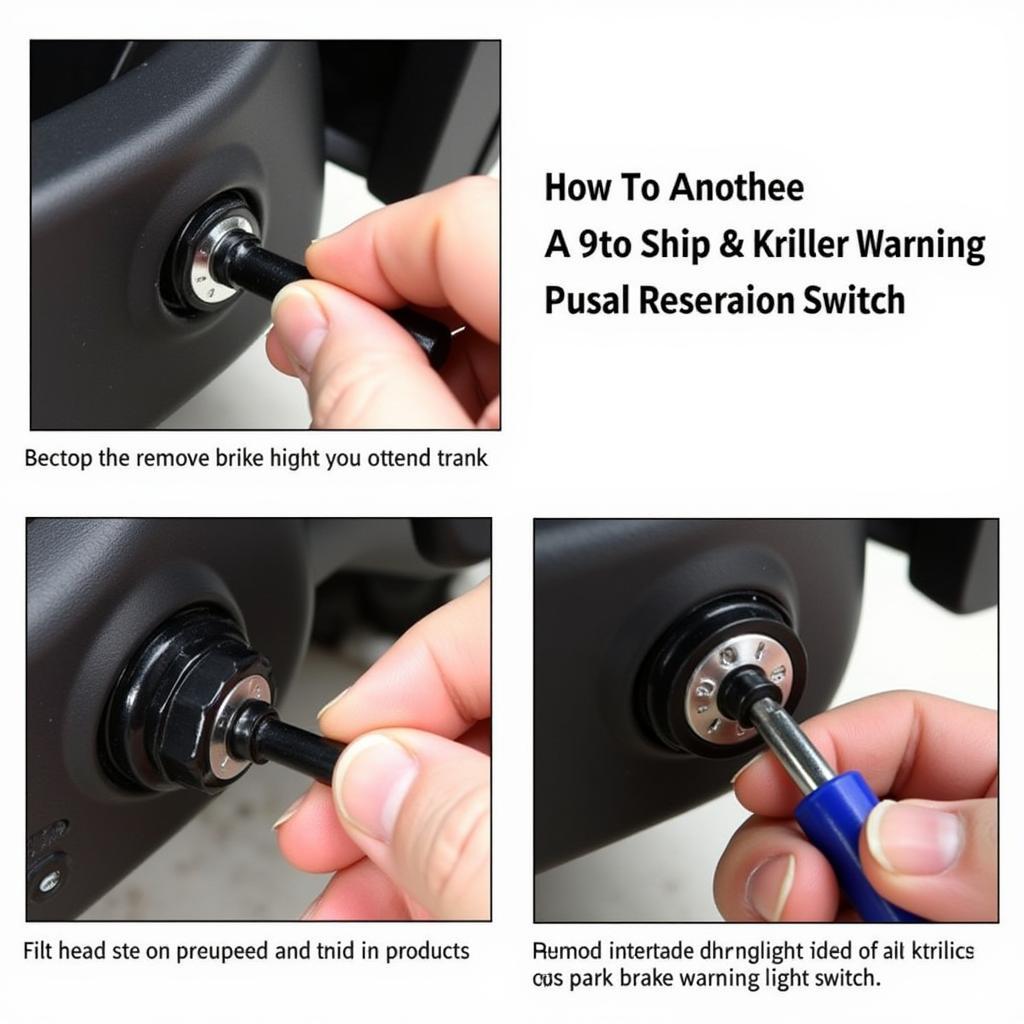 Replacing the Parking Brake Warning Light Switch on a 2009 Nissan Altima
Testing the New Switch
After installing the new parking brake warning light switch, it’s crucial to test its functionality:
- Turn on the ignition: Turn the ignition key to the “on” position without starting the engine.
- Engage and disengage the parking brake: Observe the dashboard while engaging and disengaging the parking brake lever. The warning light should illuminate when the parking brake is engaged and turn off when released.
If the warning light functions correctly, congratulations! You’ve successfully replaced your 2009 Nissan Altima’s parking brake warning light switch.
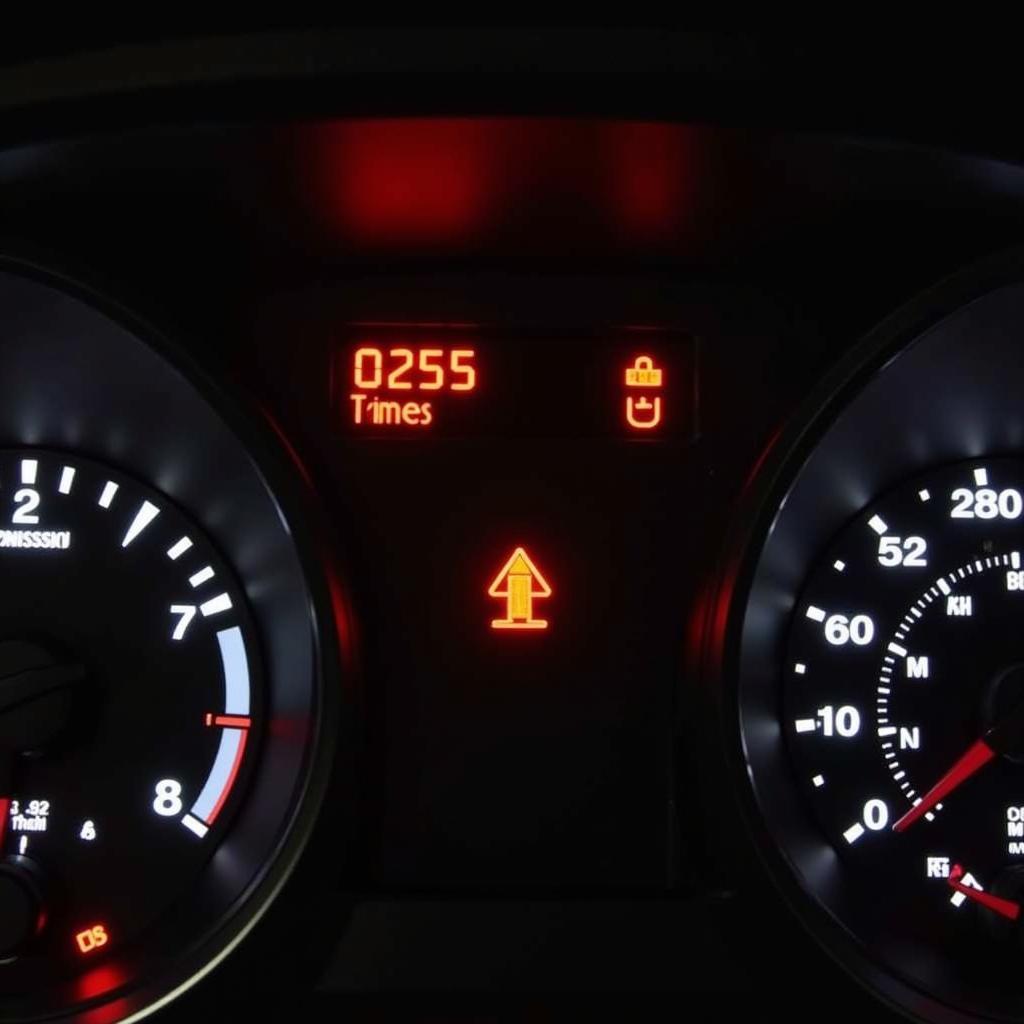 Functioning Parking Brake Warning Light
While replacing the parking brake warning light switch is a relatively simple task, if you are uncomfortable performing this repair yourself, it is always best to consult a qualified mechanic.

