Replacing your car radio wiring can seem daunting, but with the right guidance, it’s a manageable DIY project. This guide provides a step-by-step approach to replacing your car’s radio wiring, covering everything from understanding the basics to troubleshooting common issues.
is there a standard wiring for car replacement radio
Understanding Car Radio Wiring Basics
Before diving into the replacement process, it’s crucial to understand the basics of car radio wiring. Each wire serves a specific function, and connecting them incorrectly can damage your new radio or even your car’s electrical system. Wire colors often indicate their function, but this can vary between car manufacturers. Therefore, consulting your car’s wiring diagram is essential. This diagram provides a visual representation of your car’s electrical system and identifies each wire’s function.
Gathering Your Tools and Materials
Having the right tools and materials will simplify the process and prevent frustration. You’ll need wire strippers, crimpers, electrical tape, a wiring harness adapter (if necessary), and a digital multimeter for testing connections. A soldering iron can also be useful for creating more permanent connections. Investing in high-quality tools will ensure reliable connections and prevent future issues.
Removing the Old Car Radio and Wiring
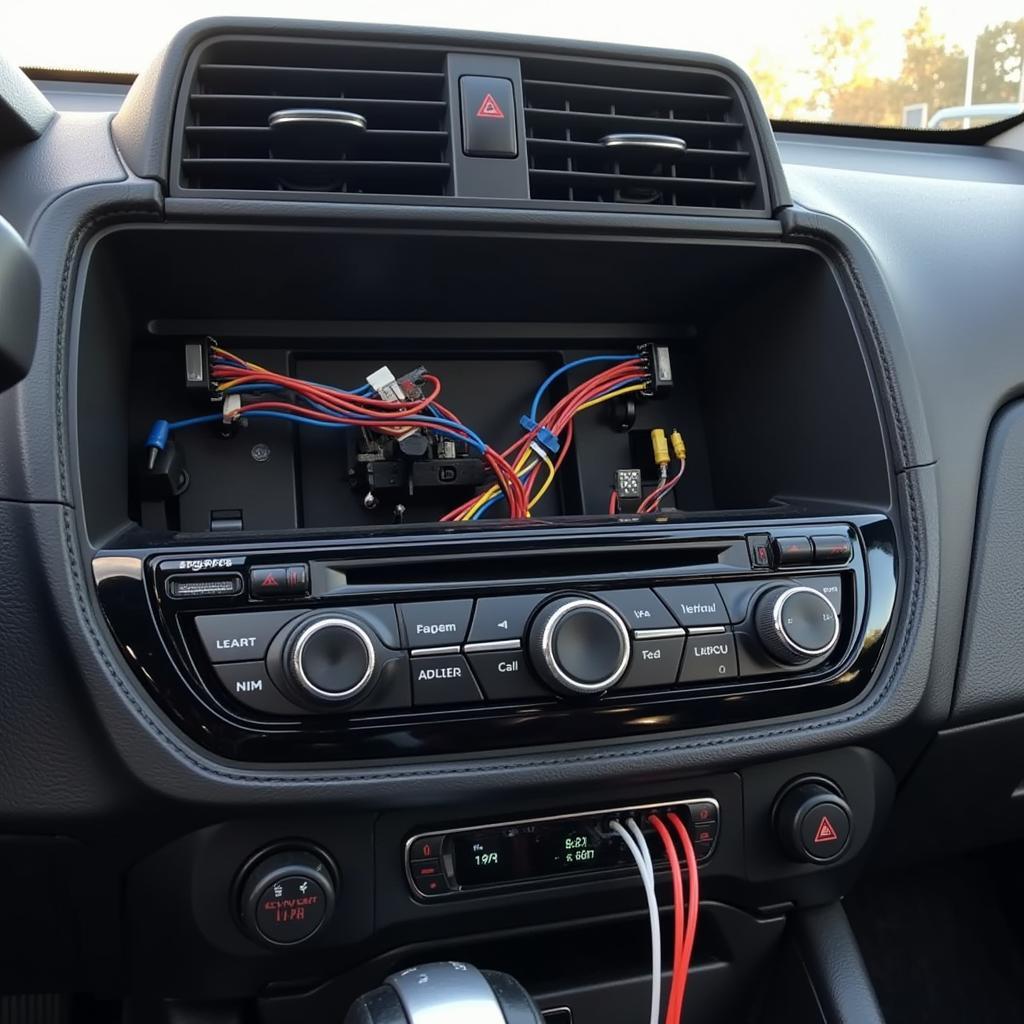
Start by disconnecting the negative battery terminal to prevent electrical shocks. Then, carefully remove the old car radio, following your car’s specific instructions. Once the radio is out, disconnect the wiring harness from the back. Inspect the existing wiring for any damage or corrosion. If the wiring is damaged, it’s best to replace it completely.
Preparing the New Wiring Harness
If you’re using a wiring harness adapter, connect it to the new radio’s wiring harness. This adapter simplifies the process by allowing you to connect the new radio to your car’s existing wiring without cutting or splicing. If you’re not using an adapter, carefully match the wires from the new radio to the corresponding wires in your car’s wiring harness using the wiring diagram. Use wire strippers to remove a small amount of insulation from the ends of the wires.
make car bluetooth compatible without radio
Connecting the New Wiring
Use crimp connectors or a soldering iron to connect the wires, ensuring a secure and reliable connection. Wrap each connection with electrical tape to prevent shorts and corrosion. Double-check each connection against the wiring diagram to ensure accuracy. A common mistake is reversing the polarity of the power wires, which can damage your radio.
Testing the New Car Radio Wiring
Before reassembling everything, reconnect the negative battery terminal and test the new radio. Check all the functions, including the speakers, power antenna, and any other accessories connected to the radio. If everything works correctly, proceed to reassemble the dashboard.
How Do I Identify the Wires in My Car’s Radio Wiring?
The best way to identify the wires is to consult your car’s wiring diagram. This diagram provides a detailed map of your car’s electrical system. You can usually find this diagram in your car’s owner’s manual or online.
What if My New Radio Doesn’t Work After Replacing the Wiring?
Double-check all the connections and ensure they are secure and correct. Also, check the fuse for the radio circuit. If the fuse is blown, replace it with a new fuse of the same amperage.
Troubleshooting Common Wiring Issues
If you encounter any issues, such as no sound or power, double-check the wiring connections and the fuse. A digital multimeter can be used to test the continuity of the wires and identify any shorts or open circuits. “A common mistake is assuming all wiring diagrams are the same. Always refer to your car’s specific diagram to avoid costly mistakes,” advises John Smith, a veteran automotive electrician.
motorola car radio wiring diagram
Tips for a Successful Car Radio Wiring Replacement
- Always disconnect the negative battery terminal before working on any car’s electrical system.
- Consult your car’s wiring diagram to identify the correct wire connections.
- Use high-quality tools and materials to ensure reliable connections.
- Test the new radio before reassembling the dashboard.
clarion cz309e bluetooth car radio
 Completed Car Radio Installation: A Clean and Functional Setup
Conclusion
Replacing your car radio wiring might require some patience and attention to detail, but by following this comprehensive guide and referring to your car’s wiring diagram, you can successfully upgrade your car’s audio system. Remember to always prioritize safety by disconnecting the battery and testing connections thoroughly. Enjoy your new car radio!
FAQ
- What tools do I need to replace car radio wiring? You’ll need wire strippers, crimpers, electrical tape, a wiring harness adapter, and a digital multimeter.
- Where can I find my car’s wiring diagram? You can usually find it in your car’s owner’s manual or online.
- What’s the most common mistake when replacing car radio wiring? Reversing the polarity of the power wires is a common and potentially damaging mistake.
- Do I need a wiring harness adapter? A wiring harness adapter simplifies the process but isn’t always necessary.
- How do I test the new radio wiring? Reconnect the negative battery terminal and test all the radio’s functions.
- Can I replace the car radio wiring myself? Yes, with the right tools and guidance, it’s a manageable DIY project.
- What should I do if my new radio doesn’t work? Double-check the connections, check the fuse, and consult your car’s wiring diagram.


