A glowing brake pad warning light on your BMW X5 dashboard can be an unwelcome sight. While it often signals worn brake pads, it can also indicate issues with the brake pad sensor or other brake system components. This comprehensive guide will walk you through identifying the cause and resetting the warning light.
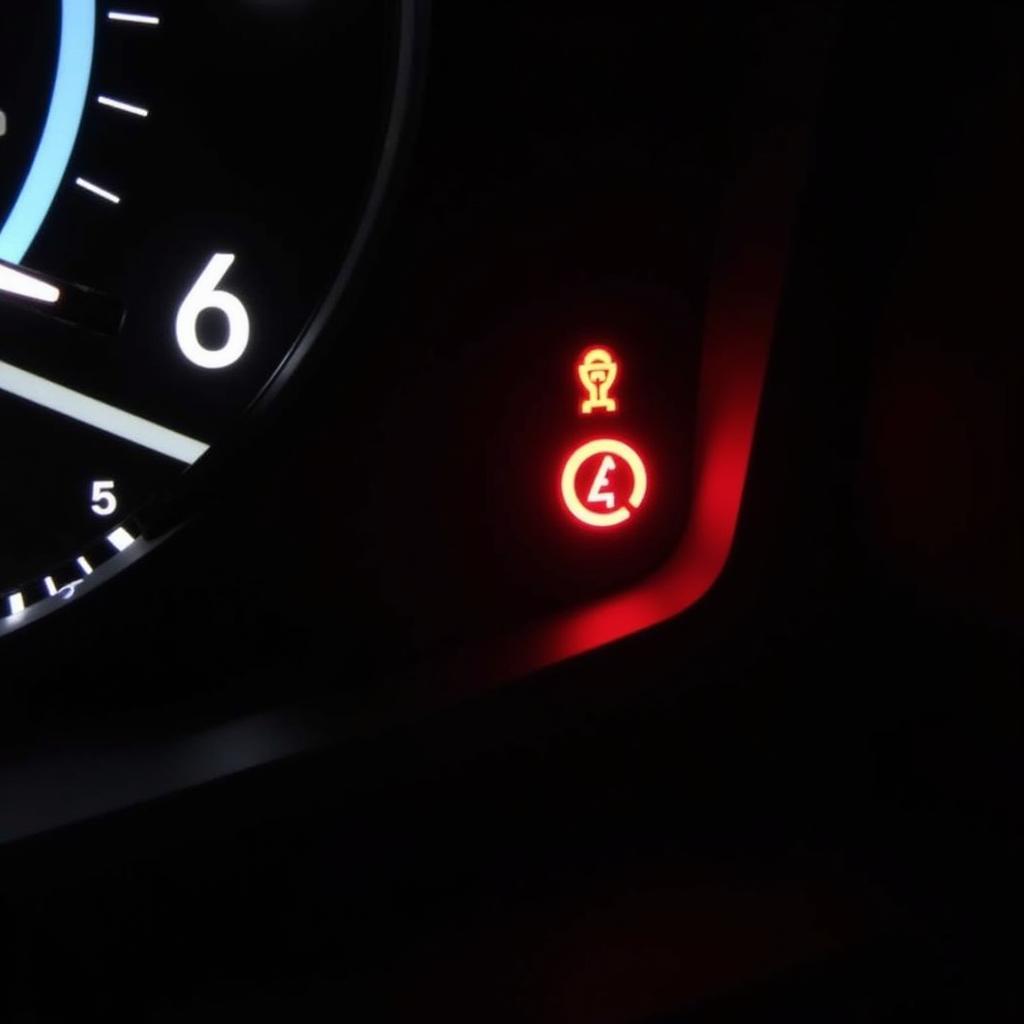
 BMW X5 dashboard with brake pad warning light illuminated
Understanding Your BMW X5 Brake Pad Warning Light
The brake pad warning light is part of your X5’s sophisticated electronic monitoring system. When illuminated, it typically indicates one of the following:
- Worn Brake Pads: Your brake pads have reached their minimum thickness and require replacement.
- Faulty Brake Pad Sensor: The sensor embedded within the brake pad, designed to trigger the warning light, might be malfunctioning.
- Wiring Issues: Damaged or corroded wiring connected to the brake pad sensor can cause a false warning light.
- Brake Fluid Level: While a separate warning light usually indicates low brake fluid, a severely low level can trigger the brake pad warning light as well.
Troubleshooting the Brake Pad Warning Light
Before attempting to reset the light, it’s crucial to pinpoint the root cause:
-
Check Brake Pad Thickness: Visually inspect your brake pads through the wheel spokes. If you see less than ¼ inch of friction material remaining, it’s time for new pads.
-
Inspect Brake Pad Sensor: Examine the sensor wire for any signs of damage, fraying, or disconnection.
-
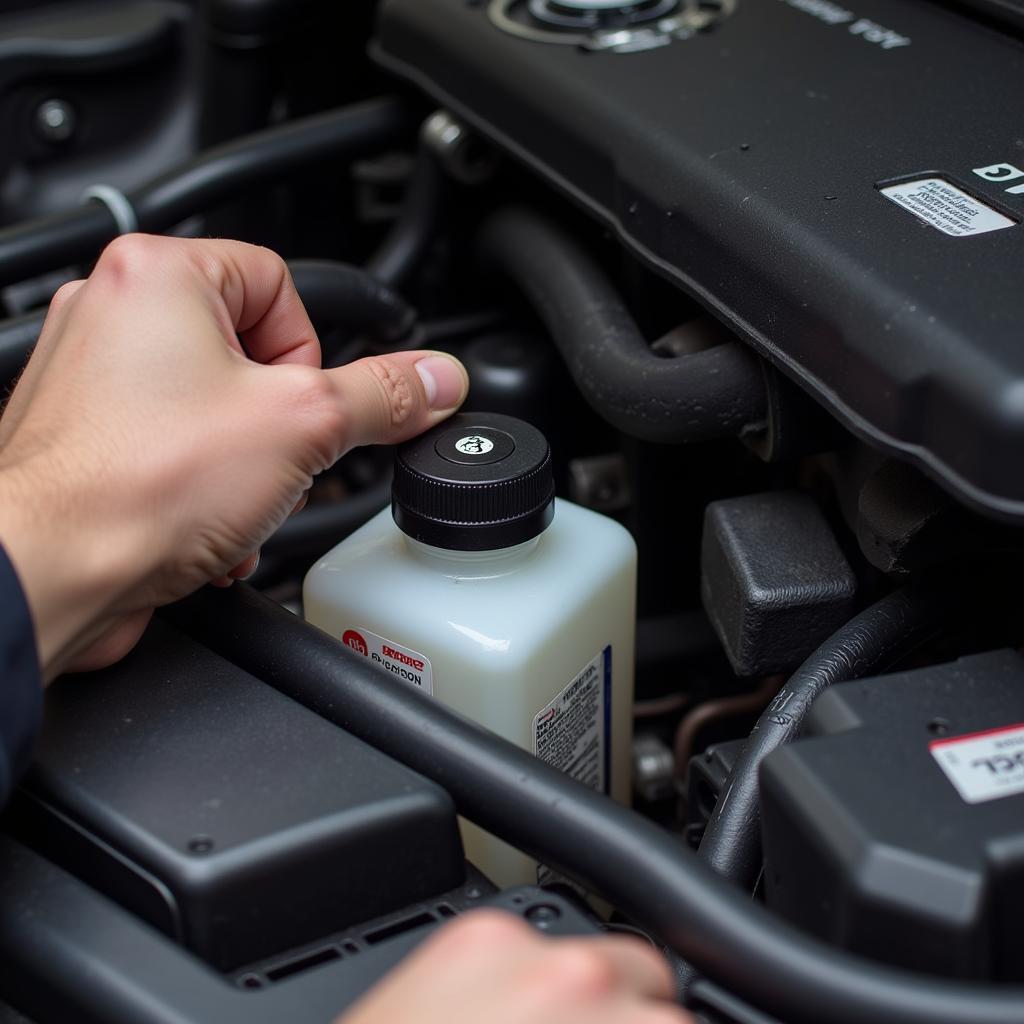
Check Brake Fluid Level: Ensure the brake fluid reservoir under the hood is filled to the “MAX” line.
 A person checking the brake fluid level in a BMW X5
How to Reset BMW X5 Brake Pad Warning Light
Important: Only reset the brake pad warning light after addressing the underlying issue. Resetting the light without resolving the problem can be dangerous.
Methods to Reset the Warning Light:
1. Using a BMW Diagnostic Tool:
- This method offers the most accurate reset and provides additional diagnostic information.
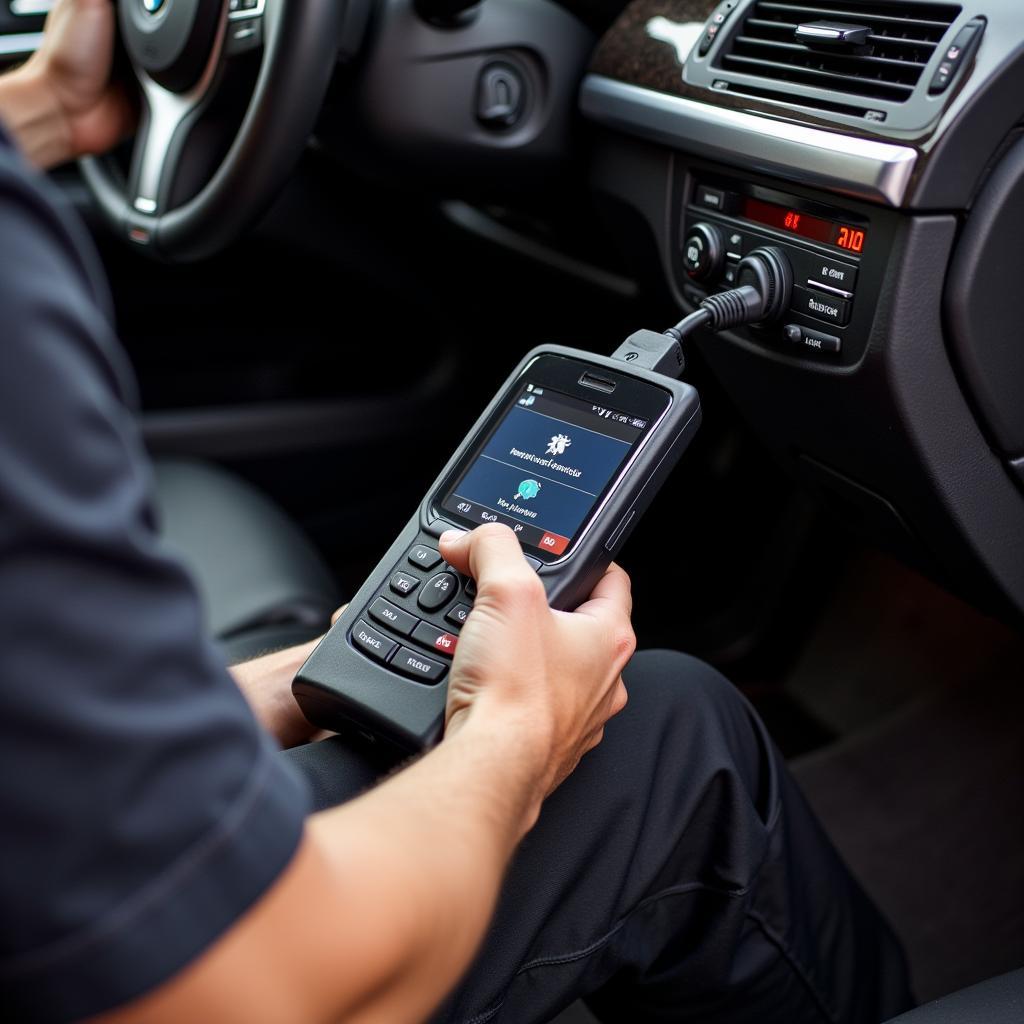
- Connect a compatible BMW diagnostic tool to your vehicle’s OBD-II port.
- Follow the on-screen instructions to access the brake system module.
- Select the option to reset the brake pad warning light.
2. Manual Reset (Specific Models):
- Note: This method may not work on all BMW X5 models.
- Turn the ignition to position II (do not start the engine).
- Press and hold the brake pedal for 30 seconds.
- While holding the brake pedal, press and hold the accelerator pedal for 10 seconds.
- Release both pedals. The warning light should reset.
 A mechanic using a diagnostic tool to reset the brake pad warning light on a BMW X5
When to Seek Professional Help
If you are uncomfortable working on your vehicle’s braking system or are unsure about any step, it’s best to consult a qualified mechanic. Additionally, if the warning light persists after trying the reset procedures, a professional diagnosis is recommended.
Frequently Asked Questions
1. Can I drive with the brake pad warning light on?
It’s not advisable to drive with the warning light on. It indicates a potential issue with your brakes, compromising safety.
2. How often should I replace my BMW X5 brake pads?
Brake pad lifespan varies greatly depending on driving habits and conditions. As a general rule, have them inspected every 10,000 miles and replaced when necessary.
3. Can I reset the warning light myself?
You can try the manual reset method, but using a diagnostic tool is generally more reliable.
4. What if the warning light comes back on after resetting?
If the light reappears after a reset, the underlying issue likely persists and requires further investigation.
5. Does resetting the brake pad warning light affect other vehicle systems?
Resetting the warning light using the correct procedures should not affect other systems.
Conclusion
Addressing the BMW X5 brake pad warning light promptly is crucial for your safety on the road. By understanding the causes, troubleshooting steps, and reset procedures, you can take charge of the situation and ensure your X5’s braking system remains in top condition. Remember, when in doubt, always consult a qualified mechanic to ensure the job is done right.

