The Mini brake pad warning light is a crucial indicator that alerts you to wear and tear on your brake pads. It’s important to reset this light after replacing your brake pads to ensure your safety and prevent further damage to your vehicle. Let’s discuss how to reset this light effectively in your Mini.
Understanding the Mini Brake Pad Warning Light
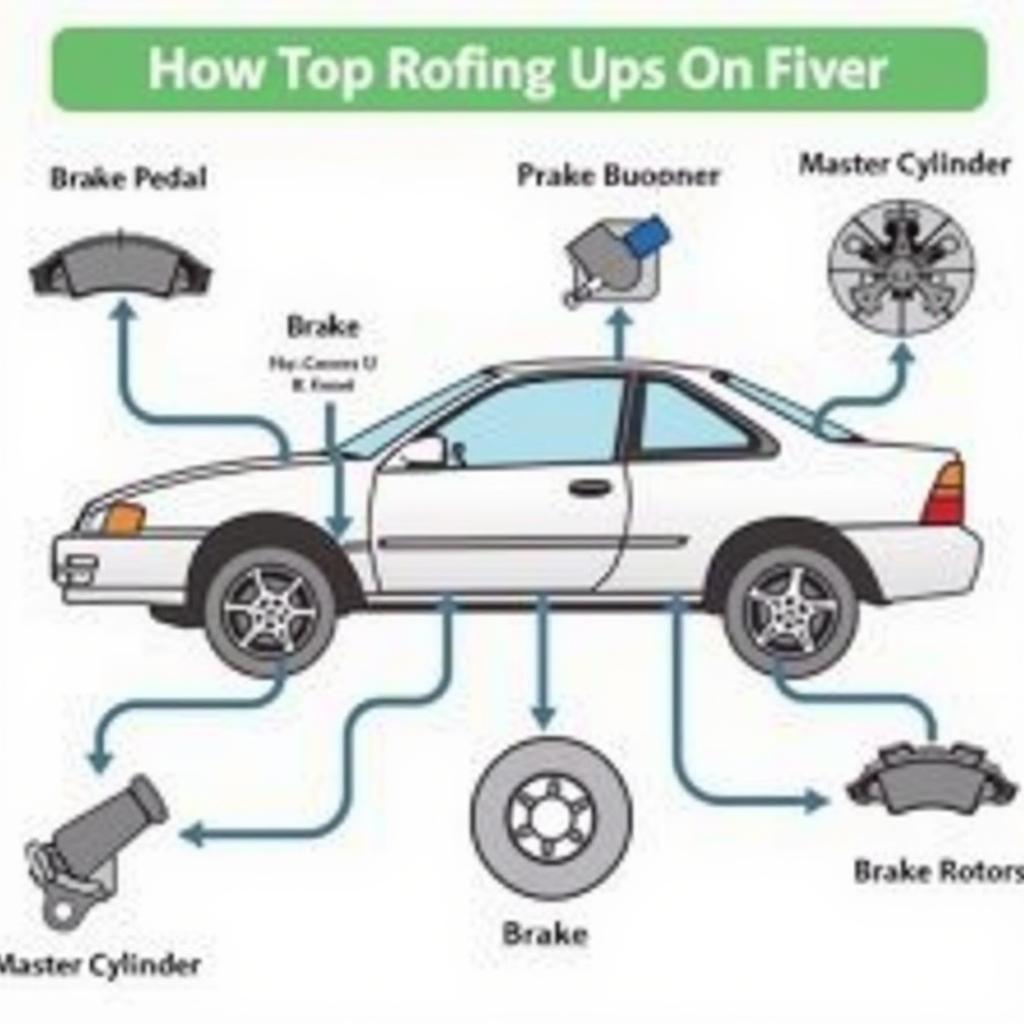
The Mini brake pad warning light, typically a red icon resembling a brake caliper with an exclamation mark, illuminates when the brake pads reach a critical wear threshold. This light signals that your brake pads are nearing the end of their lifespan and require immediate replacement.
Why Is It Important to Reset the Light?
Resetting the Mini brake pad warning light is essential for several reasons:
- Peace of Mind: A persistent warning light can be a constant reminder that your brake pads need attention, even though you have already replaced them. Resetting it ensures a clear dashboard and eliminates unnecessary anxiety.
- Accurate Brake Monitoring: Once the light is reset, the system can accurately monitor your brake pad wear and alert you when replacement is necessary. This prevents driving with excessively worn brake pads, which can compromise braking performance and safety.
- Avoiding False Warnings: The light may continue to illuminate even after replacement if not properly reset. This can lead to unnecessary trips to the mechanic and potential confusion.
Resetting the Mini Brake Pad Warning Light: A Step-by-Step Guide
Note: The exact procedure for resetting the brake pad warning light may vary slightly depending on your Mini model year. Consult your owner’s manual or a qualified mechanic for specific instructions if you are unsure.
Here’s a general guide:
- Park your Mini on a level surface and engage the parking brake.
- Turn the ignition key to the “ON” position (not starting the engine).
- Locate the brake pad wear sensor reset button. This button can be located in different places, but it’s often found near the steering wheel or under the dashboard.
- Press and hold the reset button for 5-10 seconds. This will allow the system to detect the new brake pad thickness.
- Release the button. The warning light should now be reset and extinguished.
Expert Tip: “It’s always advisable to check your brake pads regularly, even if the warning light is off. This helps to catch any potential issues early on and prevent unexpected problems.” – John Smith, Automotive Technician
Additional Tips and Troubleshooting
- Ensure the brake pads have been properly replaced. If the light remains on even after following the reset steps, double-check that the brake pads have been installed correctly.
- Check for loose or disconnected wiring. A loose or faulty wire connecting to the brake pad wear sensor can cause the light to stay on.
- Consult a mechanic. If you are unable to reset the light or have persistent brake issues, seek the assistance of a qualified mechanic.
FAQ:
Q: What if the warning light doesn’t reset?
A: If the warning light doesn’t reset, double-check the brake pad installation, wiring, and sensor functionality. If the issue persists, consult a mechanic for diagnosis and repair.
Q: How often should I check my brake pads?
A: It’s generally recommended to check your brake pads every 6 months or 5,000 miles. However, the frequency may vary depending on your driving habits and vehicle usage.
Q: What are the signs of worn brake pads?
A: Besides the warning light, worn brake pads can manifest as:
- Squealing or grinding noises when braking.
- A soft pedal feel.
- Longer stopping distances.
- Vibrations in the steering wheel when braking.
Q: What should I do if my brake pads are worn?
A: If your brake pads are worn, it’s crucial to have them replaced immediately. Driving with worn brake pads can lead to serious accidents and costly repairs.
Q: How much does it cost to replace brake pads?
A: The cost of replacing brake pads can vary significantly depending on the vehicle make and model, as well as the type of brake pads used. However, you can expect to pay between $100 and $300 for a complete brake pad replacement.
Q: What kind of brake pads should I use?
A: There are various types of brake pads available, including:
- Ceramic brake pads: These pads offer quieter operation, longer lifespan, and less brake dust.
- Semi-metallic brake pads: These pads provide good stopping power and durability at a lower cost.
- Organic brake pads: These pads are the most affordable but have a shorter lifespan and may produce more brake dust.
It’s essential to choose the right brake pads for your vehicle and driving style.
Conclusion
Resetting the Mini brake pad warning light is a simple yet vital step in maintaining your vehicle’s safety and functionality. By following the steps outlined above, you can ensure the light is properly reset and your brake system continues to operate effectively. Remember, always prioritize safety and consult a qualified mechanic if you encounter any problems.