A glowing brake warning light on your Mini Cooper’s dashboard can be an unwelcome sight, often accompanied by a sinking feeling in your stomach. While it can signal a serious issue, sometimes it’s simply an electronic hiccup. This guide will walk you through the common causes of a Mini Cooper brake warning light and provide a step-by-step approach to resetting it.
Understanding Your Mini Cooper’s Brake Warning System
Your Mini Cooper’s brake warning light is part of a complex safety system designed to alert you to potential problems. Unlike some vehicles where a single light indicates various issues, your Mini Cooper may use different lights to pinpoint the problem:
- Red Brake Warning Light: This usually indicates a serious issue with your braking system, such as low brake fluid or a malfunctioning ABS (Anti-lock Braking System).
- Yellow Brake Pad Wear Light: This light illuminates when your brake pads have worn down to a certain point, indicating it’s time for a replacement.
Common Causes of a Mini Cooper Brake Warning Light
Before attempting to reset the warning light, it’s essential to understand what triggered it in the first place. Here are the most frequent culprits:
-
Worn Brake Pads: This is the most common cause, especially if you notice a high-pitched squealing sound when braking.
-
Low Brake Fluid: Your brake system relies on hydraulic pressure, and low brake fluid can significantly compromise braking performance.
-
Faulty Brake Light Switch: The brake light switch activates your brake lights when you press the pedal. A malfunctioning switch can confuse the system, triggering the warning light.
-
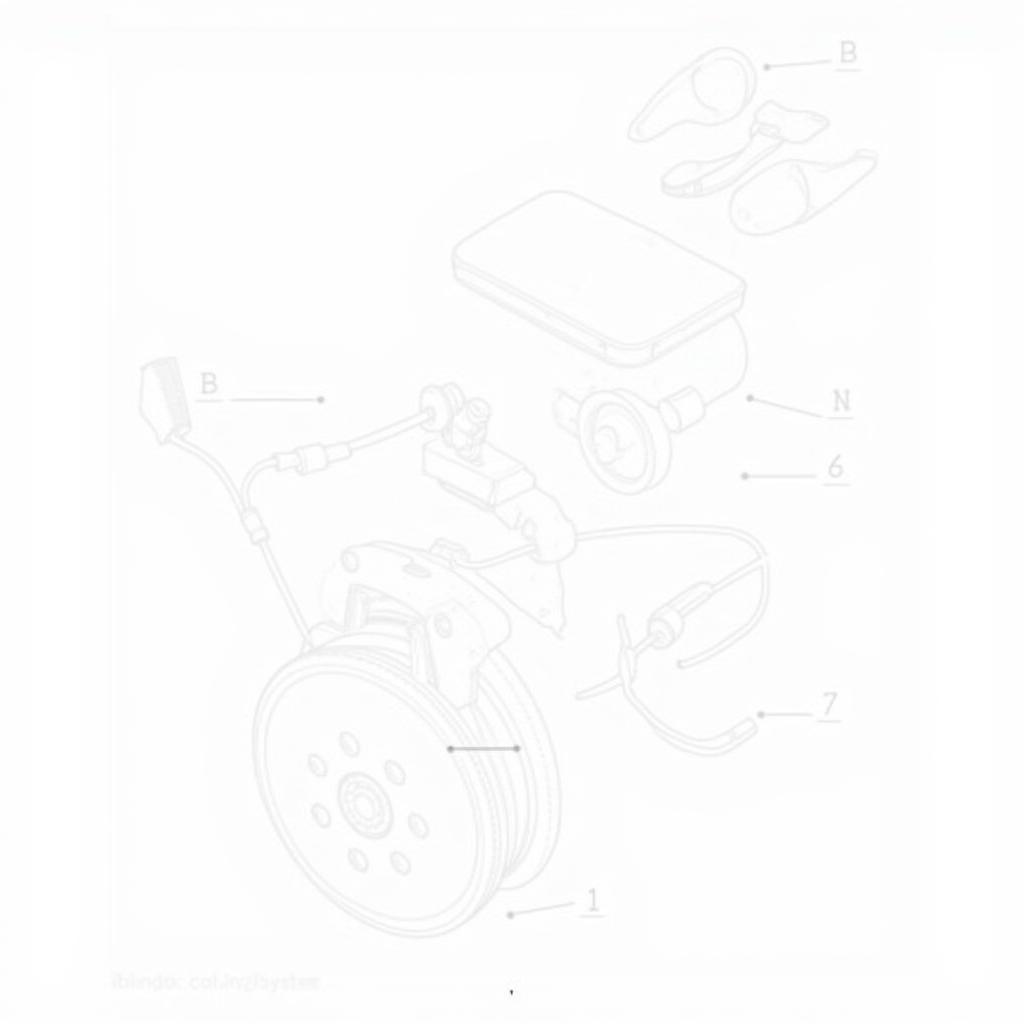
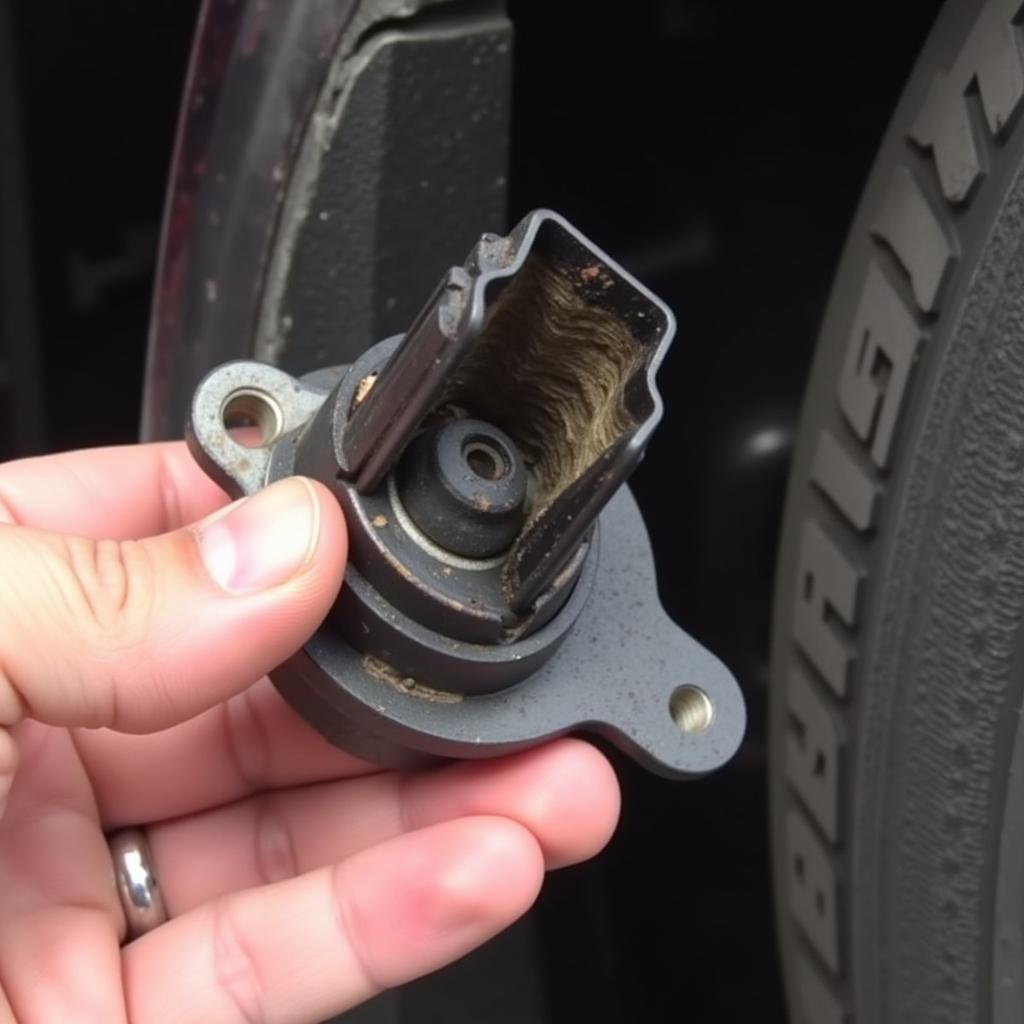
ABS Sensor Issue: Your Mini Cooper’s ABS system relies on sensors to monitor wheel speed. A faulty sensor can disrupt this system, leading to a warning light.
-
Electronic Glitch: Like any complex electronic system, your Mini Cooper’s braking system can sometimes experience temporary glitches, triggering false warnings.
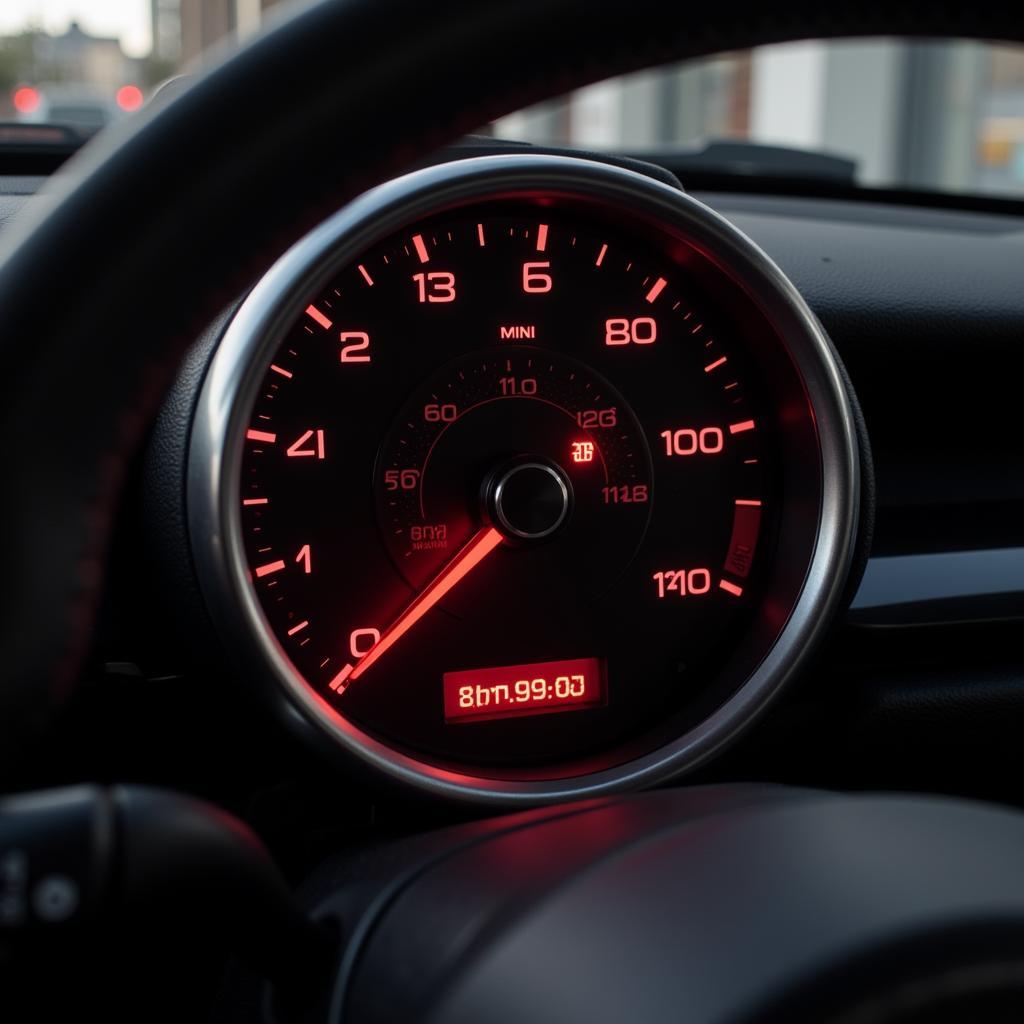 Mini Cooper dashboard with brake warning light illuminated
How to Reset Your Mini Cooper Brake Warning Light
Important: If you suspect a serious issue like low brake fluid or a faulty brake component, do not attempt to reset the light yourself. Seek professional help immediately.
If you’re confident the warning light is due to a minor issue or a temporary glitch, you can try these reset methods:
Method 1: Driving Reset
- Start your Mini Cooper and ensure the parking brake is released.
- Drive at a slow speed (under 15 mph) on a safe, straight road.
- Apply the brakes firmly several times.
- Observe the warning light. If it goes off, the system may have reset.
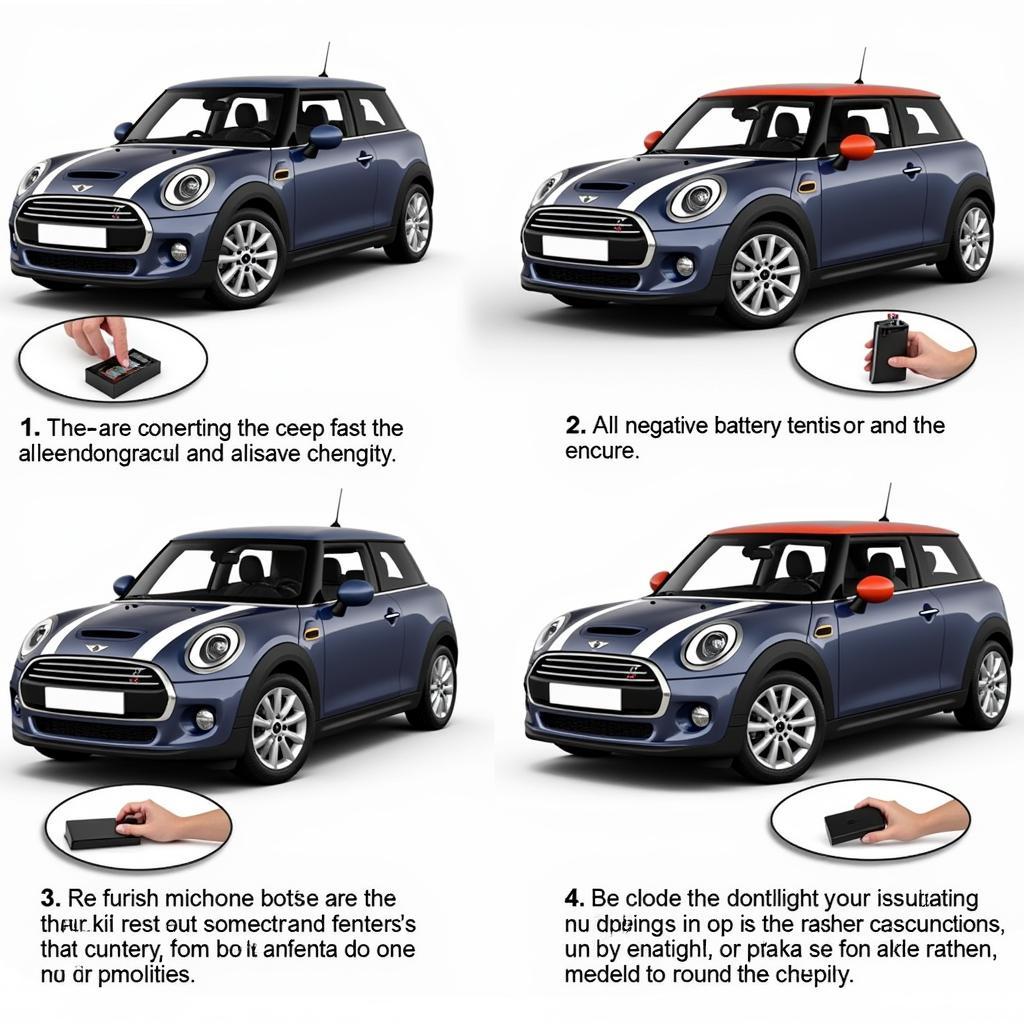
Method 2: Battery Disconnect Reset
- Park your Mini Cooper in a safe location and turn off the ignition.
- Open the hood and locate the negative (-) battery terminal.
- Disconnect the negative battery cable using a wrench.
- Wait for 15-20 minutes to allow the system to reset.
- Reconnect the negative battery cable securely.
- Start your Mini Cooper and check if the warning light is off.
 Disconnecting the negative battery terminal on a Mini Cooper
When to Seek Professional Help
While the methods above can sometimes reset a Mini Cooper brake warning light, it’s crucial to remember they are not guaranteed solutions.
Consult a qualified mechanic immediately if:
- The warning light remains on after trying the reset methods.
- You notice any unusual sounds or sensations when braking.
- You have any doubts about your safety while driving.
“Ignoring a persistent brake warning light can lead to dangerous situations,” warns John Smith, Senior Automotive Technician at ABC Auto Repair. “It’s always better to err on the side of caution and have a professional diagnose the issue.”
FAQs about Mini Cooper Brake Warning Light Reset
Q: Can I still drive my Mini Cooper with the brake warning light on?
A: It depends. If the light is yellow, indicating brake pad wear, you may have some time to get them replaced. However, if the light is red, it’s crucial to stop driving immediately and have your vehicle towed to a mechanic.
Q: How often should I replace my Mini Cooper’s brake pads?
A: Brake pad lifespan varies depending on driving style and conditions. As a general rule, it’s recommended to have them inspected every 10,000 miles and replaced when they reach the minimum thickness specified in your owner’s manual.
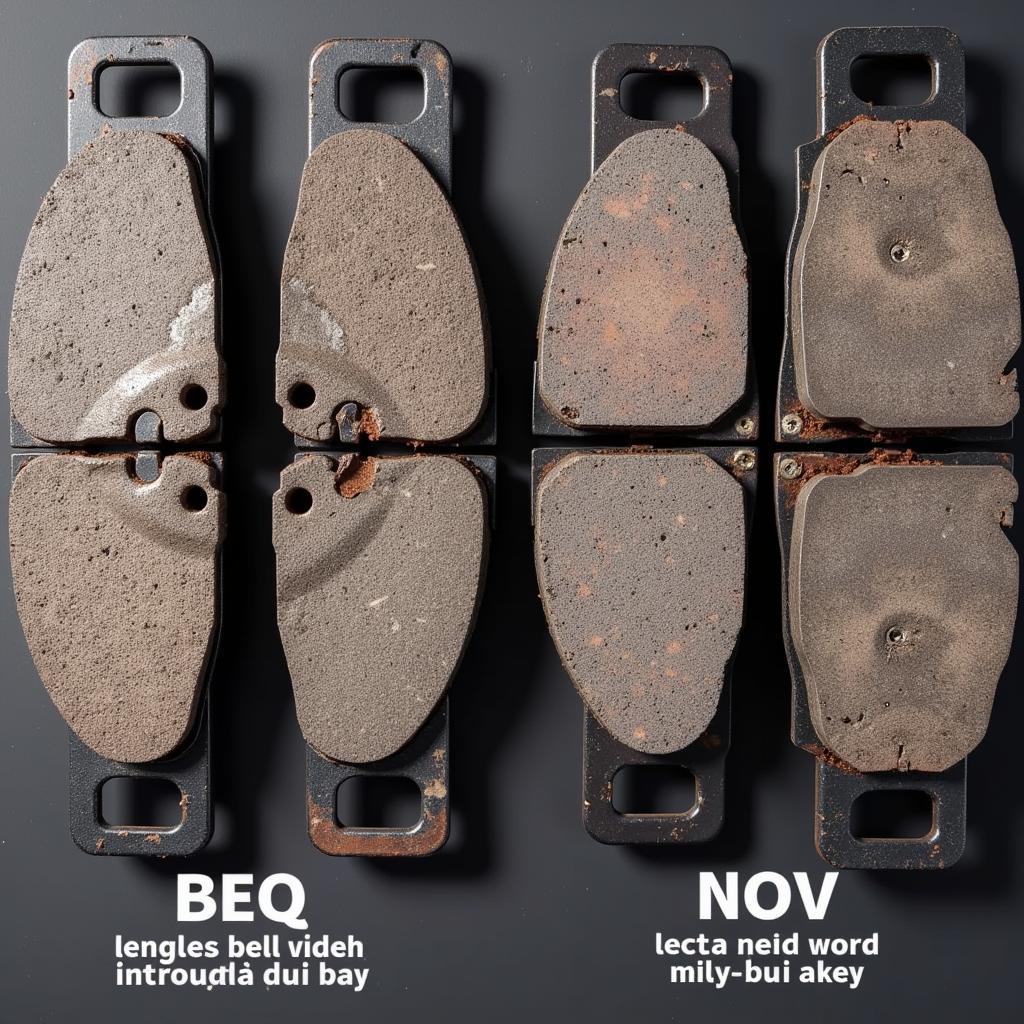 Worn brake pads next to new brake pads
Q: How can I prevent my Mini Cooper’s brake warning light from coming on?
A: Regular maintenance is key! Have your brakes inspected at recommended intervals, ensure your brake fluid is topped up, and address any warning lights promptly to avoid potential problems.
Conclusion
Resetting your Mini Cooper’s brake warning light can sometimes be a simple DIY task, but it’s vital to remember that safety should always come first. By understanding the common causes of the warning light and following the reset methods carefully, you can potentially resolve minor issues. However, if you have any doubts or if the problem persists, don’t hesitate to seek professional assistance to keep your Mini Cooper running smoothly and safely.