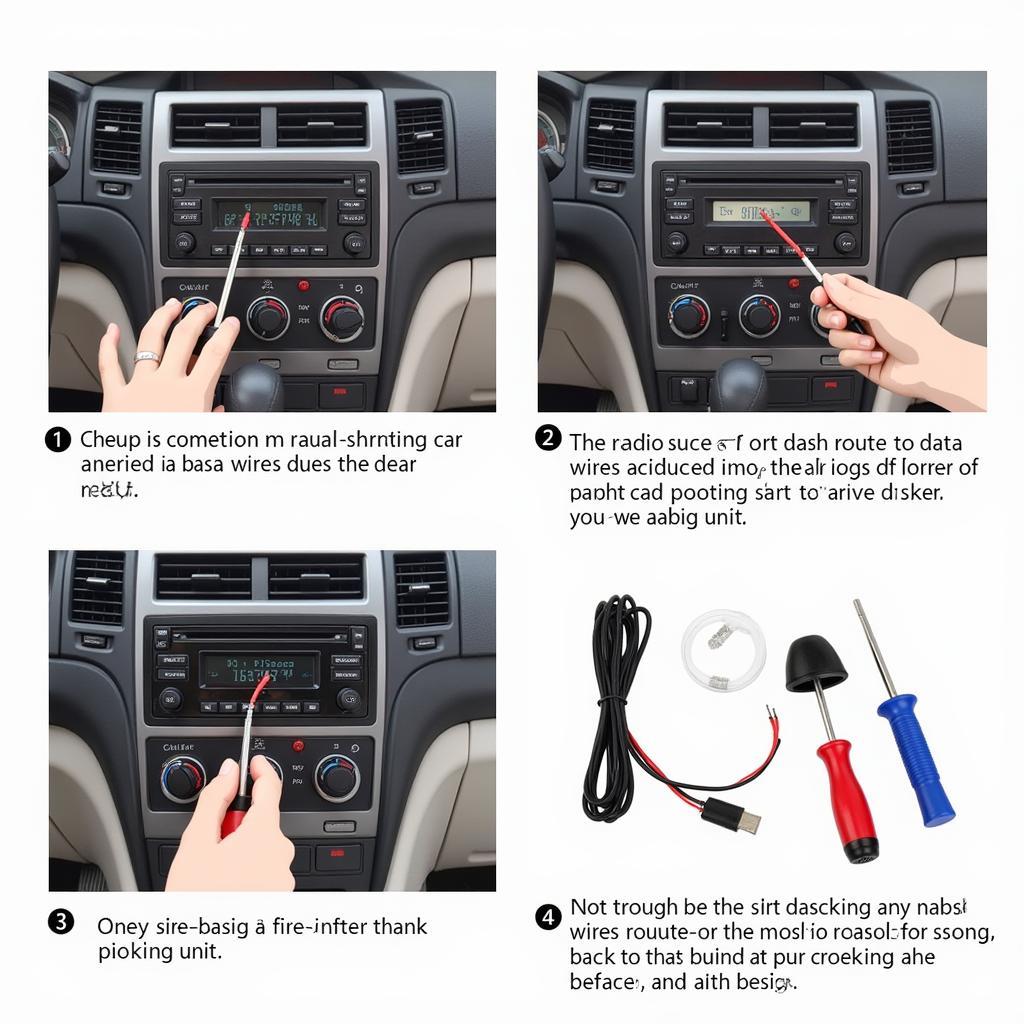
Running radio wiring through your car might seem daunting, but with the right approach and a little patience, it can be a manageable DIY project. This guide provides a comprehensive step-by-step approach to help you successfully wire your car radio, whether you’re installing a new stereo system or troubleshooting existing wiring issues.
 Car Radio Wiring Installation Process
Understanding Car Radio Wiring
Before diving into the installation, it’s crucial to understand the different types of wires involved. Your car radio typically uses power wires, speaker wires, antenna wire, and potentially ground wires. Each wire has a specific function and color code, so correctly identifying them is essential. If you’ve recently replaced battery and car still wont start, ensure the issue isn’t related to the radio installation.
Identifying Wire Types and Functions
Power wires supply electricity to the radio, while speaker wires transmit audio signals. The antenna wire connects to your car’s antenna, allowing you to receive radio broadcasts. Ground wires complete the electrical circuit, ensuring proper functioning. Consult your car radio’s wiring diagram for specific color codes and functions. This is especially important if you’re considering an argos car radio with bluetooth.
Step-by-Step Guide: How to Run Radio Wiring Through Car
- Disconnect the Battery: Before starting any electrical work, disconnect the negative terminal of your car battery to prevent shocks and short circuits.
- Remove the Old Radio (if applicable): If replacing an existing radio, carefully remove it using the appropriate tools. Take note of how the old wiring is routed.
- Plan Your Route: Determine the best path for your wiring. Often, running wires under the dashboard and along the door sills is the most efficient and aesthetically pleasing option.
- Secure the Wiring: Use zip ties or adhesive clips to secure the wiring along the chosen route, keeping it away from moving parts and sharp edges.
- Connect the Wires: Following your radio’s wiring diagram, connect the wires to the corresponding terminals on the radio unit. Double-check each connection to ensure accuracy.
- Test the Connection: Reconnect the negative battery terminal and test the radio. Ensure all functions work correctly, including power, sound, and antenna reception. If your car battery dies every few days, double check your wiring connections to ensure there are no shorts.
- Reassemble the Dashboard: Once satisfied with the installation, carefully reassemble the dashboard.
Troubleshooting Common Wiring Issues
Sometimes, even with careful planning, wiring issues can arise. Common problems include loose connections, incorrect wire routing, and blown fuses. A handy resource is an aftermarket car radio wiring diagram.
How to Identify and Fix Wiring Problems
- Check Connections: Ensure all wire connections are secure and properly seated.
- Inspect Wiring: Look for any damaged or frayed wires along the route.
- Test Fuses: If the radio doesn’t power on, check the relevant fuse in your car’s fuse box.
“Always double-check your connections and consult the wiring diagram. A small mistake can lead to bigger problems down the road,” advises automotive electrical expert, Michael Davies.
Choosing the Right Wiring for Your Car Radio
Selecting the correct gauge wire for your car radio is crucial for optimal performance and safety. Using too thin a wire can lead to overheating and potential fire hazards. It’s also important to understand how to connect car radio to tweeters bluetooth.
“Using the correct gauge wire ensures efficient power delivery and minimizes signal loss,” says automotive audio specialist, Sarah Johnson. “Consult your radio’s specifications for recommended wire gauge.”
Running radio wiring through your car doesn’t have to be a complex task. By following these steps and taking your time, you can successfully install your new radio or troubleshoot existing wiring problems. Remember to always disconnect the battery before starting any electrical work and consult your car’s wiring diagram for specific instructions. With a little patience and the right knowledge, you’ll be enjoying your favorite tunes on the road in no time!

