Learning how to scan a 96 Mercedes E300D can save you time and money, allowing you to diagnose issues effectively. Whether you’re a seasoned mechanic or a DIY enthusiast, understanding the process is crucial for maintaining your classic Mercedes. This guide provides a comprehensive walkthrough on scanning your 96 E300D.
Understanding Your 96 Mercedes E300D Diagnostic System
Before diving into the scanning process, it’s essential to understand the diagnostic system of your 96 E300D. This model utilizes the 38-pin diagnostic connector located under the hood. Unlike newer vehicles with OBD-II, the 38-pin system requires a specific diagnostic tool.
One of the common tools used for scanning a 96 E300D is a dedicated Mercedes scanner. These scanners offer comprehensive diagnostic capabilities, including reading and clearing fault codes, accessing live data, and performing actuator tests. Alternatively, you can use a generic OBD-I scanner with a 38-pin adapter. However, the functionality might be limited compared to a dedicated Mercedes scanner.
Gathering Your Tools and Preparing for the Scan
To scan your 96 Mercedes E300D, you’ll need the following:
- A compatible diagnostic scanner (Mercedes specific or generic OBD-I with a 38-pin adapter)
- Your vehicle’s owner’s manual (for locating the diagnostic connector and understanding fault codes)
- A pen and paper (for noting down fault codes and live data)
Ensure your vehicle’s ignition is off before connecting the scanner. Locate the 38-pin diagnostic connector under the hood and connect the scanner securely.
Step-by-Step Guide on How to Scan Your 96 Mercedes E300D
-
Turn the ignition on: Do not start the engine. The scanner should power on and establish communication with the vehicle’s ECU.
-
Select the correct vehicle model: Most scanners will prompt you to choose the make, model, and year of your vehicle. Select “Mercedes-Benz,” “E300D,” and “1996.”
-
Choose the desired scan type: Depending on your scanner, you can choose from different scan types, such as reading fault codes, accessing live data, or performing actuator tests. For initial diagnostics, start with reading fault codes.
-
Read and interpret fault codes: The scanner will display any stored fault codes. Note down the codes and refer to your owner’s manual or online resources to understand their meaning.
-
Clear fault codes (optional): After addressing the issues related to the fault codes, you can clear them using the scanner.
-
Access live data (optional): Live data allows you to monitor various sensor readings in real-time. This can be helpful for identifying ongoing issues or confirming repairs.
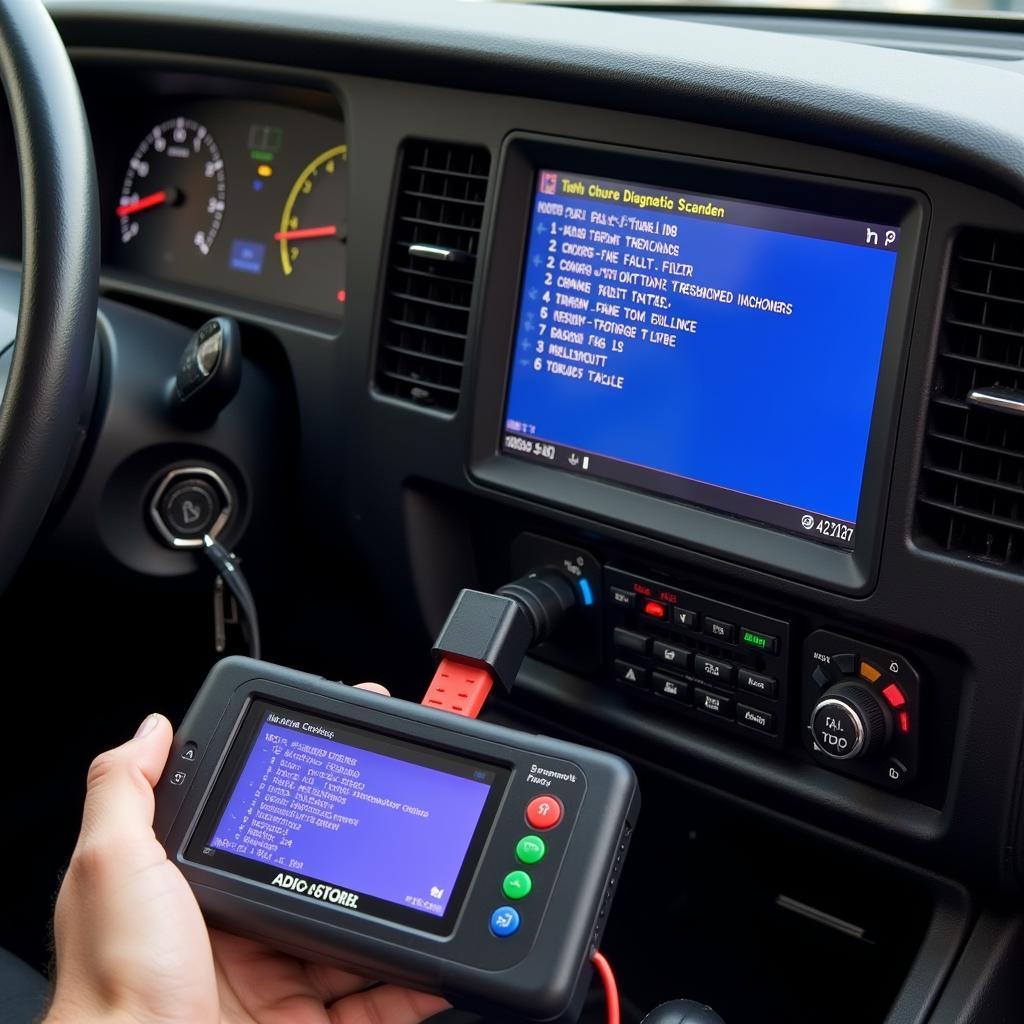
 Diagnostic Scanner Displaying Fault Codes on a 96 Mercedes E300D
“Properly interpreting fault codes is crucial for accurate diagnosis. Don’t hesitate to consult with a qualified technician if you’re unsure about the meaning of a specific code,” advises Robert Hoffman, Senior Automotive Diagnostic Technician at CardiagTech.
Troubleshooting Common Scanning Issues
Sometimes, you may encounter issues while scanning your 96 E300D. Here are some common problems and their solutions:
-
Scanner not powering on: Check the scanner’s power supply and connections. Ensure the vehicle’s ignition is on.
-
Scanner not communicating with the ECU: Verify the compatibility of the scanner and the 38-pin adapter (if used). Check the connection to the diagnostic connector.
-
Unable to read or clear fault codes: Try using a different scan type or restarting the scanner. Consult your owner’s manual or contact a specialist.
 Troubleshooting Diagnostic Scanner Connection Issues on a 96 Mercedes E300D
“A common mistake is using an incompatible scanner or adapter. Always double-check compatibility before attempting to scan your vehicle,” emphasizes Maria Sanchez, Lead Diagnostic Programmer at CardiagTech.
Conclusion
Knowing how to scan your 96 Mercedes E300D empowers you to diagnose and address issues effectively. By following this guide, you can maintain your classic Mercedes in optimal condition. Remember to always refer to your owner’s manual and consult with a qualified technician when needed for complex issues.
FAQ
- What type of diagnostic connector does a 96 E300D have? A 38-pin connector.
- Can I use a generic OBD-I scanner? Yes, with a 38-pin adapter.
- Where is the diagnostic connector located? Under the hood.
- What should I do if the scanner doesn’t communicate? Check connections and compatibility.
- Why is it important to scan my car? To diagnose and fix problems early.
- What does clearing fault codes do? Resets the diagnostic system after repairs.
- Where can I find the meaning of fault codes? Owner’s manual or online resources.
For further assistance, contact us via Whatsapp: +1 (641) 206-8880, Email: CARDIAGTECH[email protected], or visit our workshop at 276 Reock St, City of Orange, NJ 07050, United States. We offer 24/7 customer support. Explore our website CARDIAGTECH for more related articles and resources on Mercedes diagnostics.


