Setting up your new Ross-Tech VCDS (Vag-Com Diagnostic System) for the first time can seem daunting, but it’s actually a straightforward process. This guide will walk you through each step, ensuring you’re ready to diagnose and troubleshoot your Volkswagen, Audi, Seat, or Skoda vehicle in no time. From driver installation to initial configuration, we’ll cover everything you need to know to get your VCDS up and running.
Understanding how to set up your Ross-Tech VCDS correctly is crucial for accurate diagnostics and effective vehicle maintenance. Whether you’re a seasoned mechanic or a car enthusiast, having the right tools and knowledge empowers you to take control of your vehicle’s health. A correctly configured VCDS allows you to access and interpret the vast amount of data hidden within your car’s systems. This guide focuses on providing clear, concise instructions to ensure your first use of VCDS is a success. Similar to vcds ross tech software, understanding the setup process is essential.
Installing the VCDS Software
The first step is installing the VCDS software on your Windows-based computer. Download the latest version of the software from the official Ross-Tech website. Once downloaded, run the installer and follow the on-screen prompts. It’s essential to install the correct version for your VCDS interface. Choosing the right software version ensures compatibility and optimal performance.
Driver Installation
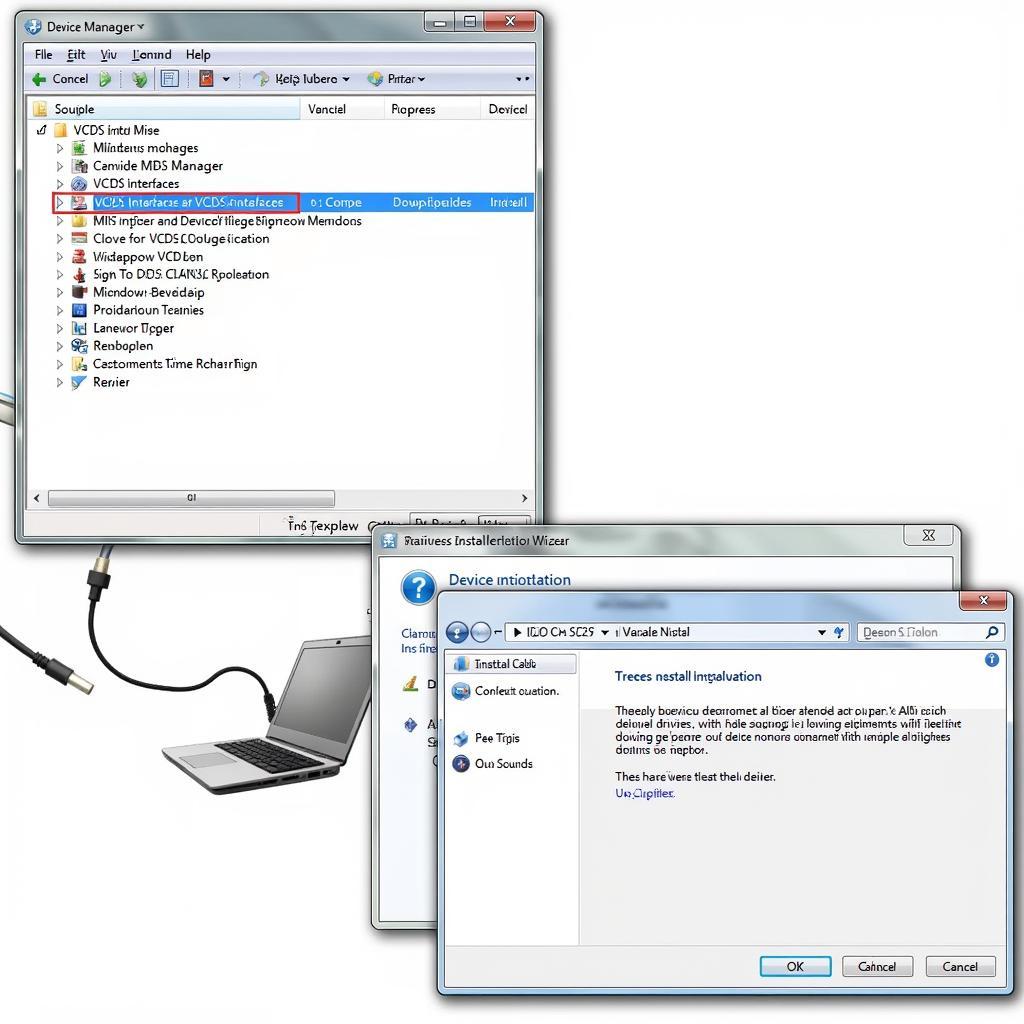
After installing the software, connect your VCDS interface to your computer’s USB port. Windows will automatically detect the new hardware and prompt you to install the necessary drivers. Follow the prompts to complete the driver installation. If Windows fails to find the drivers automatically, you can locate them on the Ross-Tech website or the included CD.
 VCDS Driver Installation Process on Windows PC
Configuring the VCDS Interface
With the software and drivers installed, it’s time to configure your VCDS interface. Open the VCDS software and select “Options” from the main menu. In the Options window, select the “Test” tab. Click the “Test” button to check the connection between your computer and the VCDS interface. A successful test confirms proper installation and communication.
Selecting the Correct Communication Port
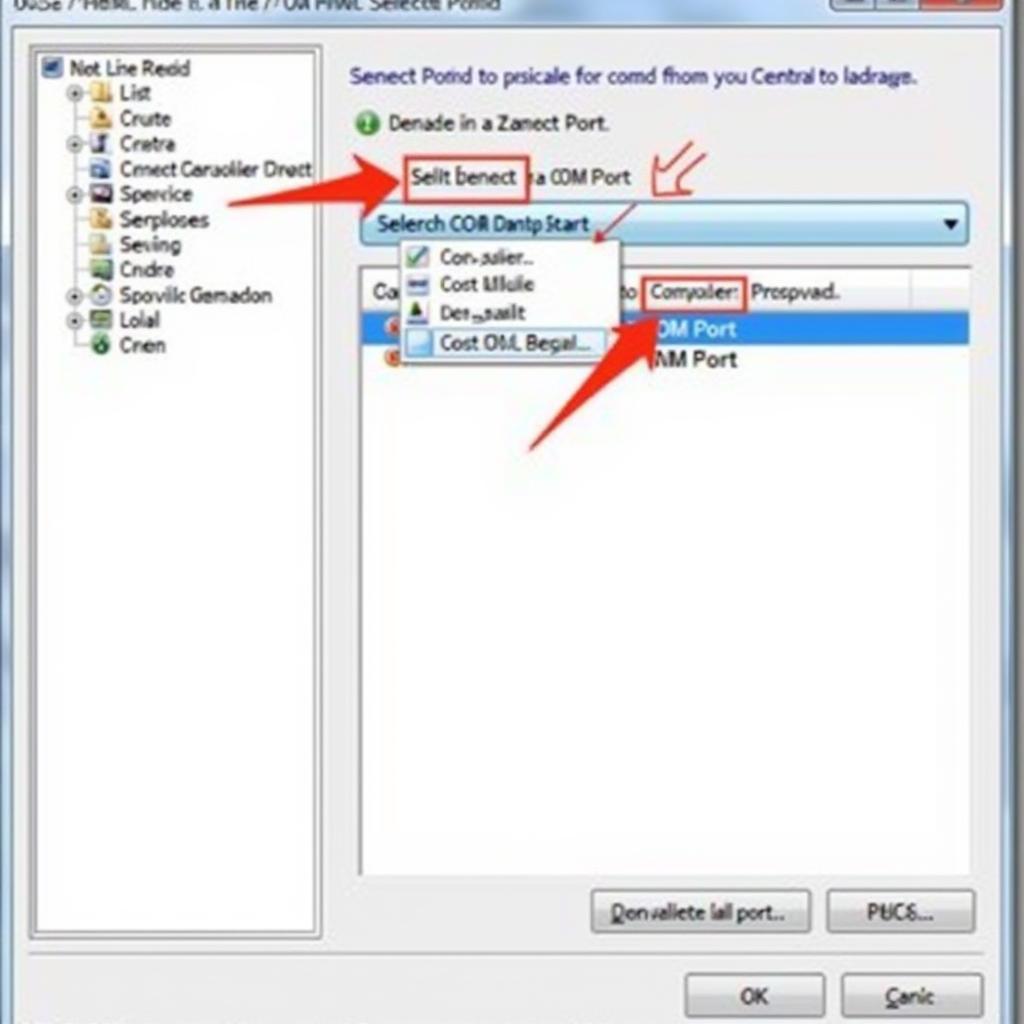
If the test fails, double-check the communication port settings. In the Options window, under the “Select COM Port” section, choose the correct COM port that your VCDS interface is using. You can usually find this information in the Device Manager in Windows. Ensuring the correct COM port is selected is vital for establishing a connection between the software and the interface. This is akin to vcds 18.9 interface not found, where a misconfigured port can lead to connection issues.
 Selecting the Correct COM Port in VCDS Software Options
Testing Your VCDS Setup
Now that your VCDS is set up, it’s time to test it on your vehicle. Connect the VCDS interface to your car’s OBD-II port, typically located under the dashboard. Turn on the ignition but do not start the engine. Open the VCDS software and select your vehicle’s model from the “Select Control Module” dropdown menu. This step initiates communication between the software and your car’s systems.
Reading Fault Codes
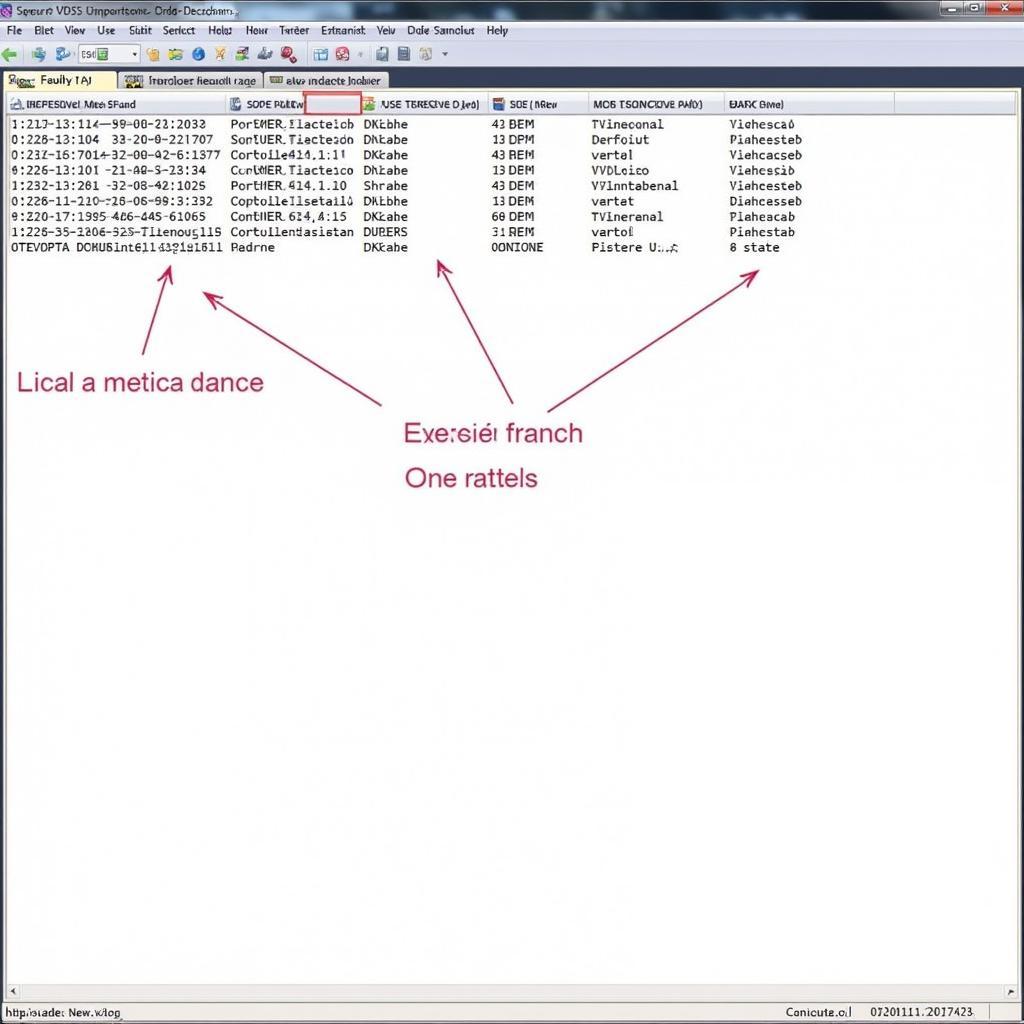
Once connected, you can start reading fault codes. Click on the “Fault Codes” button to scan for any stored diagnostic trouble codes (DTCs). The software will display any found codes along with their descriptions. This allows you to identify potential issues with your vehicle. Remember to always consult the relevant repair manuals for your specific vehicle model before attempting any repairs.
 VCDS Fault Codes Scan Results Display
Just as with how to use vcds to fix steering angle sensor, accurately reading fault codes is crucial for diagnosis.
Conclusion
Setting up your Ross-Tech VCDS for the first time is a crucial step towards effective vehicle diagnostics and maintenance. By following these instructions, you can ensure a smooth setup process and unlock the full potential of your VCDS system. This will empower you to understand and address your vehicle’s needs more effectively. If you are having trouble with egr adaptation vcds this will help you as well. Consider exploring vcds amazon for more information on where to purchase the tool.
FAQ
- What is Ross-Tech VCDS? A diagnostic tool for VAG group cars.
- What do I need to install VCDS? A Windows computer and the VCDS software.
- Where do I find the drivers? Ross-Tech website or the included CD.
- How do I test my VCDS setup? Connect to the car and run a test in the software.
- What if the test fails? Check the COM port settings and cable connection.
- What is the OBD-II port? The diagnostic port in your vehicle.
- Where can I find more information? The Ross-Tech website and user forums.
Need further assistance? Contact us via Whatsapp: +1 (641) 206-8880, Email: CARDIAGTECH[email protected] or visit us at 276 Reock St, City of Orange, NJ 07050, United States. Our customer support team is available 24/7.
