Removing anti-theft number plate screws can seem daunting, but with the right tools and techniques, it’s a manageable task. Whether you’re replacing a damaged plate or simply need access behind it, this guide will provide you with the knowledge and steps to successfully remove those pesky security screws.
Understanding Anti-Theft Number Plate Screws
Anti-theft number plate screws are designed to deter thieves from easily removing your license plates. They feature a unique head design that requires a specialized tool for removal, making it significantly harder for opportunistic criminals. These screws are typically made of hardened steel, adding another layer of protection. However, this also means they can be tricky to remove if you don’t have the correct tool.
Types of Anti-Theft Screws
Several types of anti-theft screws are common on number plates. These include one-way screws, which can only be tightened but not loosened with conventional screwdrivers, and screws with a pin in the center, requiring a special tool to grip around the outer edges. Understanding the specific type of screw you’re dealing with is crucial for selecting the appropriate removal tool.
Gathering the Necessary Tools
Before you begin, assemble the right tools. Attempting to remove anti-theft screws with improper tools can damage the screw head, making removal even more difficult. The most effective tool is a dedicated anti-theft number plate screw removal tool kit. These kits often contain a variety of bits designed to fit different screw head types. A good quality set is essential for preventing damage and ensuring a clean removal.
Essential Tools for Removal
- Anti-theft screw removal tool kit: This kit should contain various bits that match common anti-theft screw head designs.
- Screwdriver handle: A sturdy screwdriver handle provides the necessary leverage for removing stubborn screws.
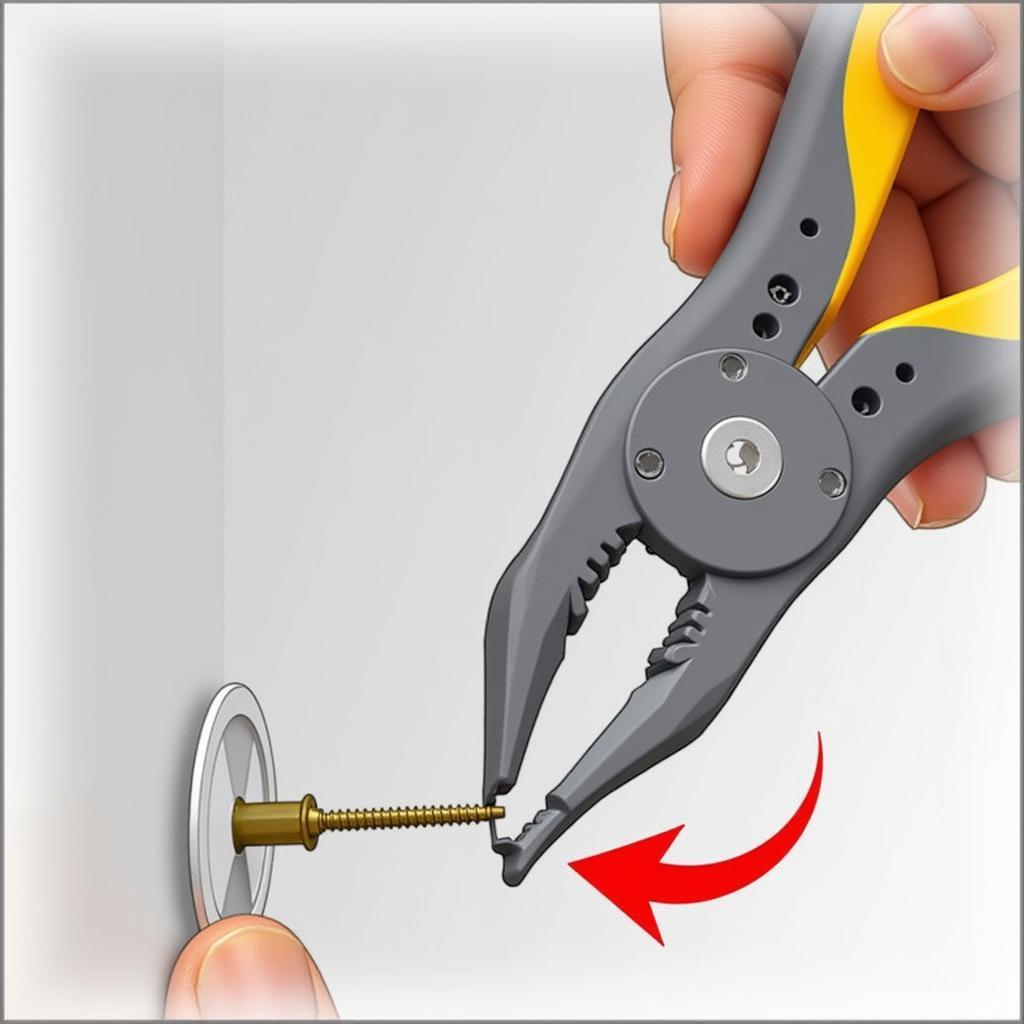
- Pliers (optional): In some cases, pliers can be helpful for gripping and turning the screw removal tool, especially if the screw is particularly tight.
- Penetrating oil (optional): Applying penetrating oil to the screw threads can help loosen them, making removal easier.
Step-by-Step Guide to Removing Anti-Theft Screws
- Identify the screw type: Examine the head of the anti-theft screw closely to determine its type. This will help you select the correct bit from your removal tool kit.
- Select the appropriate bit: Choose the bit from your kit that corresponds to the screw head design. Ensure a snug fit to prevent slippage.
- Apply penetrating oil (optional): If the screw seems tight, apply a small amount of penetrating oil to the threads and allow it to soak for a few minutes.
- Insert the bit into the screw head: Carefully insert the chosen bit into the screw head, ensuring it is fully engaged.
- Attach the screwdriver handle: Securely attach the screwdriver handle to the bit.
- Turn counterclockwise: Apply steady pressure and turn the screwdriver handle counterclockwise to loosen the screw. Avoid excessive force, which could damage the screw head.
- Remove the screw: Once the screw is loosened, continue turning until it is completely removed.
Troubleshooting Common Issues
Sometimes, even with the correct tools, you might encounter difficulties. Here are some troubleshooting tips:
- Stripped Screw Head: If the screw head becomes stripped, try using pliers to grip the outer edges of the screw and turn it counterclockwise.
- Stubborn Screw: If the screw is particularly stubborn, apply more penetrating oil and let it soak for a longer period. You can also try heating the screw with a hairdryer to expand the metal, making it easier to remove.
“In my experience as an automotive electrical engineer, having the correct tools and patience is key. Don’t rush the process. A damaged screw head will only complicate the removal,” advises John Miller, Senior Automotive Electrical Engineer at AutoTech Solutions.
 Troubleshooting Stripped Anti-Theft Number Plate Screws
Conclusion
Removing anti-theft number plate screws requires the proper tools and technique. By following these steps and troubleshooting tips, you can successfully remove these screws without causing damage. Remember to always exercise caution and patience during the process. Now you’re equipped to tackle this task confidently and efficiently!
“A little preventative maintenance can go a long way. Applying a small amount of anti-seize lubricant to the threads when reinstalling your number plate can prevent future removal headaches,” adds John Miller.
FAQ
- Where can I buy an anti-theft screw removal tool kit? These kits are readily available at most auto parts stores and online retailers.
- What should I do if I lose the specific removal tool for my number plate screws? Contact your vehicle’s manufacturer or a local locksmith. They can often identify the screw type and provide the necessary tool.
- Can I replace anti-theft screws with regular screws? Yes, you can. However, this will reduce the security of your number plates.
- Are all anti-theft screws the same? No, there are various types with different head designs.
- How can I prevent my anti-theft screws from seizing? Applying a small amount of anti-seize lubricant to the threads during installation can help prevent future problems.
- What if I break the screw head off completely? You may need to drill out the remaining screw shaft. This is best handled by a professional.
- Why are anti-theft screws important? They help deter theft and protect your vehicle’s license plates.

