The brake warning light on your dashboard is a crucial safety feature. It illuminates when there’s an issue with your braking system, signaling a potential problem that needs immediate attention. Understanding how to test the brake warning light circuit can be incredibly helpful in diagnosing the root cause of brake light issues. This article will guide you through the steps to test this circuit effectively.
Understanding the Brake Warning Light System
Before diving into the testing procedures, it’s essential to grasp the basics of how your brake warning light system operates. The system comprises several key components:
- Brake Warning Light: The red light on your dashboard that illuminates when the circuit is activated.
- Brake Fluid Level Sensor: This sensor monitors the level of brake fluid in the master cylinder. If the fluid level drops too low, it can trigger the brake warning light.
- Parking Brake Switch: This switch activates the brake warning light when the parking brake is engaged.
- Brake Pressure Differential Switch/Valve: This component detects any imbalances in hydraulic pressure between the front and rear brake circuits, indicating a potential leak or problem.
- Wiring and Connectors: Wires and connectors link all these components, allowing them to communicate and activate the warning light when necessary.
Common Reasons for a Brake Warning Light to Come On
- Low brake fluid: This is the most common reason for the brake warning light to illuminate.
- Worn brake pads: If your brake pads are worn down, it can also trigger the warning light.
- Faulty brake light switch: The brake light switch is responsible for turning on your brake lights when you press the brake pedal. If it fails, it can also cause the brake warning light to come on.
- Problem with the ABS system: If there is a problem with your anti-lock braking system (ABS), it can also trigger the warning light.
- Issue with the electronic parking brake: In modern cars, a malfunctioning electronic parking brake system can trigger the warning light.
What You’ll Need to Test the Circuit
- Repair manual for your specific vehicle make and model
- Digital multimeter
- Jumper wire
- Protective gloves
- Safety glasses
How to Test a Brake Warning Light Circuit: A Step-by-Step Guide
Before starting, ensure your vehicle is parked on a level surface, the ignition is off, and the parking brake is engaged.
Step 1: Check the Brake Fluid Level
This is the first and easiest check. If the brake fluid level is low, it will trigger the warning light.
- Open the hood and locate the brake fluid reservoir.
- Check the fluid level against the “Min” and “Max” markings on the reservoir.
- If the fluid level is low, add the recommended brake fluid until it reaches the “Max” line.
Step 2: Inspect the Brake Warning Light Bulb
It might sound obvious, but a burned-out bulb won’t illuminate.
- Consult your vehicle repair manual to locate the brake warning light bulb in the instrument cluster.
- Carefully remove the bulb and inspect it for any damage or burning.
- Replace the bulb if necessary.
Step 3: Test the Brake Light Switch
The brake light switch is usually located above the brake pedal.
- Locate the brake light switch connector using your repair manual.
- Disconnect the connector and use a digital multimeter set to “Continuity” to test the switch.
- Have an assistant press the brake pedal while you test for continuity across the switch terminals.
- If there is no continuity when the pedal is pressed, the switch is likely faulty and needs replacement.
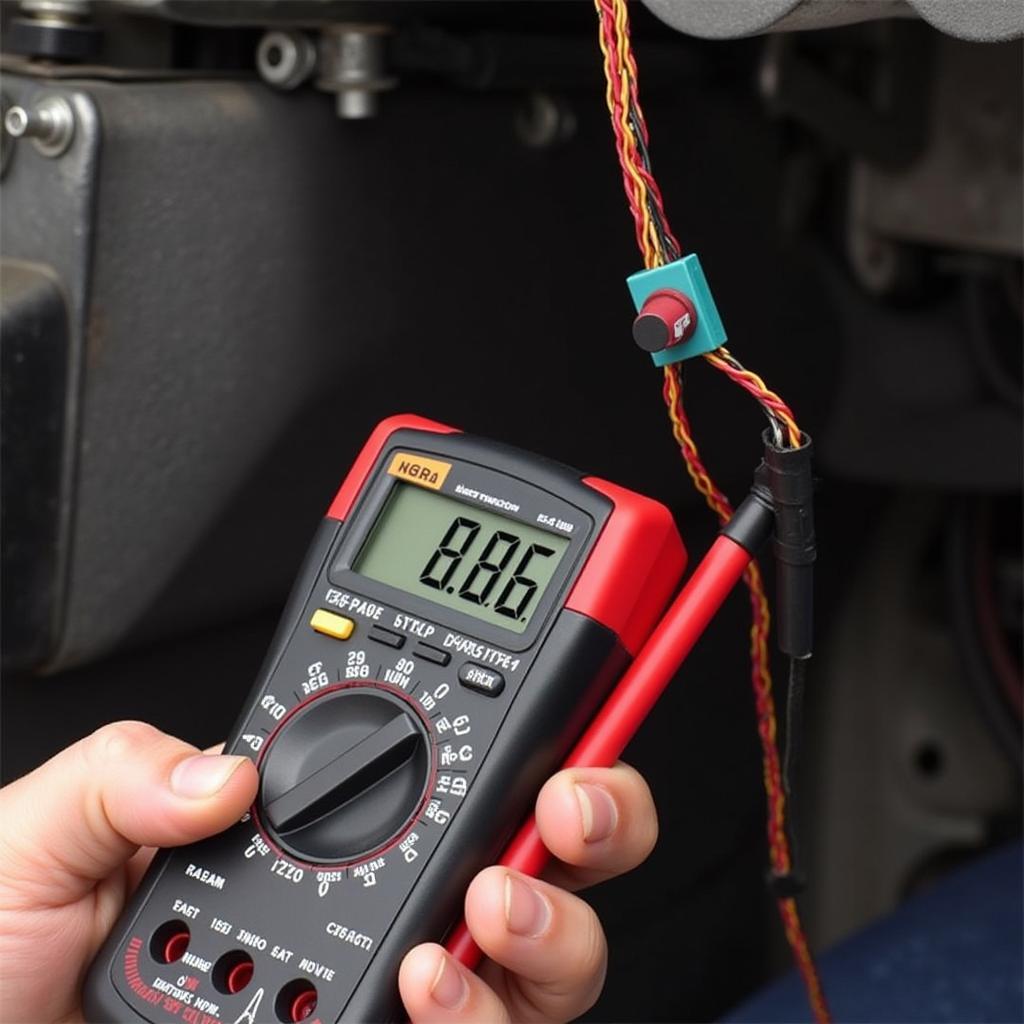 Mechanic Testing a Brake Light Switch with a Multimeter
Step 4: Check the Parking Brake Switch
- Locate the parking brake switch, typically found near the parking brake lever or pedal assembly.
- Disconnect the switch connector and use the multimeter on the “Continuity” setting to test it.
- Engage and disengage the parking brake while testing for continuity across the switch terminals.
- Similar to the brake light switch, a lack of continuity indicates a faulty switch that needs replacement.
Step 5: Inspect the Brake Pressure Differential Switch/Valve
- Consult your repair manual to locate this component, often found along the hydraulic brake lines.
- Carefully inspect the switch/valve for any signs of leakage, damage, or corrosion.
- If there are visible issues or you suspect a problem, it’s best to have a qualified mechanic further diagnose and repair the issue.
Step 6: Check the Wiring and Connectors
- Visually inspect all wiring and connectors related to the brake warning light circuit for any damage, looseness, or corrosion.
- Pay attention to the wiring harness near the brake pedal, master cylinder, and ABS module.
- Repair or replace any damaged wires or connectors as needed.
Step 7: Seek Professional Help If Necessary
If you’ve gone through these steps and still can’t pinpoint the problem, it’s time to seek help from a qualified automotive electrician or mechanic. They have the experience, tools, and diagnostic equipment to diagnose and repair complex brake system issues accurately.
“Testing your brake warning light circuit is essential for maintaining a safe and reliable vehicle,” says John Smith, a certified automotive electrician with over 20 years of experience. “Remember to consult your vehicle’s repair manual for specific instructions and always prioritize safety when working on your car.”
Conclusion
Testing your brake warning light circuit is a crucial aspect of vehicle maintenance. By following these steps, you can identify potential issues early on and take necessary action to ensure your safety on the road.
If you encounter any difficulties or are unsure about any step, do not hesitate to seek professional assistance. Maintaining a properly functioning brake system is paramount for your safety and the safety of others.
FAQs
Q: Can I drive my car if the brake warning light is on?
A: It is not recommended. Driving with the brake warning light on can be dangerous.
Q: How often should I check my brake fluid level?
A: It’s a good practice to check your brake fluid level at least once a month.
Q: How much does it cost to replace a brake light switch?
A: The cost of replacing a brake light switch can vary depending on the make and model of your vehicle.
Q: How can I tell if my brake pads are worn out?
A: A screeching or squealing noise when you apply the brakes is often a sign of worn brake pads.
Q: Can I use any type of brake fluid in my car?
A: No, it’s crucial to use the brake fluid type specified in your owner’s manual. Using the incorrect fluid can damage your braking system.