Seeing a yellow brake warning light illuminate on your Mini Cooper’s dashboard can be a bit unnerving. While this light might signal a serious issue, it often simply means your brake pads are wearing down and need replacing. This article will guide you through the process of identifying the cause and how to turn off the brake pad warning light on your Mini Cooper.
Understanding Your Mini Cooper’s Brake Pad Warning Light
Your Mini Cooper is equipped with a sensor within the brake system that monitors the thickness of your brake pads. As you use your brakes, the pads wear down. Once the pads reach a certain minimum thickness, the sensor triggers the brake pad warning light on your dashboard. This is a clear indication that it’s time to inspect your brake pads.
Common Reasons Your Brake Pad Warning Light is On
While worn brake pads are the most common culprit, several other reasons can cause the brake pad warning light to turn on in your Mini Cooper:
- Worn Brake Pads: As mentioned, this is the most common cause.
- Faulty Brake Pad Sensor: Sometimes, the sensor itself can malfunction, triggering the warning light even if your brake pads are fine.
- Low Brake Fluid: Your Mini Cooper’s brake system is hydraulic, meaning it relies on brake fluid to function correctly. If the brake fluid level is low, it could trigger the warning light.
- Electrical Issue: A short circuit or wiring problem in the brake pad sensor system can also turn on the warning light.
How to Check Your Mini Cooper’s Brake Pads
 Checking Mini Cooper Brake Pads
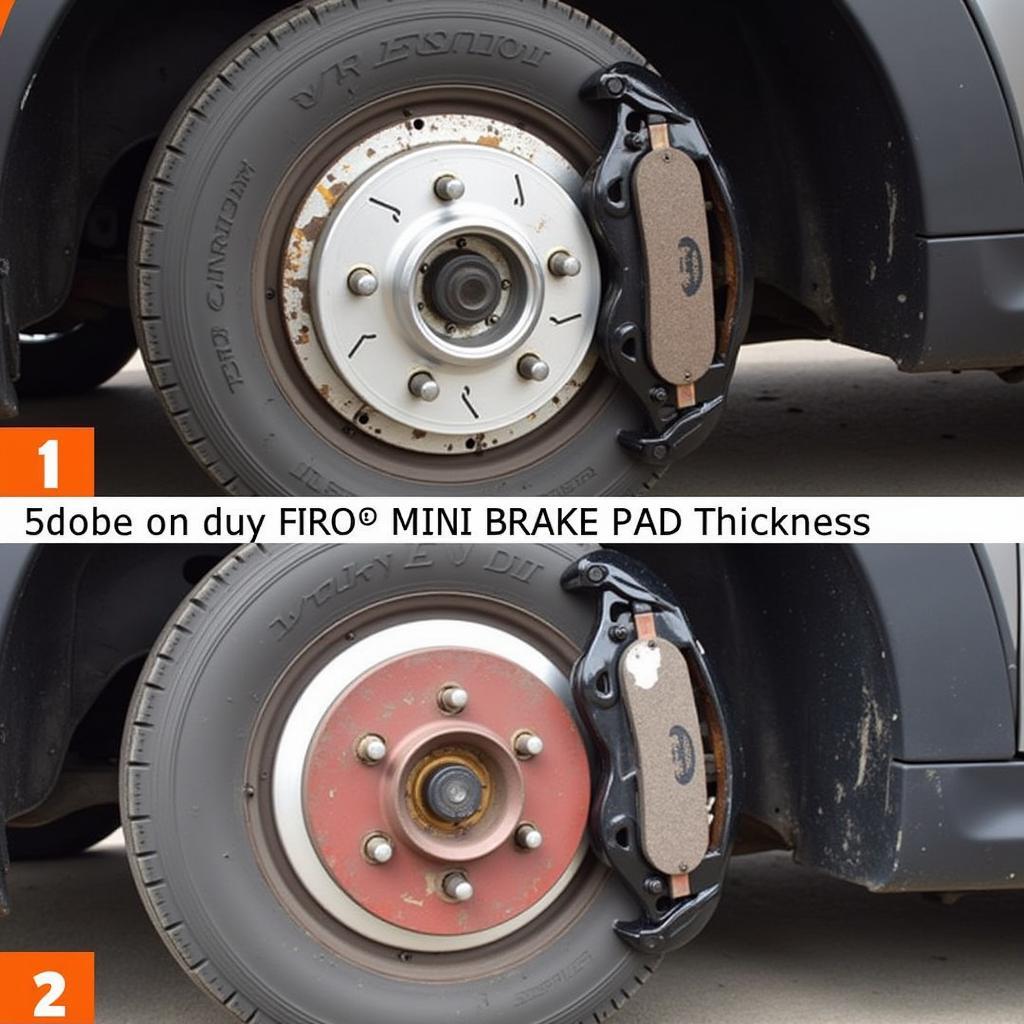
Before assuming the worst, start by checking your brake pads:
- Safety First: Park your Mini Cooper on a level surface and engage the parking brake.
- Locate the Brake Calipers: Your Mini Cooper has disc brakes on all four wheels. The brake caliper is the metal component positioned over the brake rotor (the shiny disc).
- Inspect the Brake Pads: Look through the space between the spokes of your wheel to see the brake pad on the caliper’s inside and outside edges. The brake pad is the component pressed against the rotor when you brake.
- Assess Pad Thickness: You should be able to see a significant amount of friction material on the brake pad. If the friction material is thin (less than ¼ inch), it’s time to replace your brake pads.
What if My Brake Pads Look Fine?
If your inspection reveals sufficient brake pad thickness, the issue likely lies elsewhere:
- Check Brake Fluid: Locate your Mini Cooper’s brake fluid reservoir and check the fluid level. If it’s low, add the appropriate DOT 4 brake fluid.
- Inspect for Leaks: While checking the brake fluid, inspect the reservoir and surrounding areas for any leaks.
- Seek Professional Help: If you can’t identify the issue, it’s best to take your Mini Cooper to a qualified mechanic specializing in Mini Coopers for a thorough diagnosis.
Can I Reset the Brake Pad Warning Light Myself?
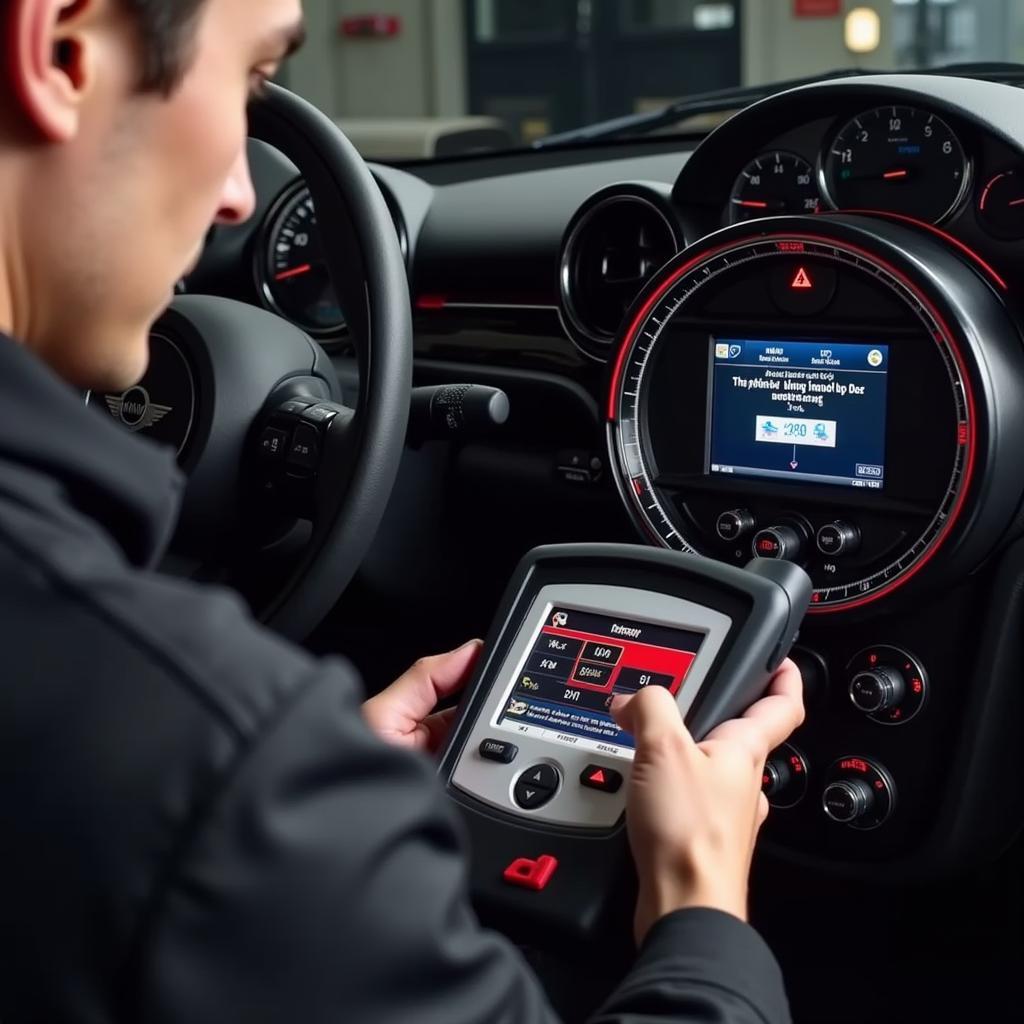
In many cases, the brake pad warning light will automatically turn off after replacing the brake pads and/or addressing the underlying issue. However, some Mini Cooper models may require a manual reset of the warning light. This often involves using a specialized diagnostic tool.
 Resetting Mini Cooper Brake Pad Warning Light
When to Consult a Professional
While some Mini Cooper owners are comfortable tackling DIY repairs, certain situations warrant professional assistance:
- You’re Not Comfortable with Car Repairs: Brake systems are critical for safety, so if you’re not comfortable working on your car, it’s best to leave it to the professionals.
- The Warning Light Remains On: If you’ve checked everything and the warning light persists, you’ll need a professional to diagnose and fix the problem.
- You Suspect a More Serious Issue: If you notice other symptoms, such as a soft brake pedal, unusual noises while braking, or pulling to one side, seek professional help immediately.
Tips for Extending the Life of Your Mini Cooper’s Brake Pads
- Avoid Hard Braking: Sudden stops put excessive strain on your brakes, leading to faster wear.
- Coast When Possible: When approaching a red light or stop sign, take your foot off the accelerator early and allow your Mini Cooper to coast to a stop.
- Lighten Your Load: Carrying excess weight puts more strain on your brakes, so try to keep your Mini Cooper as light as possible.
 New Mini Cooper Brake Pads
Conclusion
Addressing the brake pad warning light on your Mini Cooper promptly ensures your safety and prevents potentially costly repairs. By understanding the common causes and following the steps outlined in this article, you can maintain your Mini Cooper’s braking system and enjoy worry-free driving. However, remember that safety should always be your priority. If you’re ever in doubt, consult a qualified Mini Cooper mechanic.