Upgrading your car’s audio system can dramatically improve your driving experience. Installing a car radio might seem daunting, but with this guide, even a complete novice can tackle installing a car radio for dummies. We’ll break down the process step-by-step, offering clear instructions and helpful tips to make the installation smooth and successful.
Understanding Your Car’s Wiring Harness
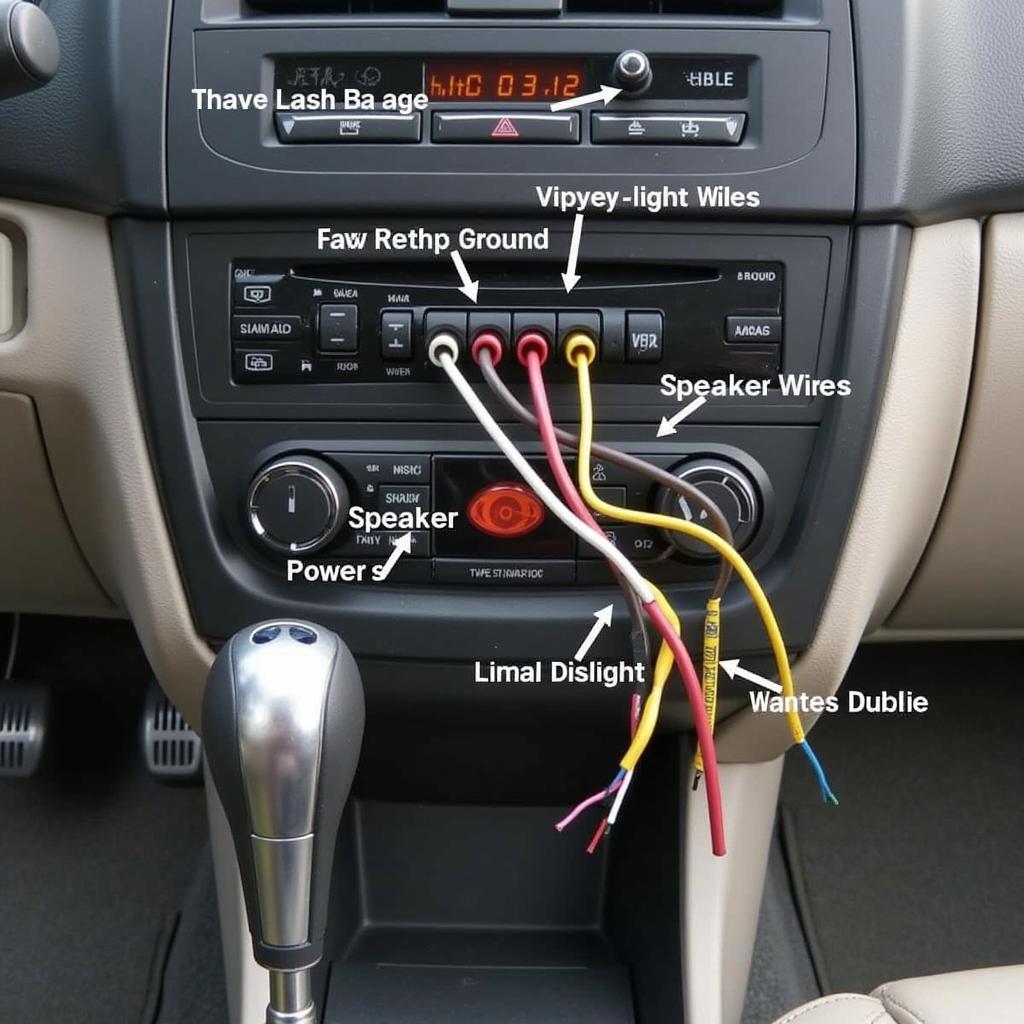
Before you even touch a screwdriver, understanding your car’s wiring harness is crucial. This bundle of wires connects your car radio to the vehicle’s electrical system, powering the radio and speakers. Miswiring can lead to blown fuses or even damage to the radio. Consult your car’s owner’s manual or an online wiring diagram specific to your make and model. This will identify the purpose of each wire, ensuring a correct and safe installation.
 Car Wiring Harness Diagram for Radio Installation
Gathering the Necessary Tools and Equipment
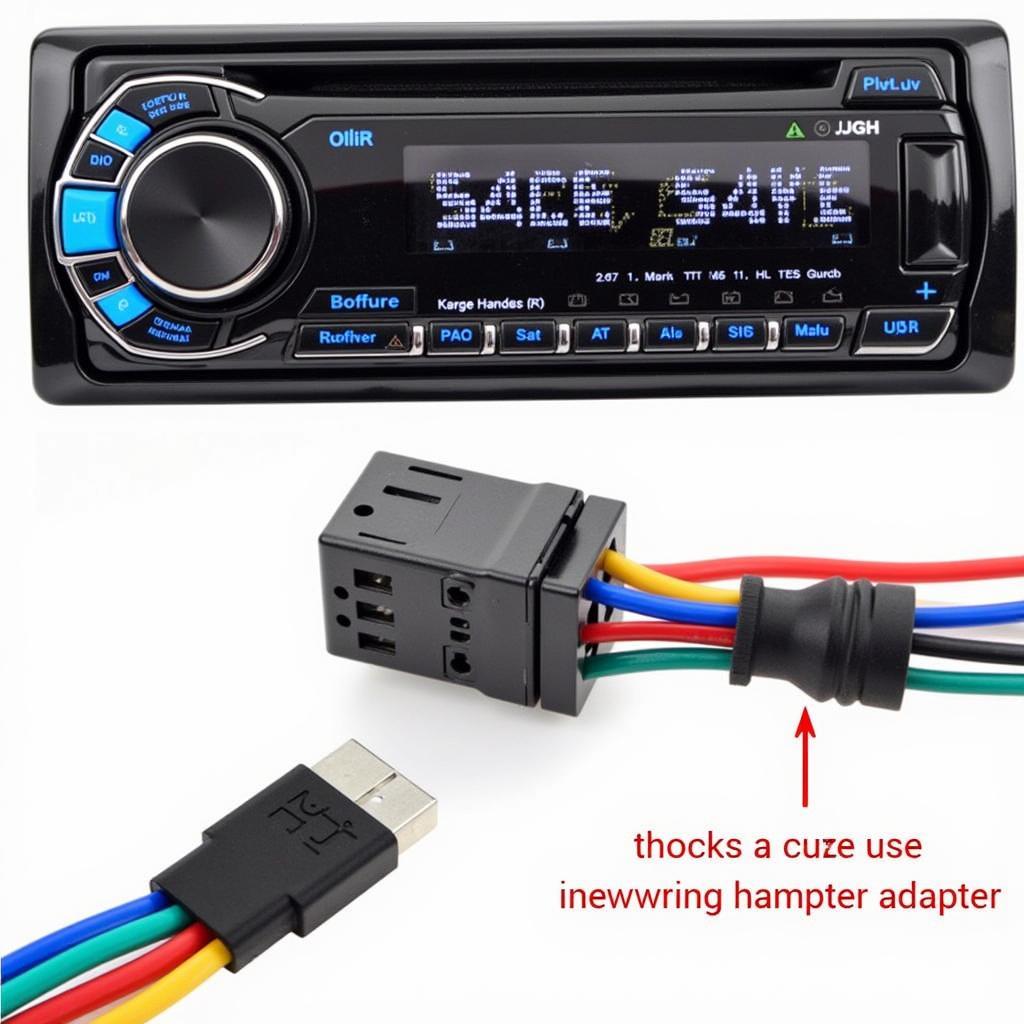
Having the right tools at your disposal will simplify the process. Gather a set of screwdrivers (Phillips and flathead), wire strippers, wire crimpers, electrical tape, a panel removal tool, and a wiring harness adapter (if necessary). Investing in a good quality wiring harness adapter designed for your car model can significantly reduce the risk of wiring errors and save you valuable time.
Step-by-Step Guide to Installing a Car Radio
Now, let’s dive into the actual installation. Remember to disconnect your car’s battery negative terminal before starting to prevent any electrical shorts.
-
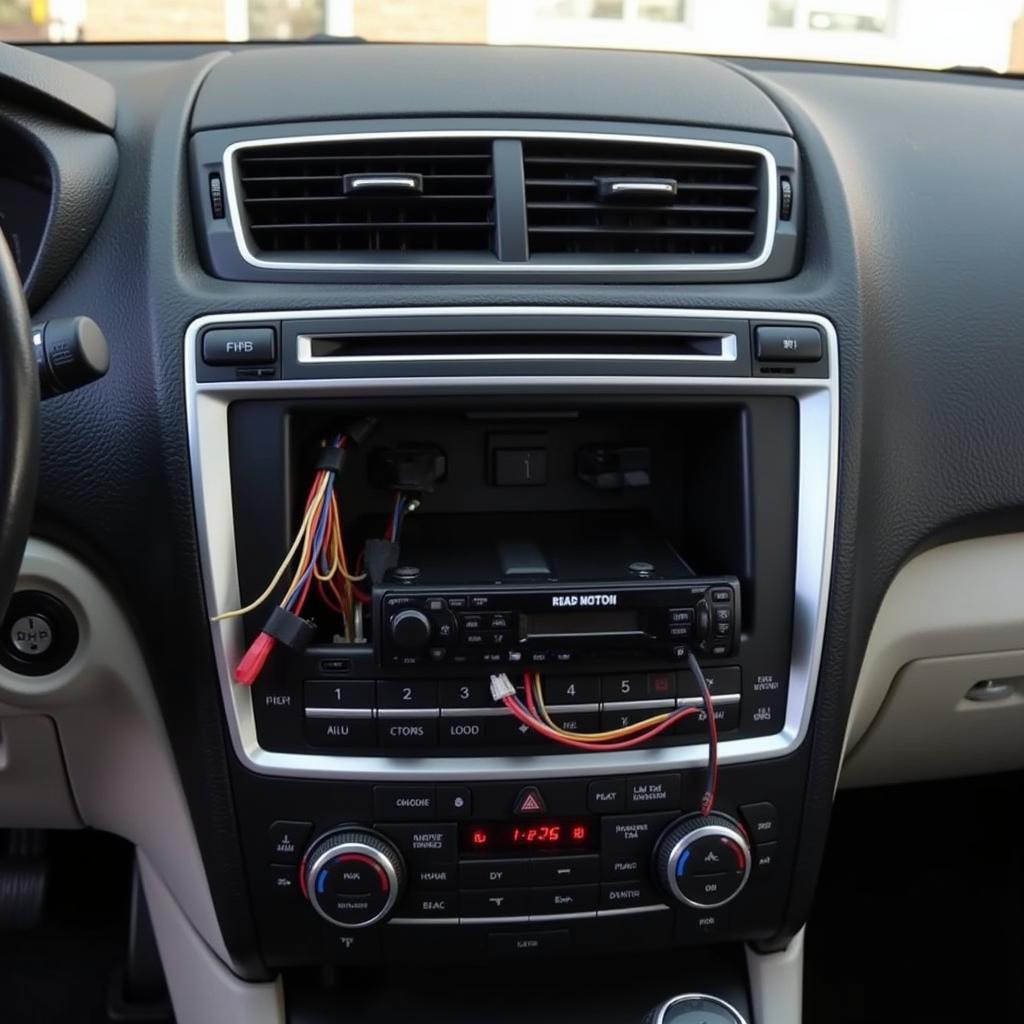
Removing the Old Radio: Carefully use the panel removal tool to pry open the trim surrounding your old car radio. Unscrew the mounting screws holding the radio in place and gently pull it out. Disconnect the wiring harness and antenna cable.
-
Connecting the Wiring Harness Adapter: If your new radio requires an adapter, connect it to the car’s wiring harness. Match the wire colors according to the wiring diagram. Secure the connections with electrical tape or heat shrink tubing. This adapter simplifies the process and avoids cutting your factory wiring.
-
Connecting the New Radio: Connect the wiring harness adapter and antenna cable to your new car radio. Slide the radio into the mounting slot and secure it with the mounting screws.
-
Testing the New Radio: Reconnect the car’s battery negative terminal. Turn on the ignition and test the radio’s functionality. Ensure all speakers are working correctly and that the radio receives a clear signal.
-
Reassembling the Dashboard: Replace the trim panels and secure them back into place. Make sure everything fits snugly and that there are no gaps.
Troubleshooting Common Installation Problems
Sometimes, you might encounter issues during installation. If your radio doesn’t power on, double-check the wiring connections, particularly the power and ground wires. If you experience poor reception, ensure the antenna cable is securely connected. For any other problems, consult the radio’s manual or seek professional help.
 Connecting Car Radio Wires with Harness Adapter
“A common mistake people make is neglecting to check the wiring diagram. Taking a few minutes to understand your car’s wiring can save you hours of frustration,” says automotive electrician, Michael Stevens.
Conclusion
Installing a car radio for dummies may seem complex initially, but by following these steps and taking your time, you can successfully upgrade your car’s audio system and enjoy your favorite tunes on the road. With careful planning and attention to detail, installing a car radio can be a rewarding DIY project.
FAQ
- Do I need a wiring harness adapter? It depends on your car and the new radio. Check the compatibility before purchasing.
- What if my radio doesn’t turn on after installation? Check the power and ground connections and ensure the fuse hasn’t blown.
- Can I install a car radio myself? Absolutely! With this guide, even a beginner can handle the installation.
- Where can I find a wiring diagram for my car? Your car’s owner’s manual or online resources specific to your car model.
- What tools do I need for the installation? Screwdrivers, wire strippers, crimpers, electrical tape, a panel removal tool, and possibly a wiring harness adapter.
- How long does the installation typically take? It can vary, but generally, it takes between 1-3 hours.
- What if I encounter problems during installation? Refer to the radio’s manual or seek professional assistance if needed.
“Investing in good quality tools and a compatible wiring harness adapter makes the installation process significantly smoother and safer,” adds Sarah Johnson, a certified car audio installer.

