Upgrading your car audio system with a new Kenwood car radio can dramatically improve your driving experience. This guide will walk you through the process of installing a Kenwood car radio, covering everything from preparation to final testing. We’ll equip you with the knowledge and confidence to tackle this project yourself, saving you time and money.
A new Kenwood car radio can transform your daily commute, providing crystal-clear sound and modern features. But the thought of installing it yourself might seem daunting. Fear not! This comprehensive guide simplifies the process, breaking it down into manageable steps. We’ll explore the tools you’ll need, the wiring intricacies, and the final touches that ensure a perfect installation. Let’s dive in!
Gathering Your Tools and Preparing Your Car
Before you begin installing your Kenwood car radio, gather the necessary tools. This includes a screwdriver set, wire strippers, crimpers, electrical tape, and a wiring harness adapter. Having these readily available will streamline the process. Also, disconnect the negative battery terminal to prevent any electrical mishaps during the installation.
Next, carefully remove the old car radio. This typically involves removing trim pieces around the radio using a specialized tool or a flat-head screwdriver. Once the trim is removed, unscrew the old radio and disconnect the wiring harness and antenna.
Wiring Your Kenwood Car Radio
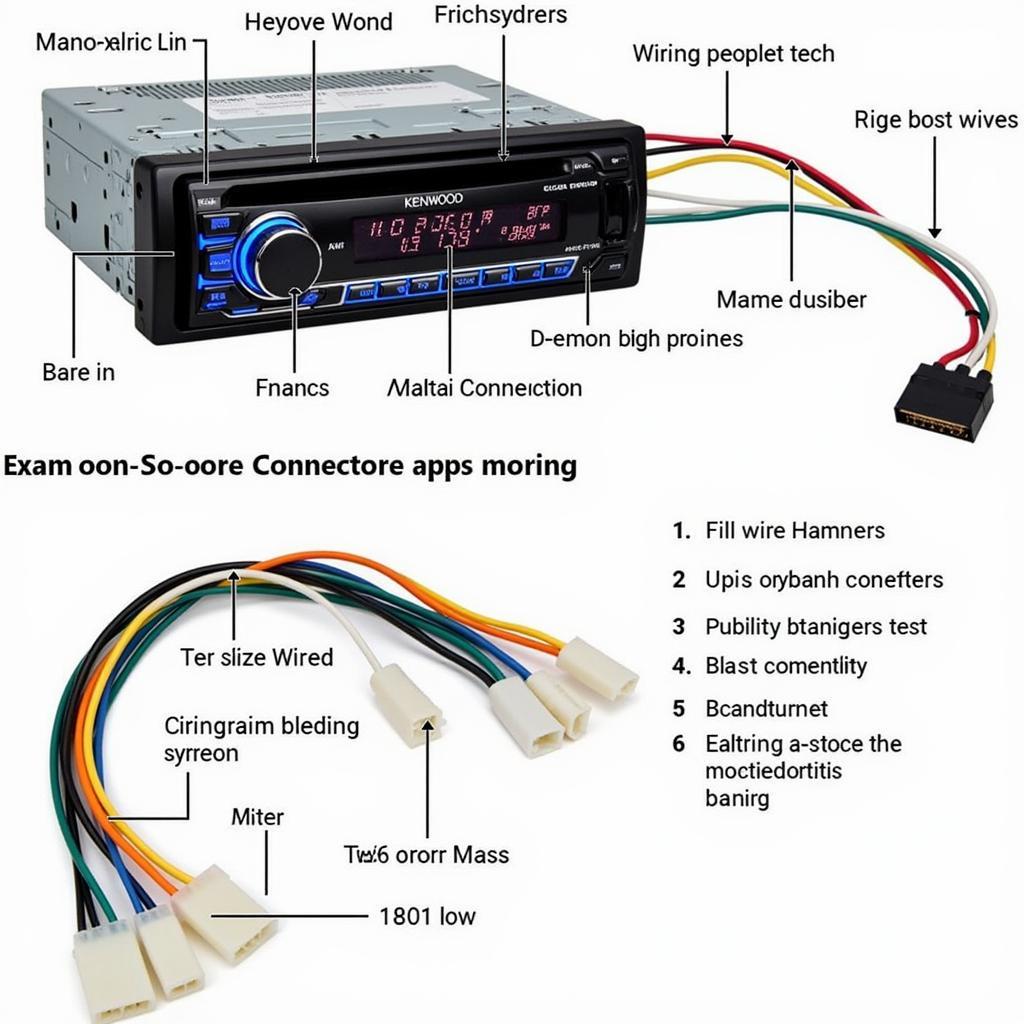
Wiring the Kenwood car radio is often the most challenging part of the installation. Using a wiring harness adapter designed for your specific car model simplifies this process significantly. It allows you to connect the new radio to your car’s existing wiring without cutting or splicing any wires. Carefully match the wires on the adapter to the corresponding wires on the Kenwood radio harness, using the wiring diagrams provided with both the radio and the adapter. Secure the connections using crimp connectors or soldering.
If you’re looking for ways to enhance your car’s audio capabilities, consider exploring Bluetooth connectivity options for your radio. Check out our article on how to make your old car radio bluetooth for more information.
 Kenwood Car Radio Wiring Harness
Understanding the Wiring Diagram
Understanding the wiring diagram is crucial for a successful installation. The diagram identifies each wire’s function, such as power, ground, speakers, and illumination. Pay close attention to the colors and labels on the wires to ensure correct connections. Miswiring can damage your radio or car’s electrical system.
Installing the Kenwood Car Radio
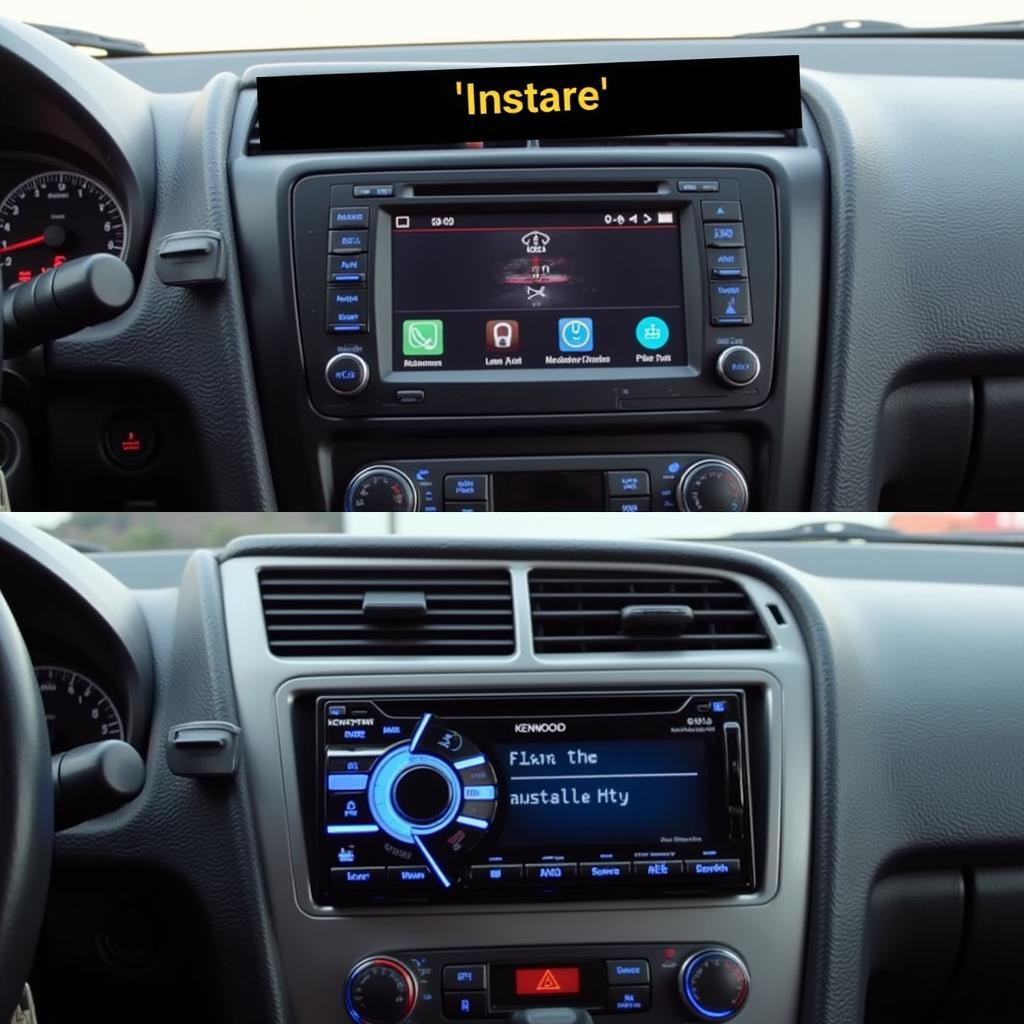
Once the wiring is complete, carefully slide the Kenwood car radio into the dashboard opening. Secure it using the mounting brackets or screws provided. Reconnect the negative battery terminal and test the radio’s functionality. Ensure all speakers are working correctly and that the radio is receiving power and ground.
Adding a Sirius radio with Bluetooth for car can further enhance your listening experience. You might also want to explore options like a bluetooth radio receiver for car or a bluetooth am fm radio for car.
 Kenwood Car Radio Installed
Troubleshooting Common Installation Issues
Sometimes, you might encounter issues during installation. If the radio doesn’t power on, double-check the power and ground connections. If the speakers aren’t working, verify the speaker wire connections. Don’t hesitate to consult the Kenwood car radio’s manual for troubleshooting tips. If you’re planning to integrate an amplifier with your factory radio, understanding car amp wiring factory radio is crucial for a seamless integration.
Conclusion
Installing a Kenwood car radio can be a rewarding DIY project, significantly enhancing your car’s audio system. By following these steps and paying attention to the details, you can successfully install your new radio and enjoy high-quality sound on the road. Remember to always consult the Kenwood car radio manual for specific instructions related to your model.
FAQ
-
Do I need a special wiring harness for my Kenwood car radio? Yes, a wiring harness adapter designed for your car model is highly recommended to simplify the wiring process and avoid cutting or splicing wires.
-
What if I don’t have any experience with car audio installation? While some basic electrical knowledge is helpful, this guide provides step-by-step instructions that even beginners can follow.
-
Can I install a Kenwood car radio in any car? Most Kenwood car radios are designed to fit standard DIN or double-DIN openings. Check your car’s dashboard and the radio’s specifications for compatibility.
-
What tools do I need for the installation? You’ll need a screwdriver set, wire strippers, crimpers, electrical tape, and a wiring harness adapter.
-
Where can I find the wiring diagram for my car? The wiring diagram is typically found in the car’s owner’s manual or online resources specific to your car model.
-
What should I do if my Kenwood car radio doesn’t power on after installation? Double-check the power and ground connections and ensure the car’s battery is properly connected.
-
Can I add additional features like Bluetooth or satellite radio to my Kenwood car radio? Many Kenwood car radios come with built-in Bluetooth and satellite radio capabilities. Check your radio’s specifications for details.


