Installing car radio wiring can seem daunting, but with the right knowledge and preparation, it’s a manageable DIY project. This guide provides a step-by-step approach, addressing common challenges and ensuring a smooth installation process.
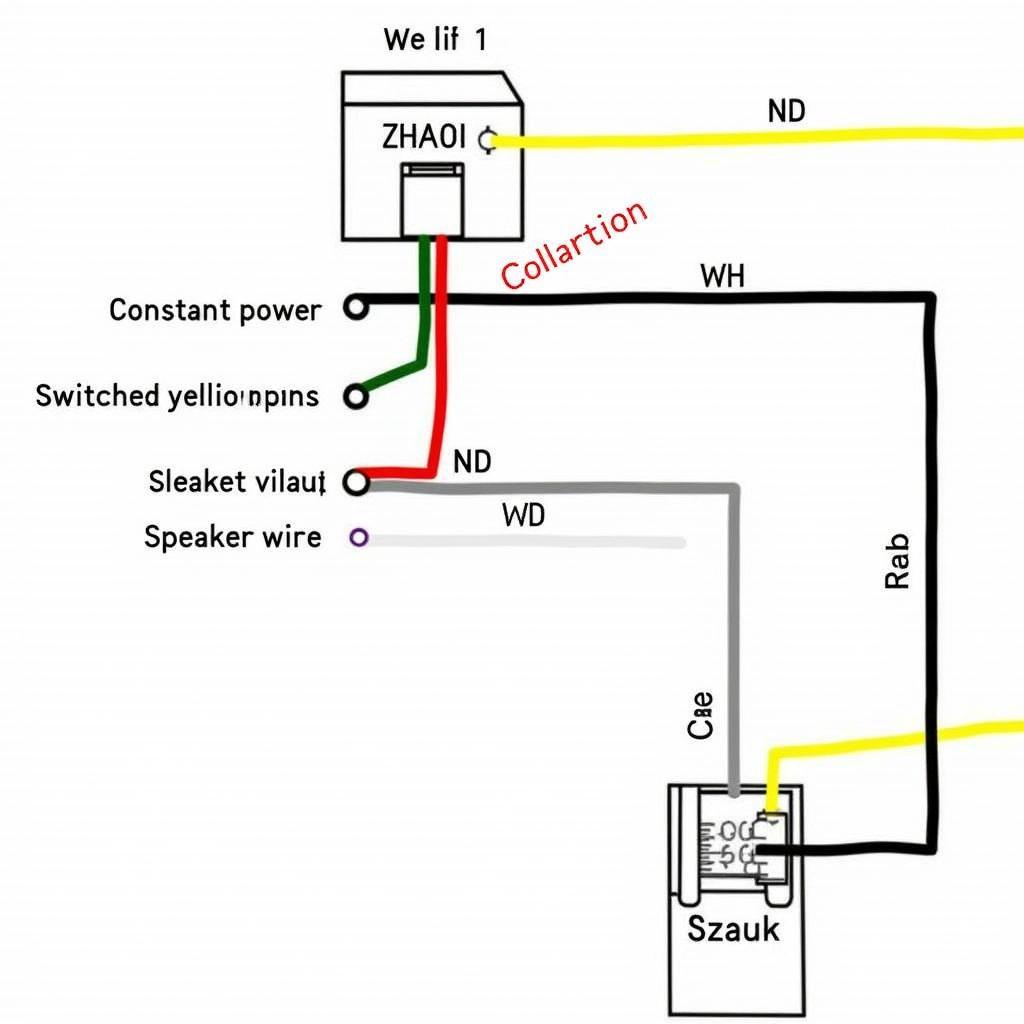
 Car Radio Wiring Diagram
Understanding Your Car’s Electrical System
Before diving into the installation, it’s crucial to understand your car’s electrical system. This involves identifying the power, ground, and speaker wires, as well as the antenna connection. A wrong connection can damage your radio or even your car’s electrical system. Consulting your car’s owner’s manual or a wiring diagram specific to your car model is highly recommended. This will save you time and prevent potential headaches down the line. Remember, a little research goes a long way.
Gathering the Necessary Tools and Materials
Having the right tools and materials at hand is essential for a successful installation. You’ll need a wire stripper, crimping tool, electrical tape, wire connectors, and a multimeter. A rfid key fob might also be handy depending on your car’s setup. Additionally, having a wiring harness adapter specific to your car model will simplify the process significantly.
Choosing the Right Wiring Harness
Using a wiring harness adapter designed for your car model is highly recommended. This eliminates the need to cut or splice your car’s factory wiring, preserving its integrity. The harness provides labeled connectors that match your car radio’s wiring, making the connection process straightforward and minimizing the risk of errors.
Step-by-Step Installation Guide
-
Disconnect the Battery: Before starting any electrical work, disconnect the negative terminal of your car’s battery. This is a crucial safety precaution to prevent shocks and short circuits.
-
Remove the Old Radio: Carefully remove the trim panel surrounding your old car radio. This usually involves using a specialized tool to pry the panel loose without damaging it. Once the panel is removed, unscrew and disconnect the old radio.
-
Connect the Wiring Harness: Connect the wiring harness adapter to your car’s factory wiring harness. The connectors are usually color-coded and keyed, ensuring a proper fit. Double-check all connections to avoid any mistakes.
-
Connect the Car Radio: Connect the wiring harness to your new car radio. Again, the connectors are typically color-coded and keyed for easy identification.
-
Test the Radio: Before fully installing the radio, reconnect the negative battery terminal and test the radio’s functionality. Ensure that all speakers are working correctly and that the radio receives a clear signal.
-
Complete the Installation: If everything works correctly, disconnect the battery again, slide the radio into the dash, and secure it with the screws. Reinstall the trim panel, and you’re done!
Common Issues and Troubleshooting
Sometimes, you might encounter issues during the installation process. Here are a few common problems and their solutions:
- No Power: Check the fuse for the car radio circuit. Ensure that the power wire is correctly connected to the wiring harness and the radio.
- No Sound: Verify the speaker wire connections. Make sure they’re connected to the correct terminals on the radio and the speakers.
- Poor Reception: Check the antenna connection. Ensure that it’s securely attached to the radio.
Conclusion
Installing car radio wiring can be a rewarding DIY project. By following these steps and taking your time, you can successfully upgrade your car’s audio system. Remember, having the right tools, understanding your car’s electrical system, and using a key fob rfid blocker when working with electronics are essential. With a little patience and attention to detail, you’ll be enjoying your new car radio in no time. Don’t forget to consult your car’s manual for specific wiring diagrams, or seek professional help if needed.
FAQ
-
Do I need a special tool to remove the trim panel? Yes, most cars require a specialized trim removal tool to avoid damaging the panel.
-
Can I install any car radio in my car? Not all car radios are compatible with all car models. Check the radio’s specifications and your car’s compatibility before purchasing.
-
What if I don’t have a wiring harness adapter? While not recommended, you can connect the radio directly to your car’s wiring by splicing and connecting the wires individually. However, this requires more advanced electrical knowledge and can void your car’s warranty.
-
What gauge wire should I use for the power connection? The appropriate wire gauge depends on the radio’s power requirements. Consult the radio’s manual for specific recommendations.
-
How can I test the radio before fully installing it? Temporarily connect the negative battery terminal and power on the radio to test its functionality.
-
What should I do if my new radio doesn’t turn on? Double-check all wiring connections, especially the power and ground connections. Also, check the fuse for the radio circuit.
-
Where can I find a wiring diagram for my car? Your car’s owner’s manual should contain a wiring diagram. You can also find diagrams online or at an auto parts store. Thinking about a new rfid key fob cover? It’s a great way to protect your key fob. Knowing how to define key fob can also be helpful. If you have a hyundai fob key, you can likely find specific instructions online.


