ISO car radio wiring diagrams are essential for any car audio enthusiast or professional installer. These diagrams provide a standardized way to connect your car radio, ensuring compatibility and minimizing the risk of damage. Whether you’re upgrading your factory stereo, troubleshooting a wiring issue, or installing a brand new system, understanding ISO car radio wiring is crucial for a successful installation.
Decoding the ISO Car Radio Wiring Standard
The International Organization for Standardization (ISO) developed a standard wiring harness for car radios to simplify installation and improve compatibility between different car manufacturers and aftermarket stereo systems. This standard, often referred to as the ISO connector, makes swapping out radios much easier. Before the ISO standard, each car manufacturer used its own unique wiring configuration, creating a headache for anyone trying to upgrade their car’s audio system. Now, with the ISO connector, you can often simply plug and play with a new stereo, drastically reducing installation time and complexity.
Why is the ISO Standard Important?
The ISO standard is paramount because it provides a universal language for car audio wiring. It eliminates the guesswork and the need for extensive wiring modifications when replacing your car stereo. This standardization not only simplifies installation but also helps protect your vehicle’s electrical system by ensuring correct wiring connections.
Common ISO Car Radio Wiring Diagram Connections
A typical ISO connector is split into two blocks: the power block and the speaker block. The power block supplies power to the radio and handles functions like the ignition switch, constant 12V power, and ground. The speaker block connects to your car’s speakers, carrying the audio signals. Knowing which wire corresponds to which function is key to a successful installation.
- Constant 12V (Yellow): This wire provides continuous power to the radio, allowing it to retain presets and settings even when the ignition is off.
- Switched 12V (Red): This wire receives power only when the ignition is on, turning the radio on and off with the car.
- Ground (Black): This wire completes the electrical circuit and is essential for proper operation.
- Illumination (Orange): This wire dims the radio display when the headlights are turned on.
- Antenna (Blue): This wire powers the antenna or an amplified antenna adapter.
- Speaker Wires: These wires connect to the car’s speakers. They are typically color-coded in pairs (e.g., white/white-black for front left, grey/grey-black for front right).
Troubleshooting Common ISO Wiring Issues
Even with the ISO standard, you might encounter some wiring problems. A common issue is an incorrect wiring connection, which can lead to the radio not powering on, loss of presets, or even damage to the radio or car’s electrical system. Another common problem is a blown fuse, which can interrupt the power supply to the radio.
How to Identify and Fix Wiring Problems
Start by checking the fuses. If a fuse is blown, replace it with a fuse of the same amperage. If the fuses are good, double-check the wiring connections using the ISO car radio wiring diagram for your specific car model. Ensure each wire is correctly connected to the corresponding pin on the ISO connector. A multimeter can be a valuable tool for testing the continuity and voltage of the wires.
“Always double-check your wiring connections before powering on the radio. A simple mistake can lead to costly repairs.” – John Smith, Automotive Electrical Engineer
Adapting to Non-ISO Systems
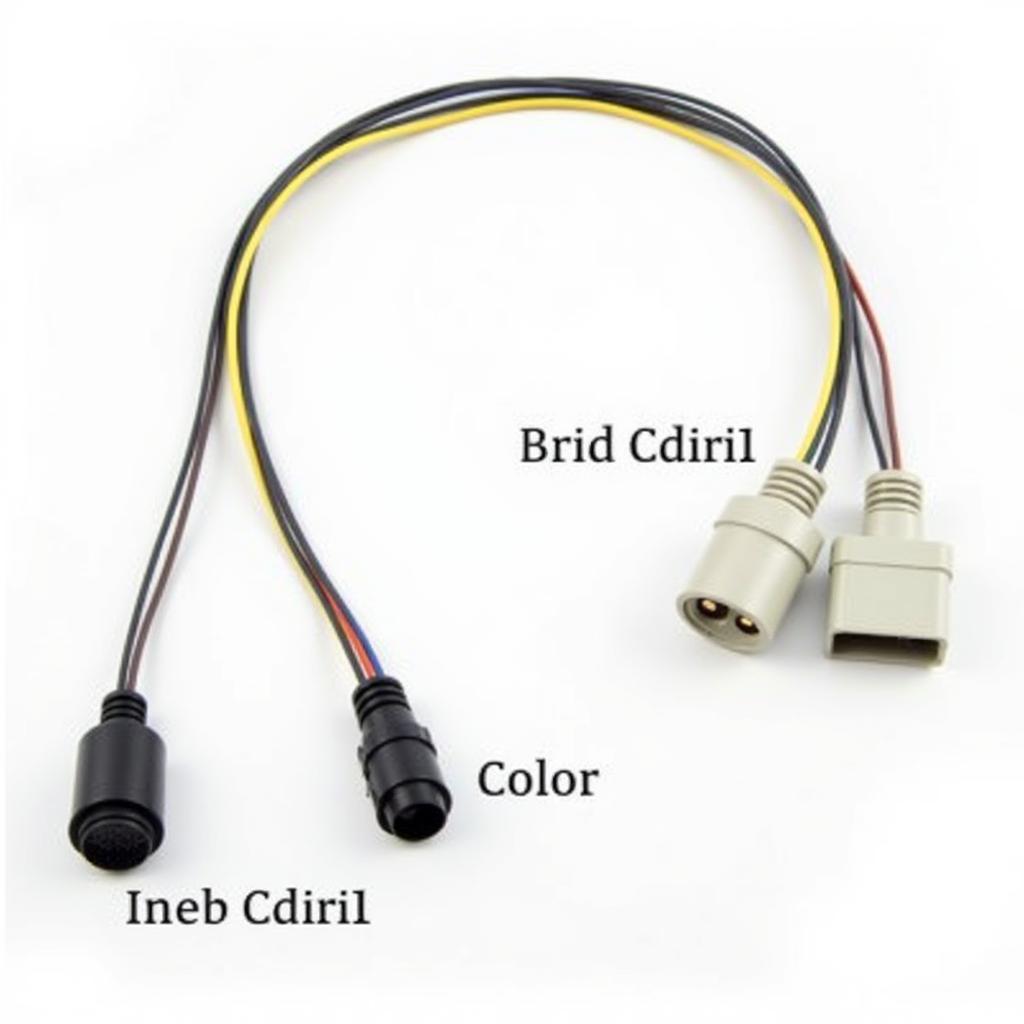
While the ISO standard is widely adopted, some older cars or vehicles from certain manufacturers may not use the ISO connector. In these cases, you will need an adapter harness to connect your new stereo to the car’s existing wiring. These adapters convert the car’s unique wiring configuration to the ISO standard, allowing you to install an aftermarket radio without cutting or splicing any wires.
Choosing the Right Adapter Harness
Choosing the correct adapter is crucial for compatibility. You’ll need to know the make, model, and year of your car to find the right adapter. Consult a car audio specialist or check online resources for compatibility information.
“Using the correct adapter harness ensures a seamless installation and protects your car’s electrical system.” – Maria Garcia, Car Audio Installation Specialist
 ISO Car Radio Wiring Diagram Adapter Harness
Conclusion
Understanding ISO car radio wiring diagrams is essential for anyone working with car audio systems. This standardized system simplifies installation, ensures compatibility, and protects your car’s electrical system. By familiarizing yourself with the ISO connector and its various functions, you can confidently upgrade your car stereo or troubleshoot wiring issues. Remember to always double-check your wiring connections using the correct ISO car radio wiring diagram for your specific vehicle.


