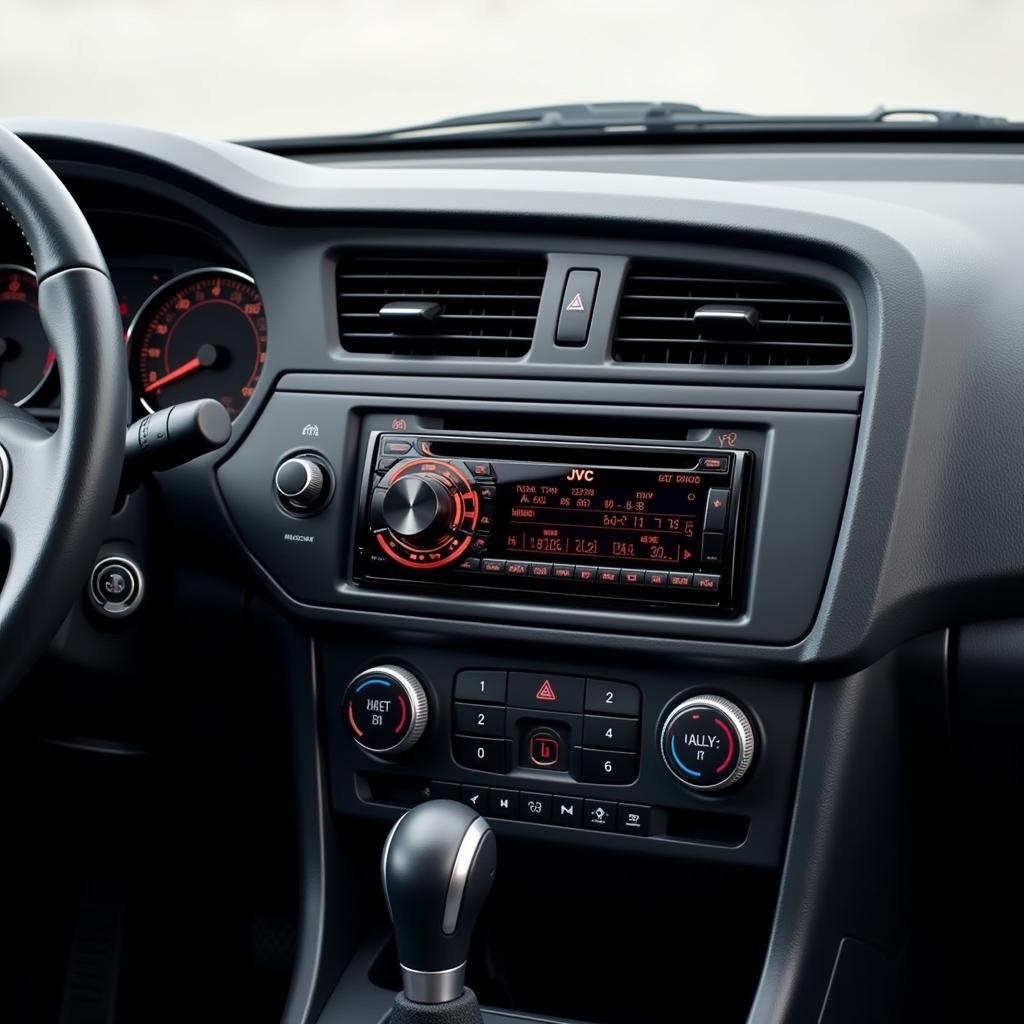
Upgrading your car’s audio system with a new JVC car radio can drastically improve your driving experience. This guide provides a comprehensive overview of JVC car radio installation, covering everything from choosing the right model to troubleshooting common issues.
Choosing the Right JVC Car Radio
Before diving into the installation process, selecting the right JVC car radio for your needs and vehicle is crucial. Consider factors like screen size, connectivity options (Bluetooth, Apple CarPlay, Android Auto), audio features (equalizer, subwoofer control), and compatibility with your car’s existing wiring and dashboard. Researching different models and comparing their features will ensure you get the perfect fit. Don’t forget to check online reviews and forums for real-world feedback from other users. A little research upfront will save you headaches down the road.
Understanding Your Car’s Wiring
Familiarizing yourself with your car’s wiring is essential for a smooth installation. Locate your car’s wiring diagram, typically found in the owner’s manual or online resources. This diagram will identify the power, ground, speaker, and antenna wires. Understanding these connections is vital for properly connecting your new JVC head unit. Incorrect wiring can lead to malfunctions or even damage to your car’s electrical system.
Preparing for the Installation
Gather all the necessary tools before starting. You’ll likely need a wiring harness adapter, a dash kit specific to your car’s make and model, screwdrivers, wire strippers/crimpers, and a panel removal tool. Having everything readily available will streamline the installation process. Remember, proper preparation prevents poor performance!
Installing the Wiring Harness
The wiring harness adapter connects your new JVC car radio to your car’s existing wiring system. Carefully match the wires from the adapter to the corresponding wires on your car radio’s wiring harness using the wiring diagrams. Secure the connections with electrical tape or heat shrink tubing for a reliable and long-lasting connection. This is a critical step, so double-check your work to avoid potential problems later.
Installing the Dash Kit
The dash kit ensures a seamless fit for your new JVC car radio in your car’s dashboard. Follow the instructions provided with the dash kit to properly install it. This typically involves securing the kit to the car’s dashboard opening and then attaching the car radio to the kit. A properly installed dash kit will give your new stereo a professional, factory-installed look.
Connecting the JVC Car Radio
After installing the wiring harness and dash kit, it’s time to connect the JVC car radio. Carefully plug the wiring harness into the back of the radio and connect the antenna cable. Secure the radio to the dash kit according to the manufacturer’s instructions. Before fully assembling the dash, test the radio to ensure all connections are functioning correctly.
Testing and Finalizing the Installation
Turn on the car’s ignition and test the radio’s functionality. Check the power, volume, and all audio sources. If everything works correctly, reassemble the dashboard and enjoy your new JVC car radio! If you encounter any issues, double-check the wiring connections and consult the troubleshooting section of the radio’s manual.
 Final JVC Car Radio Installation
Troubleshooting Common JVC Car Radio Installation Issues
Sometimes, you might encounter a few hiccups during the installation process. Here are some common issues and their solutions:
- No Power: Check the power and ground connections, as well as the car’s fuse box.
- No Sound: Verify the speaker connections and ensure the radio is properly grounded.
- Poor Reception: Check the antenna connection and ensure it’s securely attached.
Conclusion
JVC car radio installation can be a rewarding DIY project. By following this guide and taking your time, you can upgrade your car’s audio system and enjoy a much-improved listening experience. Remember to carefully choose the right JVC car radio for your needs, understand your car’s wiring, and gather all necessary tools before starting. With a little patience and attention to detail, you’ll be cruising with crystal-clear sound in no time. Happy listening!


