A rumbling exhaust note, improved horsepower, and increased torque – upgrading your Mercedes Benz V8’s exhaust headers promises a lot. But what happens when those performance promises turn into a symphony of rattling and clanging under your hood? You’re left with the dreaded “Mercedes Benz V8 Engine Headers Fixed” search. Don’t worry, we’ve got you covered. This article dives deep into the world of V8 headers, helping you understand common issues, recognize the telltale signs of trouble, and guide you towards a solid fix.
Why Headers Matter (and Why They Can Be a Headache)
Headers are the unsung heroes of your Mercedes Benz V8’s exhaust system. These intricate pipes channel exhaust gases away from the engine, and when upgraded, can significantly boost performance. However, being exposed to extreme heat and vibrations makes them prone to issues.
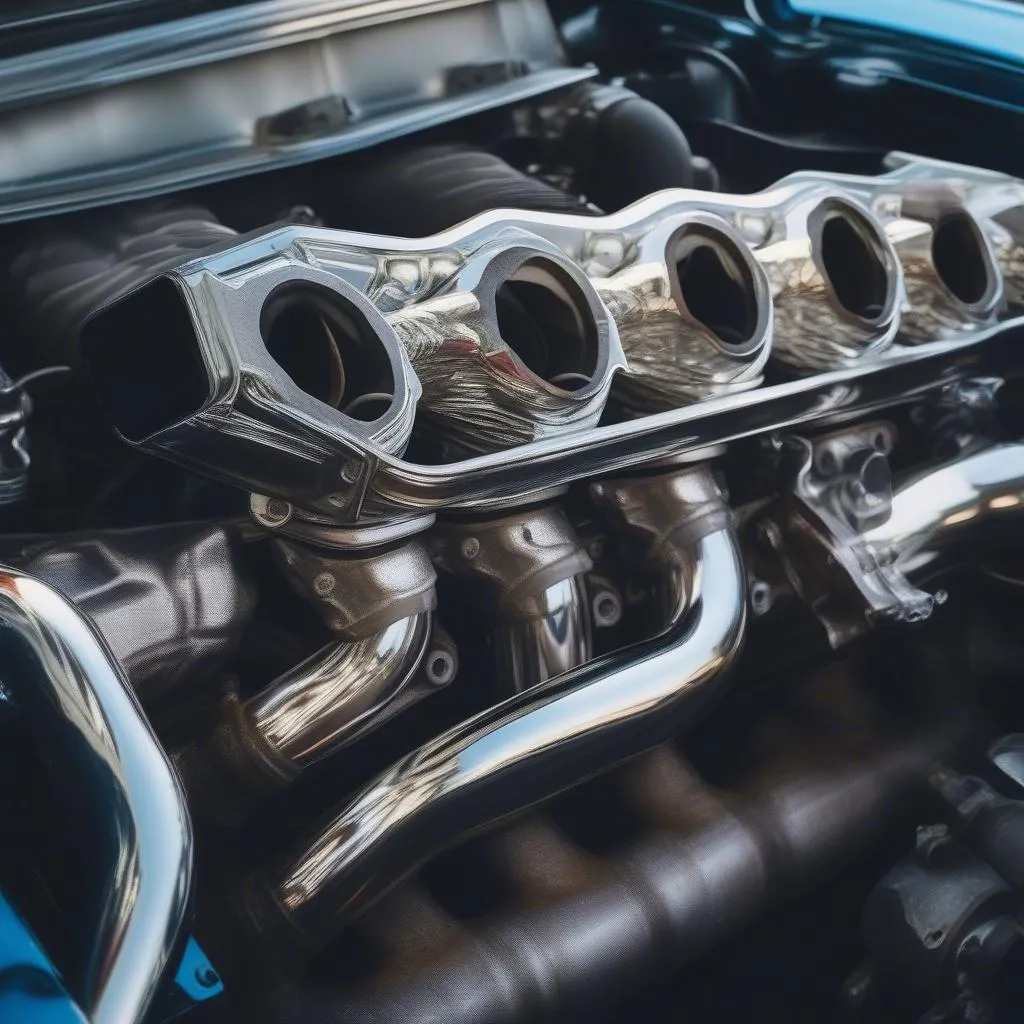 Mercedes Benz V8 Engine Headers
Recognizing the Warning Signs
Ignoring a faulty header is like ignoring a check engine light – it only leads to bigger problems down the road. Here are a few red flags that scream “header trouble”:
- Exhaust Leaks: A telltale hissing or ticking sound, especially when the engine is cold.
- Reduced Performance: Noticeable decrease in power and acceleration.
- Burning Smell: A strong odor coming from the engine bay, often caused by leaking exhaust gases.
- Check Engine Light: This light might illuminate, often accompanied by oxygen sensor-related error codes.
“A cracked header can significantly impact engine performance,” warns automotive engineer Dr. Emily Carter, author of “High-Performance Exhaust Systems: Design and Optimization“. “Ignoring the issue can lead to costly repairs down the line.”
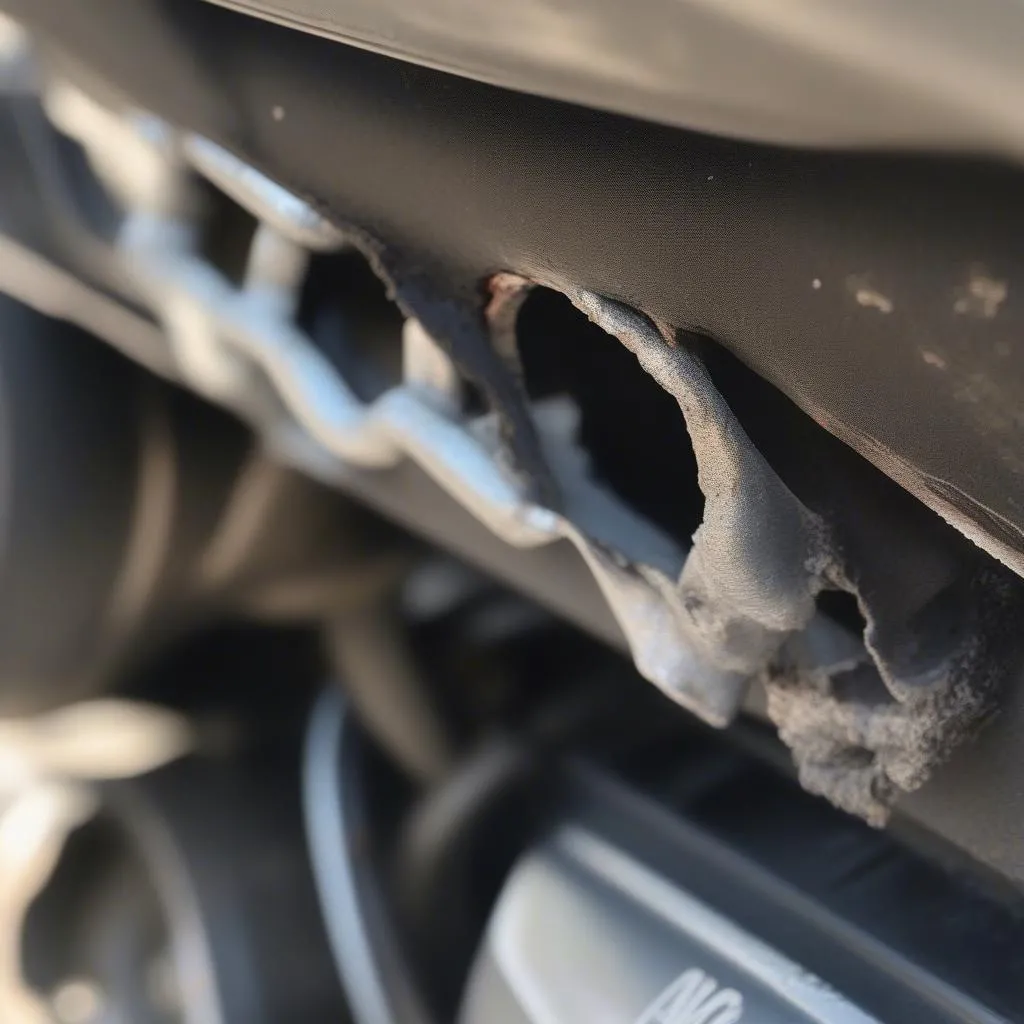 Cracked Exhaust Header
Gearing Up for the Fix
Before diving under the hood, make sure you have the right tools for the job:
- Socket Set: A comprehensive set with various sizes to fit the header bolts.
- Wrenches: For those hard-to-reach bolts and nuts.
- Jack and Jack Stands: Essential for safely lifting and securing your Mercedes.
- Penetrating Oil: A lifesaver when dealing with stubborn, rusted bolts.
- New Gaskets: Never reuse old gaskets; always replace them with new ones.
- Safety Glasses and Gloves: Safety first! Protect your eyes and hands.
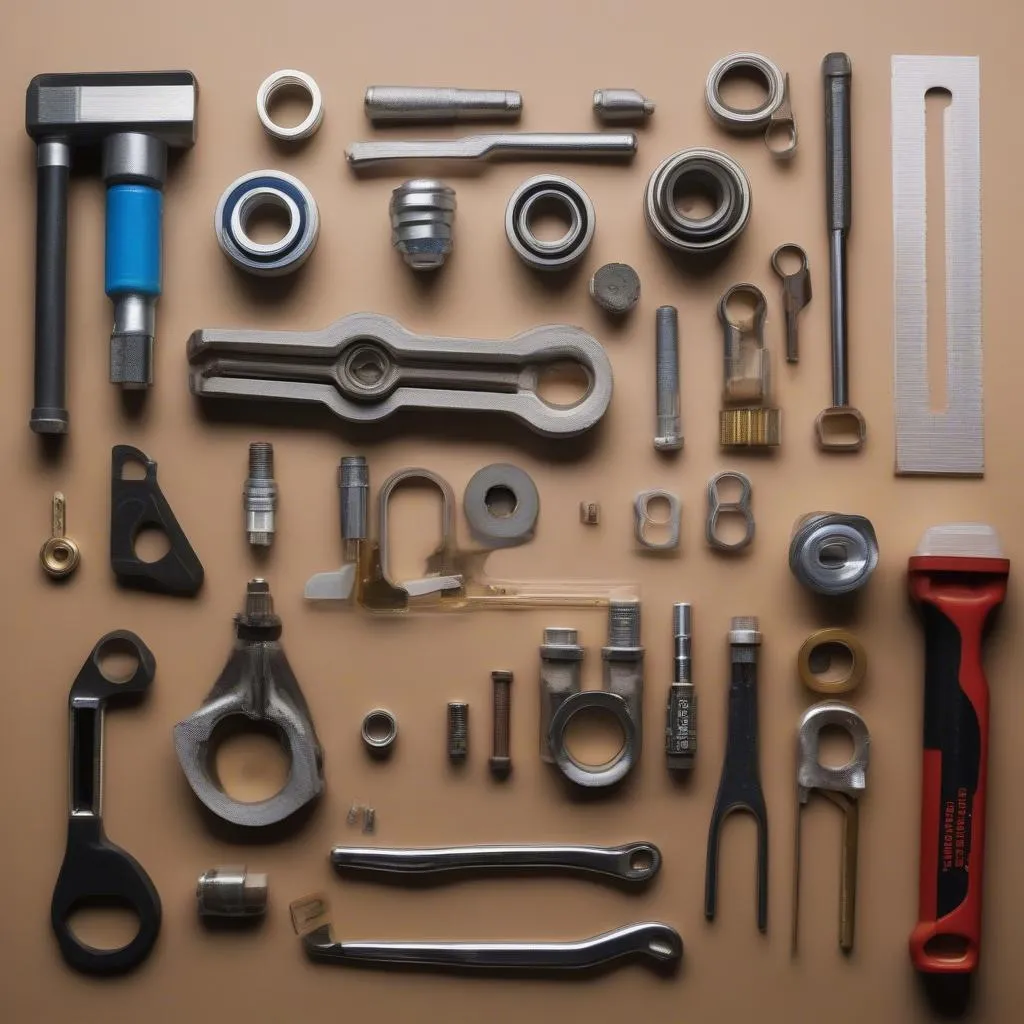 Car Repair Tools for Header Replacement
Fixing Those Headers: A Step-by-Step Guide
While replacing headers might seem daunting, a systematic approach makes the task manageable. Here’s a simplified breakdown:
- Preparation: Safely lift your Mercedes using the jack and secure it with jack stands. Allow the engine to cool down completely.
- Access: Disconnect the negative battery terminal. Remove any components obstructing access to the headers, such as heat shields.
- Removal: Loosen and remove the header bolts, using penetrating oil if needed. Carefully separate the old headers from the engine block and exhaust system.
- Installation: Install the new headers, ensuring proper alignment. Use new gaskets to create a tight seal.
- Reassembly: Tighten the header bolts gradually, working your way from the center outwards. Reinstall any removed components.
- Final Check: Reconnect the battery and start the engine. Check for any leaks and make sure all bolts are properly tightened.
Remember, this is a simplified guide. If you’re unsure about any step, consult a professional mechanic.