Replacing the conductor plate in your Mercedes C240 can seem daunting, but with the right tools and knowledge, it’s a manageable DIY project. This guide provides a comprehensive overview of the essential tools needed for a successful conductor plate change in your Mercedes C240, helping you avoid common pitfalls and ensure a smooth repair process.
Understanding the Conductor Plate and Its Importance
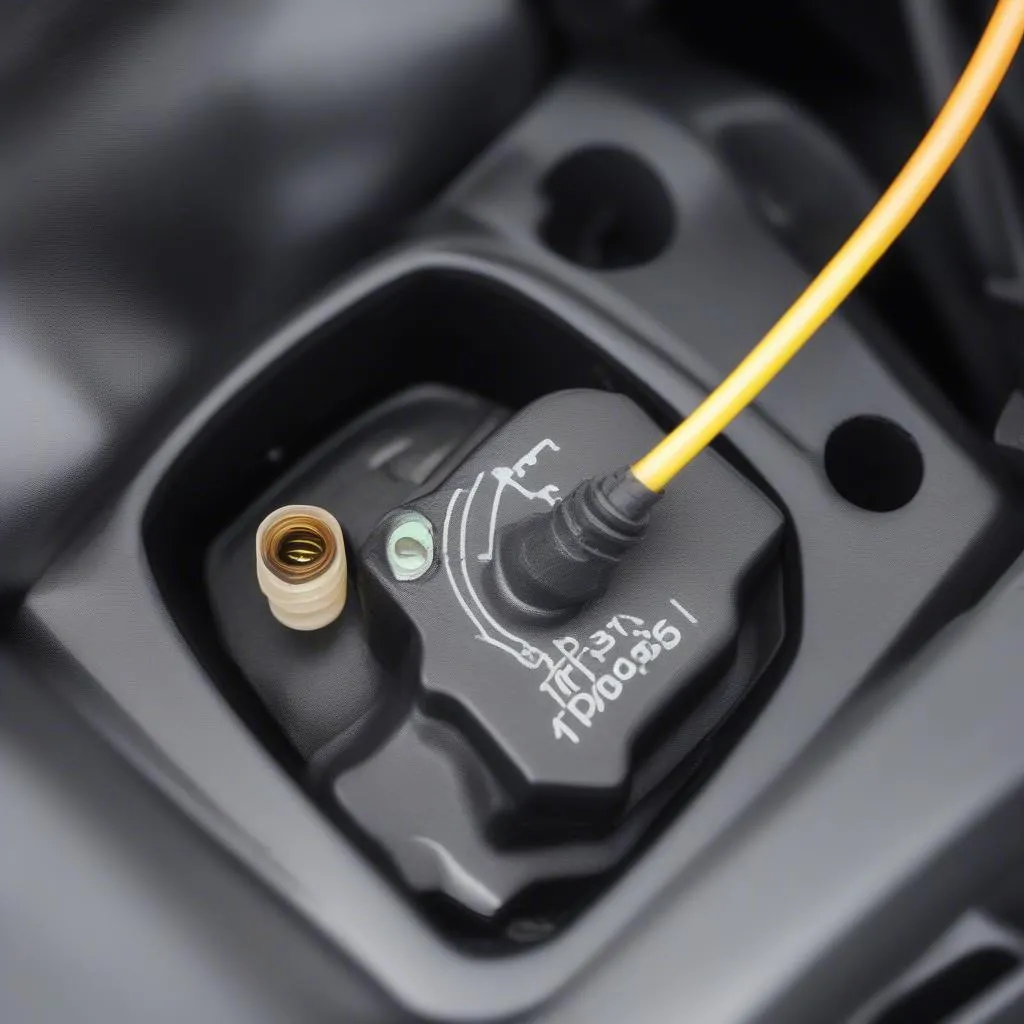
The conductor plate, located within the valve body of your C240’s transmission, is a critical component responsible for controlling the flow of transmission fluid to the various solenoids and valves. Over time, the conductor plate can wear out or malfunction, leading to shifting problems, harsh gear changes, and even transmission failure. Recognizing these symptoms early and replacing the conductor plate promptly can save you from costly repairs down the line.
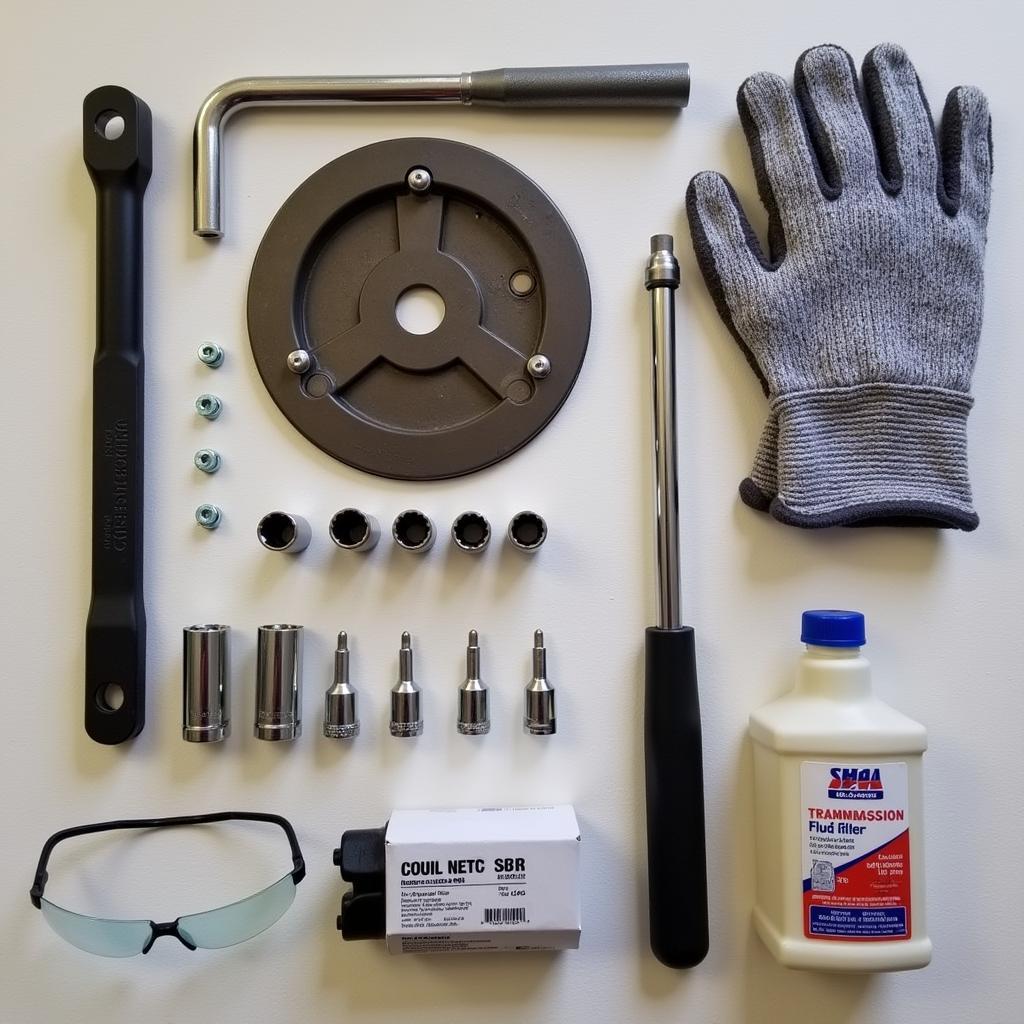
Gathering the Necessary Tools for a C240 Conductor Plate Change
Having the right tools is crucial for a successful conductor plate replacement. While the specific tools may vary slightly depending on the year and model of your C240, the following list covers the essentials:
- Transmission fluid pan gasket and filter: Replacing these is essential during a conductor plate change.
- Torque wrench: Ensures proper tightening of bolts to prevent leaks and damage.
- Socket set: Including various sizes to accommodate different bolts and fasteners.
- Screwdrivers: Both Phillips and flathead, for removing various components.
- Drain pan: To collect the old transmission fluid.
- Transmission jack: Supports the transmission during removal and installation.
- New conductor plate: Ensure compatibility with your specific C240 model.
- Transmission fluid dipstick: For checking fluid level after the replacement.
- Cleaning solvent: To clean the valve body mating surface.
- Gloves and safety glasses: Protect yourself from chemicals and debris.
 Mercedes C240 Conductor Plate Replacement Tools
Step-by-Step Guide to Replacing the Conductor Plate
- Drain the transmission fluid: Place the drain pan beneath the transmission pan and remove the drain plug.
- Remove the transmission pan: Carefully remove the pan bolts and lower the pan, being mindful of any remaining fluid.
- Disconnect the electrical connector: Locate the connector to the conductor plate and carefully disconnect it.
- Remove the conductor plate: Remove the bolts securing the conductor plate to the valve body.
- Clean the valve body: Thoroughly clean the valve body mating surface using the cleaning solvent.
- Install the new conductor plate: Align the new conductor plate and secure it with the bolts, tightening them to the correct torque specification.
- Reconnect the electrical connector: Carefully reconnect the electrical connector to the new conductor plate.
- Install the new transmission pan gasket: Ensure proper placement of the gasket on the transmission pan.
- Install the transmission pan: Install the pan and tighten the bolts to the correct torque specification.
- Refill the transmission fluid: Add the correct type and amount of transmission fluid according to your C240’s specifications.
- Check for leaks: Inspect for any leaks around the transmission pan and conductor plate.
Common Issues and Troubleshooting Tips
- Leaks: Ensure the pan gasket is properly seated and the bolts are tightened correctly.
- Shifting problems after replacement: Double-check the electrical connector and ensure the correct transmission fluid level.
- Error codes: Use a diagnostic scanner to identify and address any error codes.
“A clean valve body is essential for a proper seal and optimal performance of the new conductor plate,” advises John Miller, a seasoned automotive technician with over 20 years of experience.
Conclusion
Replacing the conductor plate in your Mercedes C240 requires the right tools and a careful approach. By following this guide and using the recommended tools, you can successfully complete this repair and restore your C240’s transmission to optimal performance. Don’t underestimate the importance of using quality parts and following the correct procedures. This will ensure the longevity and reliability of your vehicle.
FAQ
- What are the symptoms of a failing conductor plate? Common symptoms include harsh shifting, delayed gear changes, and slipping.
- How often should I change the conductor plate? The conductor plate typically lasts for a considerable period, but replacement may be necessary if it malfunctions.
- Can I replace the conductor plate myself? Yes, with the right tools and guidance, it’s a manageable DIY project.
- What type of transmission fluid should I use? Consult your C240’s owner’s manual for the recommended fluid type.
- What is the torque specification for the conductor plate bolts? Refer to your C240’s service manual for the correct torque specifications.
- How long does it take to replace the conductor plate? It typically takes a few hours to complete the replacement.
- What should I do if I encounter problems after the replacement? Consult a qualified mechanic or contact us for assistance.
“Remember, using a torque wrench is crucial for preventing over-tightening and potential damage to the valve body,” emphasizes Sarah Chen, a certified Mercedes-Benz technician.
Scenarios
Scenario 1: Harsh Shifting: This is a common indicator of a failing conductor plate.
Scenario 2: Delayed Gear Changes: Another typical sign that the conductor plate might need replacement.
Scenario 3: Transmission Slipping: This could be a serious issue and may require immediate attention.
Further Reading
For more information on Mercedes C240 maintenance and repair, check out our other articles on transmission troubleshooting and fluid changes. We also offer detailed guides on various other automotive repair topics.
Need help? Contact us via Whatsapp: +1 (641) 206-8880, Email: CARDIAGTECH[email protected] or visit us at 276 Reock St, City of Orange, NJ 07050, United States. Our customer service team is available 24/7.


