Replacing your Mercedes GLK cabin air filter is a straightforward maintenance task that can improve your driving experience significantly. A clean cabin air filter ensures clean air inside your vehicle by filtering out dust, pollen, and other pollutants. This guide will walk you through the tools you need and the steps to replace the filter yourself.
Essential Tools for the Job
You won’t need a professional mechanic’s toolset to replace your GLK’s cabin air filter. Here are the basic tools you’ll need:
- T20 Torx screwdriver: This specific type of screwdriver is essential for removing the screws securing the glove box.
- New cabin air filter: Make sure to purchase the correct filter for your specific Mercedes GLK model year. You can find compatible filters at your local auto parts store or online.
- Small flashlight (optional): This can be helpful for illuminating the filter housing for better visibility.
Step-by-Step Cabin Air Filter Replacement
- Locate the glove box: The cabin air filter is typically located behind the glove box on most Mercedes GLK models.
- Empty the glove box: Remove any items from your glove box.
- Open the glove box and locate the side stoppers: You’ll need to disengage these stoppers to lower the glove box fully. They are usually located on either side of the glove box compartment.
- Lower the glove box: Gently push the sides of the glove box inward while pressing down to overcome the stoppers. This will allow the glove box to swing down further.
- Locate and open the filter housing: Look for a rectangular cover held in place by clips or screws. This is the cabin air filter housing.
- Remove the old filter: Carefully slide out the old cabin air filter. Note the direction of airflow, which is usually indicated by an arrow on the filter itself.
- Install the new filter: Slide the new cabin air filter into the housing in the same direction as the old one.
- Close the filter housing: Secure the cover back in place by fastening the clips or screws.
- Raise the glove box and re-engage the stoppers: Make sure the glove box is securely in place.
Common Questions About Mercedes GLK Cabin Filter Replacement
Q: How often should I replace my Mercedes GLK cabin air filter?
A: It’s generally recommended to replace your cabin air filter every 10,000-15,000 miles or once a year, whichever comes first. However, if you frequently drive in dusty or polluted environments, you may need to replace it more often. “Regular cabin air filter replacement is not just about comfort; it’s a key aspect of maintaining good air quality inside your vehicle,” says automotive expert Dr. Emily Carter, author of “The Complete Guide to Automotive Maintenance.”
Q: Can I use a generic cabin air filter for my Mercedes GLK?
A: While generic filters may seem cost-effective, it’s always best to use a filter specifically designed for your Mercedes GLK model. This ensures optimal fit and filtration performance.
Q: What are the signs of a clogged cabin air filter?
A: A few telltale signs of a clogged cabin air filter include:
- Reduced airflow from the vents
- Persistent unpleasant odors inside the cabin
- Increased noise from the HVAC system
- Windows fogging up more frequently
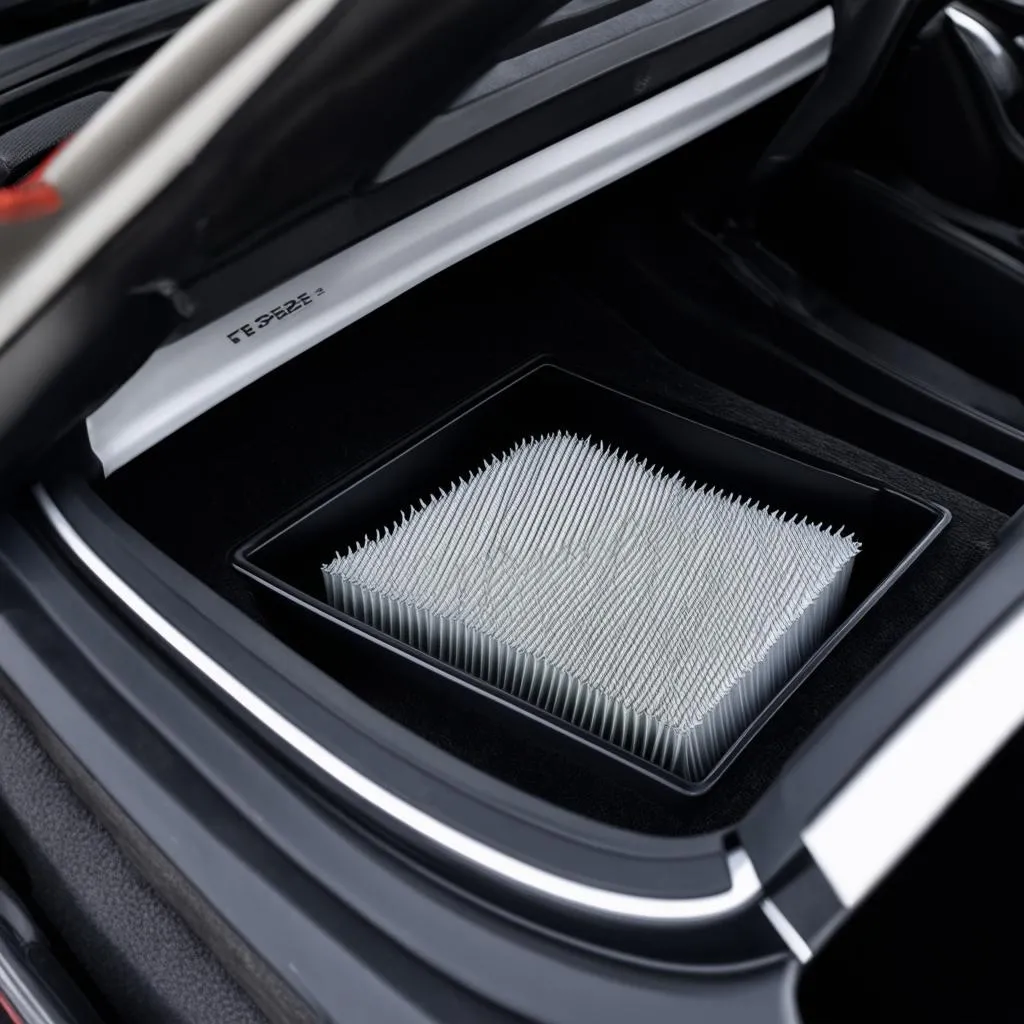 Mercedes GLK Cabin Air Filter Location
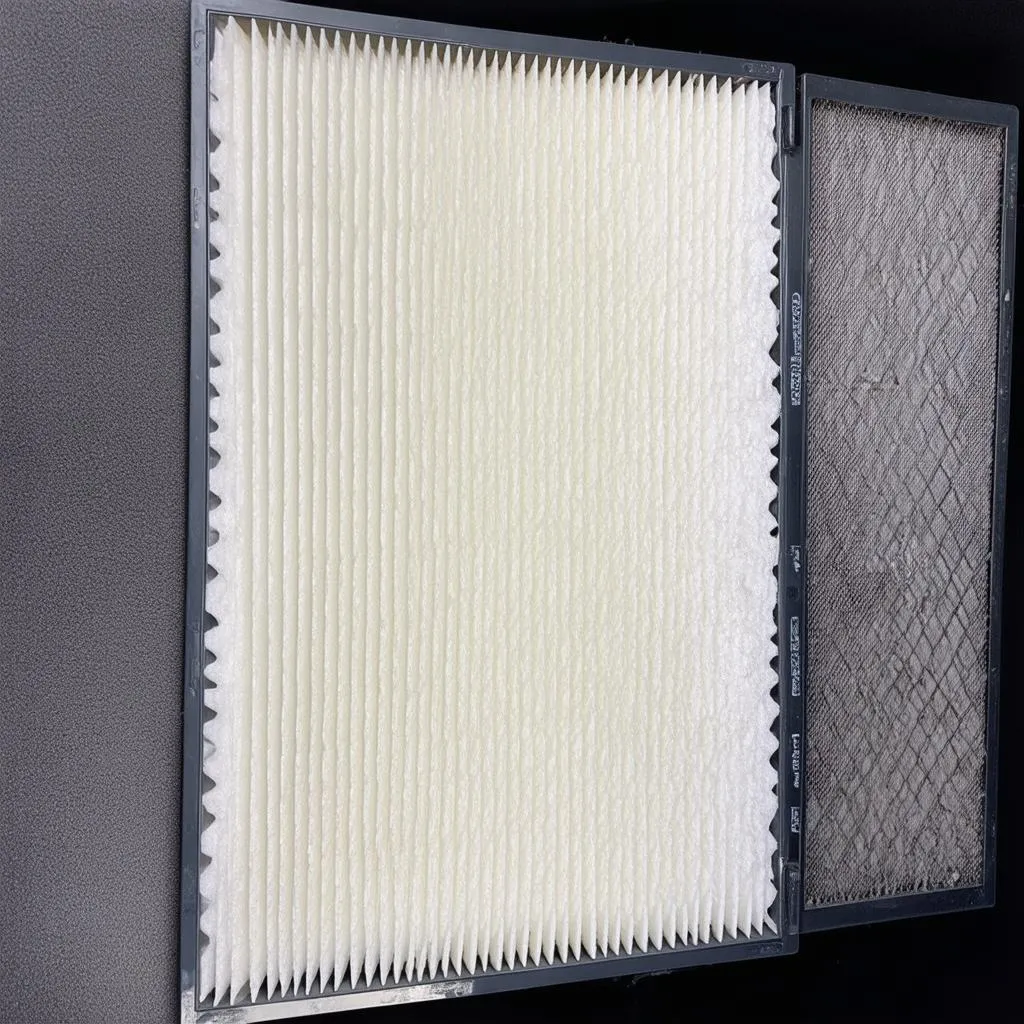 New vs Old Cabin Air Filter
Need More Help?
Replacing your Mercedes GLK cabin air filter is a manageable DIY task that can save you money and keep your car’s interior air fresh. For more information on car maintenance and to explore a range of diagnostic tools, connect with us at CARDIAGTECH. We offer a variety of resources and support to help you with your automotive needs.