The MG Midget, a classic British sports car, is known for its spirited performance and charming aesthetics. However, like any vehicle, it can experience its share of issues. One such problem that owners might encounter is a faulty brake pressure warning switch. This switch plays a vital role in safety by alerting the driver of a potential issue within the braking system. This comprehensive guide will delve into the intricacies of the MG Midget brake pressure warning switch, providing you with the knowledge to diagnose and address any problems effectively.
Understanding the MG Midget Brake Pressure Warning Switch
The brake pressure warning switch is a crucial component of your MG Midget’s safety system. Its primary function is to monitor the hydraulic pressure within the brake lines. When you press the brake pedal, the switch detects the increase in pressure and, under normal circumstances, remains silent. However, if there is a pressure imbalance or a drop in pressure, the switch activates, illuminating a warning light on your dashboard. This signal is a clear indication of a potential problem within your braking system that demands immediate attention.
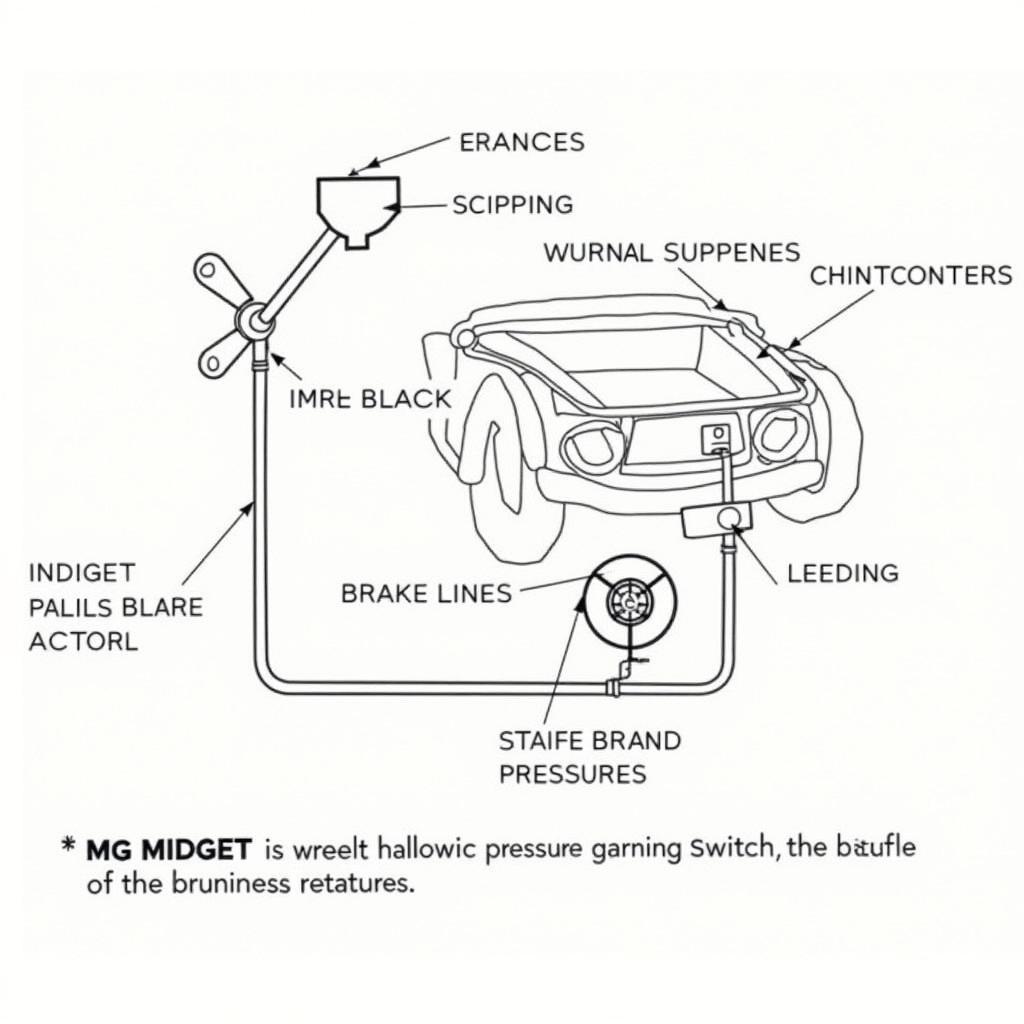 MG Midget Brake System Diagram
Common Symptoms of a Faulty Brake Pressure Warning Switch
Recognizing the signs of a malfunctioning brake pressure warning switch is paramount for ensuring your safety on the road. Here are some common symptoms to watch out for:
- Illuminated Brake Warning Light: The most obvious symptom is a constantly lit brake warning light on your dashboard, even when the brake pedal is not engaged.
- Intermittent Warning Light: The warning light may flicker or illuminate intermittently, suggesting a loose connection or a failing switch.
- No Warning Light Despite Brake Issues: In some cases, the warning light may fail to illuminate even when there’s a genuine brake problem, indicating a complete switch failure.
Diagnosing the Problem: Is it the Switch or Something Else?
Before concluding that the brake pressure warning switch is at fault, it’s essential to eliminate other potential causes for the aforementioned symptoms. Here’s a step-by-step guide:
-
Check Brake Fluid Level: A low brake fluid level can trigger the warning light. Open the master cylinder reservoir and inspect the fluid level. If it’s low, top it up to the recommended level using the appropriate brake fluid type for your MG Midget.
-
Inspect for Brake Fluid Leaks: Carefully examine all brake lines, connections, and components for any signs of leaks. Pay close attention to areas around the master cylinder, wheel cylinders, and brake calipers. Leaking brake fluid will not only trigger the warning light but also significantly compromise your braking performance.
-
Inspect Brake Pads and Discs: Worn brake pads or damaged brake discs can affect brake pressure and potentially activate the warning light. Check the thickness of your brake pads and inspect your brake discs for any warping or scoring.
Testing the Brake Pressure Warning Switch
If you’ve ruled out other potential causes and suspect a faulty brake pressure warning switch, here’s how to test it:
-
Locate the Switch: The brake pressure warning switch is typically located on the master cylinder or attached to a brake line near the master cylinder.
-
Disconnect the Electrical Connector: Carefully disconnect the electrical connector from the switch.
-
Use a Multimeter: Set your multimeter to measure resistance (ohms). Connect the multimeter leads to the two terminals on the switch.
-
Activate the Switch: With the multimeter connected, depress the brake pedal. The multimeter reading should change if the switch is functioning correctly.
-
Normal Switch: The resistance should be low (close to zero ohms) when the pedal is pressed and high (infinite resistance) when released.
-
Faulty Switch: If the resistance remains high regardless of pedal position, the switch is likely faulty and needs replacement.
-
Replacing the Brake Pressure Warning Switch
Replacing the brake pressure warning switch is a relatively straightforward procedure:
-
Depressurize the Brake System: Before working on any brake components, it’s crucial to depressurize the brake system. Open the master cylinder reservoir cap and carefully pump the brake pedal several times until the pressure is released.
-
Disconnect the Switch: Disconnect the electrical connector from the switch.
-
Remove the Switch: Use a wrench to loosen and remove the switch from its mounting point. Be careful not to damage the brake lines.
-
Install the New Switch: Apply a small amount of thread sealant to the threads of the new switch and carefully thread it into place. Tighten it securely but avoid overtightening.
-
Reconnect the Electrical Connector: Reconnect the electrical connector to the new switch.
-
Bleed the Brake System: After replacing the switch, it’s essential to bleed the brake system to remove any air that may have entered. This will ensure optimal braking performance.
Conclusion: Prioritizing Brake Safety in your MG Midget
Addressing any issues with your MG Midget’s braking system, including a faulty brake pressure warning switch, should be a top priority. Regular maintenance, prompt diagnosis, and timely repairs are essential for ensuring your safety and that of others on the road. If you encounter any problems with your brakes, don’t hesitate to seek professional assistance from a qualified mechanic experienced in working on classic British cars like the MG Midget.