The dreaded mini countryman battery warning light. Seeing it illuminate on your dashboard can be a nerve-wracking experience. But before you panic, understanding the potential causes and solutions can save you time, money, and unnecessary stress. This comprehensive guide will walk you through everything you need to know about the mini countryman battery warning light, from simple fixes to more complex issues requiring professional assistance.
Understanding Your Mini Countryman’s Electrical System
The battery warning light isn’t just about the battery itself. It’s a signal that something within your Mini Countryman’s electrical system requires attention. This system, a complex network of components, powers everything from the ignition and lights to the sophisticated onboard computer. When this light comes on, it signifies a potential problem with the charging system’s ability to maintain the correct voltage. This could be due to a failing alternator, a loose or corroded battery cable, or even a parasitic drain somewhere in the system.
Common Causes of the Battery Warning Light
Several issues can trigger the battery warning light in your Mini Countryman. A dying battery is the most obvious culprit. Over time, batteries lose their ability to hold a charge. However, a more common problem is a failing alternator. The alternator is responsible for recharging the battery while the engine is running. If it’s not functioning correctly, the battery won’t receive the necessary charge, leading to that warning light.
- Failing Alternator: This is often accompanied by dimming headlights or interior lights.
- Loose or Corroded Battery Cables: Check for any signs of corrosion or loose connections around the battery terminals.
- Parasitic Drain: This occurs when a component continues to draw power even when the car is off, slowly draining the battery.
- Bad Battery: While less common than alternator issues, a faulty battery can also trigger the warning light.
Troubleshooting the Battery Warning Light
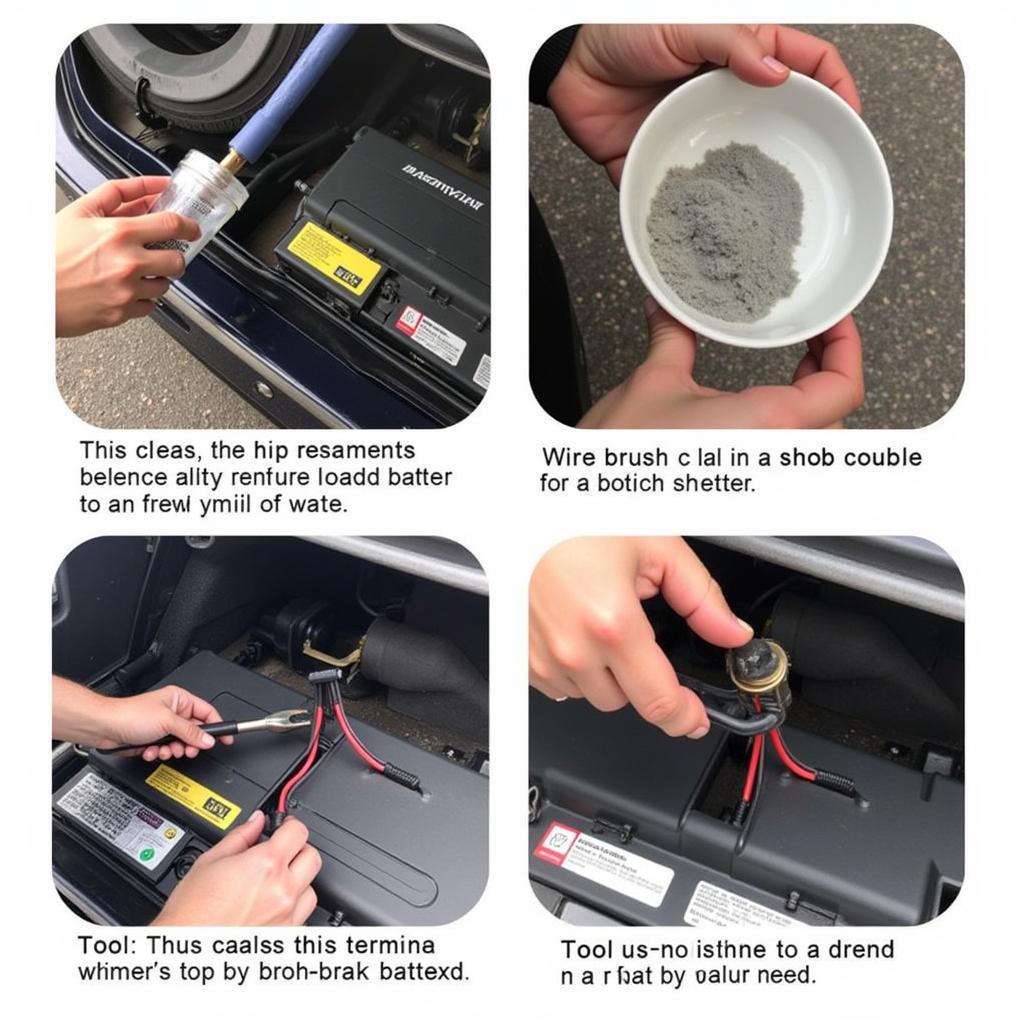
Before rushing to a mechanic, there are a few things you can check yourself. Start by inspecting the battery terminals. Ensure they are clean and tightly connected. Any corrosion can disrupt the flow of electricity. If the terminals look corroded, a mixture of baking soda and water can help clean them.
Step-by-Step Guide to Checking Your Battery
- Safety First: Always wear safety glasses and gloves when working with car batteries.
- Locate the Battery: The battery is typically located under the hood, but some Mini Countryman models have it in the boot.
- Inspect the Terminals: Look for any white, powdery buildup, which indicates corrosion.
- Clean the Terminals: If corrosion is present, disconnect the negative cable first, followed by the positive cable. Use a wire brush and a baking soda and water mixture to clean the terminals.
- Reconnect the Cables: Reconnect the positive cable first, then the negative cable. Ensure they are securely fastened.
 Cleaning Corroded Battery Terminals on a Mini Countryman
When to Seek Professional Help
If you’ve checked the battery and cables and the light persists, it’s time to consult a professional. A qualified technician can diagnose the problem accurately using specialized diagnostic tools. They can determine whether the issue lies with the alternator, the battery, or another component within the electrical system.
Remote Diagnostics and Software Solutions
Modern technology allows for remote diagnostics and software solutions for certain issues. This can sometimes save you a trip to the mechanic. Through remote programming and software updates, certain problems can be addressed remotely.
“Remote diagnostics are a game-changer in the automotive industry. They allow us to quickly pinpoint issues and often resolve them without the customer needing to bring the car in.” – John Smith, Automotive Electrical Engineer
Preventing Future Battery Problems
Regular maintenance is key to preventing future battery issues. Have your battery tested periodically, especially as it gets older. Ensure your alternator is functioning correctly and keep the battery terminals clean and free of corrosion.
Conclusion
The mini countryman battery warning light shouldn’t be ignored. By understanding the potential causes and taking the necessary steps, you can avoid more serious problems down the road. Regular maintenance and prompt attention to warning signs are crucial for the health of your Mini Countryman’s electrical system and will keep you on the road, worry-free.
FAQ
- What does the mini countryman battery warning light mean? The warning light indicates a problem with the charging system, often a failing alternator or a dying battery.
- Can I drive with the battery light on? You can drive for a short distance, but it’s important to address the issue promptly as the battery will eventually drain.
- How much does it cost to replace a Mini Countryman alternator? The cost varies depending on the model and location, but typically ranges from $300 to $700.
- How long does a Mini Countryman battery last? Typically, 3-5 years, but factors like climate and driving habits can affect lifespan.
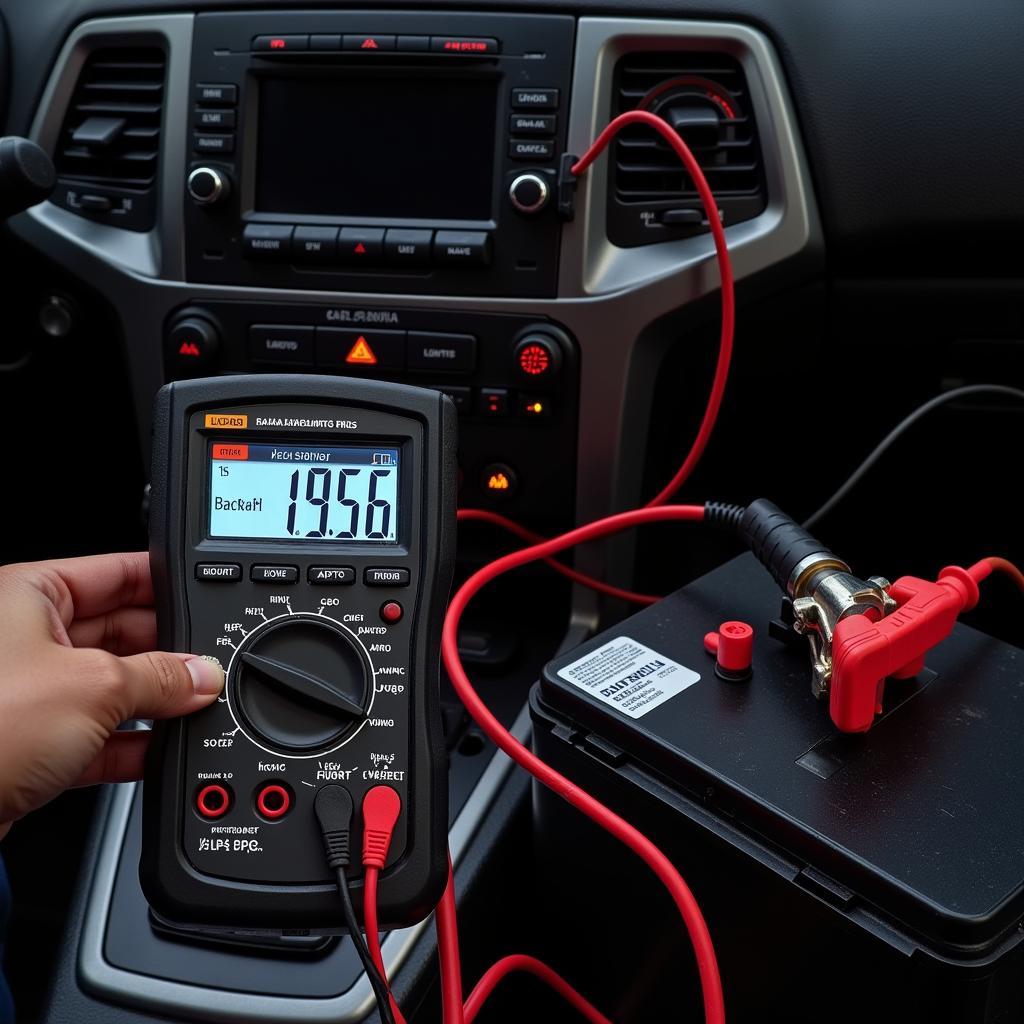
- How can I test my Mini Countryman battery? You can use a multimeter to test the battery voltage or have it tested at an auto parts store.
- What is a parasitic drain? A parasitic drain is a continuous draw of power from the battery even when the car is off.
- How can I prevent future battery problems in my Mini Countryman? Regular maintenance, including battery testing and cleaning the terminals, can help prevent future problems.


