The brake pad warning light on your Mini Cooper is an important safety feature. When illuminated, it indicates that your brake pads are wearing thin and need to be replaced. While replacing your brake pads will usually turn off the warning light, sometimes a manual reset is needed.
This comprehensive guide will walk you through the process of resetting a Mini Cooper brake pad warning light. We’ll cover various methods, from simple DIY tricks to advanced diagnostic tools, so you can get back on the road safely and confidently.
Understanding Your Mini Cooper’s Brake Pad Warning System
Before we dive into the reset process, it’s essential to understand how the brake pad warning system works. Most modern Mini Coopers use a sensor system integrated into the brake pads. Here’s a simplified explanation:
- Wear Sensors: Thin wires embedded within the brake pads act as wear sensors.
- Trigger Point: As the brake pads wear down, the sensor wire eventually makes contact with the brake rotor.
- Dashboard Warning: This contact completes a circuit, triggering the brake pad warning light on your dashboard.
When Does the Brake Pad Warning Light Come On?
The brake pad warning light is designed to come on when your brake pads reach a critical wear point. This point varies between models, but it’s generally when the brake pad material is close to being completely worn down.
Important Note: Ignoring the brake pad warning light can lead to severe brake damage and compromise your safety.
Common Reasons for a Mini Cooper Brake Pad Warning Light Reset
- New Brake Pads Installed: After replacing your brake pads, the warning light should go off automatically. However, a reset might be necessary in some cases.
- Sensor Malfunction: A faulty brake pad sensor can trigger a false warning light, even if your brake pads are in good condition.
- Electrical Glitch: Like any electrical system, your Mini Cooper’s warning system can experience temporary glitches that might require a reset.
How to Reset a Mini Cooper Brake Pad Warning Light
Here are a few methods to reset your Mini Cooper’s brake pad warning light. Always start with the simplest solution and progress to more advanced techniques if needed:
1. Check and Replace Brake Pads:
- Visual Inspection: Begin by inspecting your brake pads. If they appear significantly worn down, replacement is necessary.
- Professional Inspection: For a thorough assessment, consult a qualified mechanic to measure your brake pad thickness.
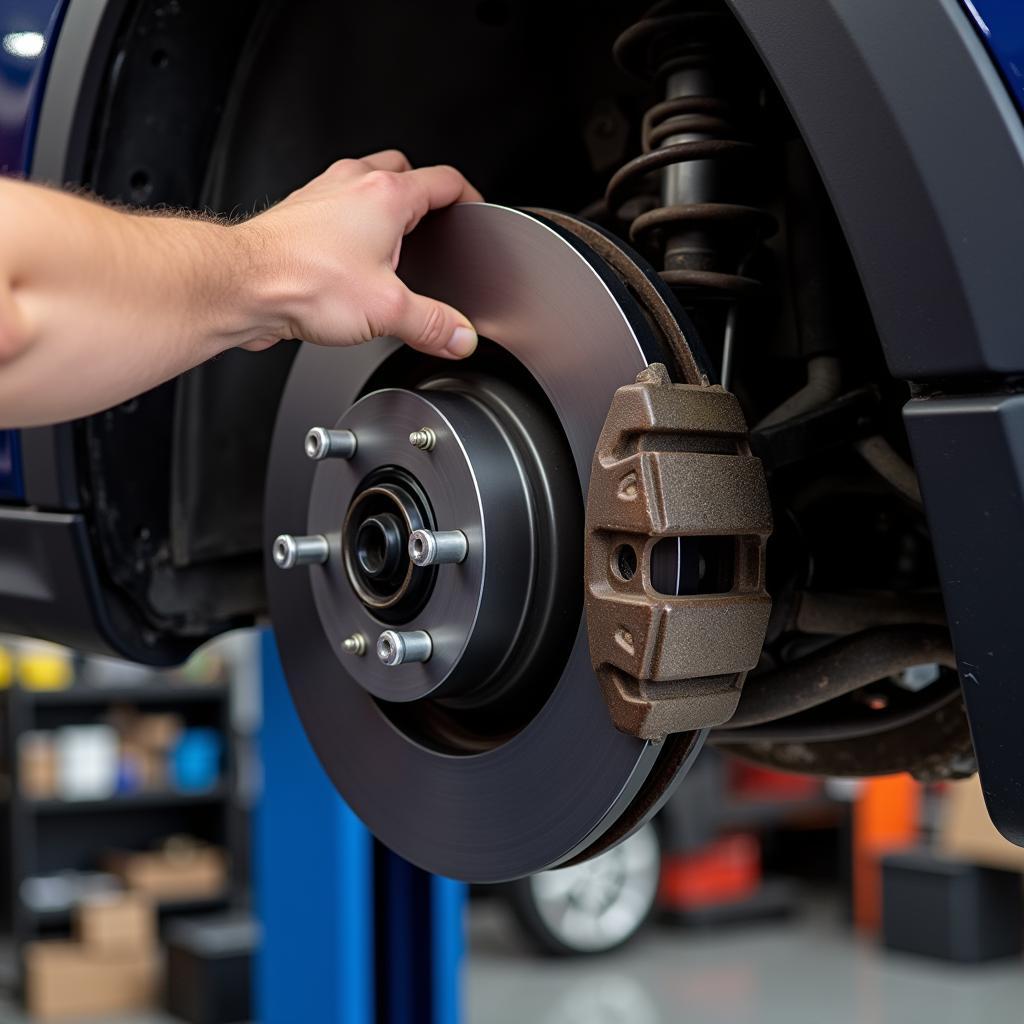 Mini Cooper Brake Pad Inspection
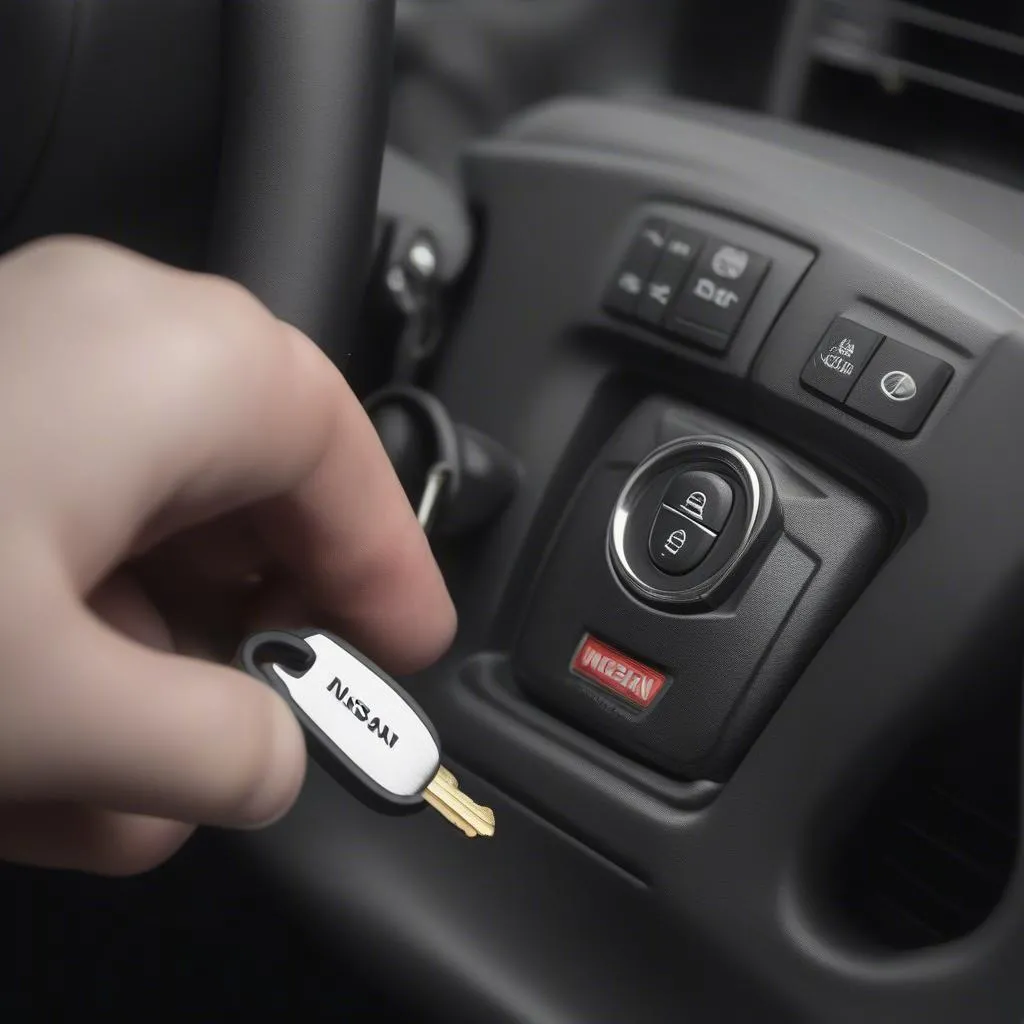
2. Disconnect the Battery:
Disconnecting the battery can sometimes reset the warning light:
- Safety First: Disconnect the negative (black) terminal of your Mini Cooper’s battery.
- Wait: Wait for 15-20 minutes to allow any residual electrical charge to dissipate.
- Reconnect: Reconnect the battery terminal and start your vehicle.
3. Reset Using Diagnostic Tools:
For more persistent warning lights, using a diagnostic scanner might be necessary.
- OBD-II Scanner: These readily available scanners can read and reset diagnostic trouble codes (DTCs) in your Mini Cooper.
- Professional-Grade Scanners: Mechanics and dealerships use advanced scanners that provide more in-depth system access for diagnosis and resets.
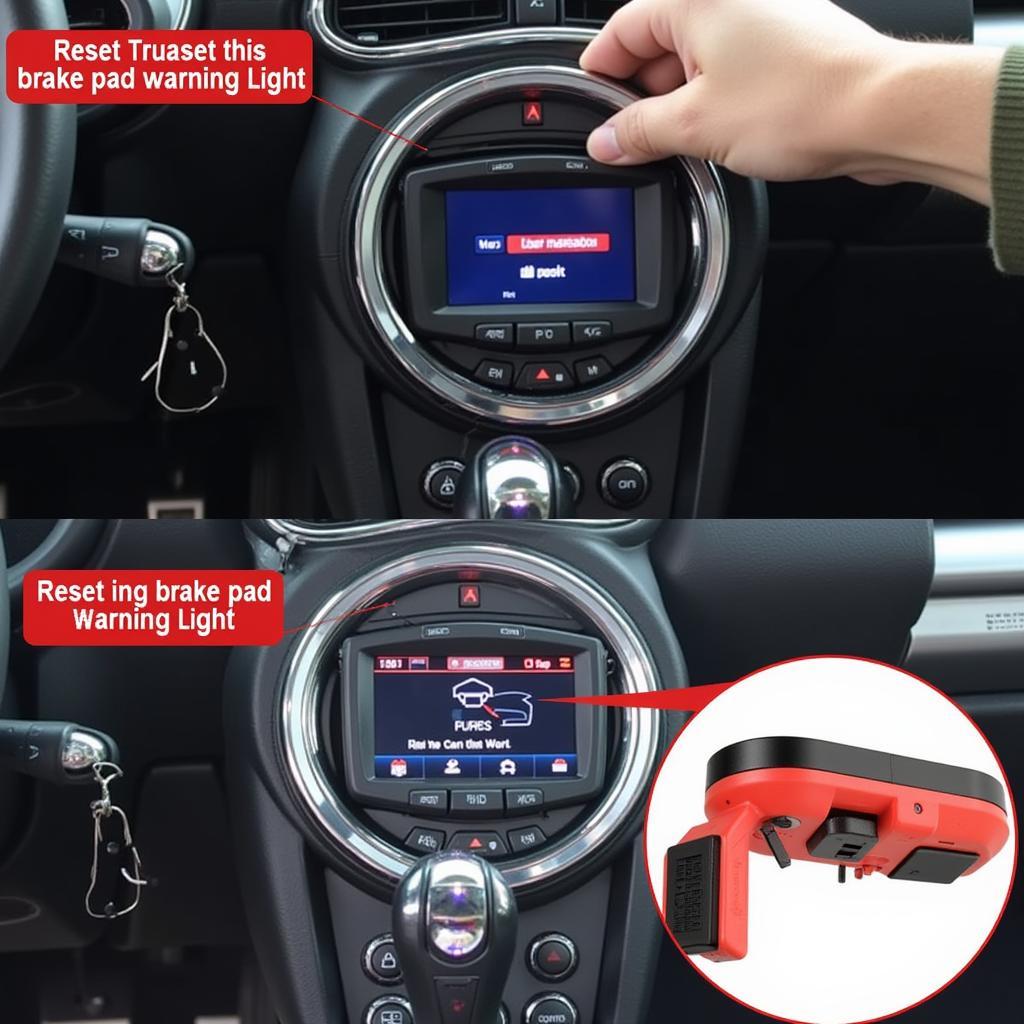 OBD-II Scanner Reset
When to Consult a Professional
While resetting your Mini Cooper brake pad warning light can often be done at home, certain situations call for professional assistance:
- Recurring Warning Light: If the warning light reappears shortly after a reset, it indicates an underlying issue that needs attention.
- Unusual Noises: Grinding or squealing noises when braking often indicate worn brake components.
- Lack of Confidence: If you are uncomfortable performing any of these methods, a qualified mechanic can safely diagnose and resolve the issue.
Tips for Preventing Future Brake Pad Warning Light Issues
- Regular Brake Inspections: Inspect your brake pads every 10,000 miles or as recommended in your Mini Cooper’s owner’s manual.
- Gentle Braking Habits: Avoid harsh braking whenever possible. This not only extends the life of your brake pads but also improves fuel efficiency.
- Quality Brake Pads: When it’s time for replacements, opt for high-quality brake pads from reputable brands.
Conclusion
Resetting your Mini Cooper’s brake pad warning light doesn’t have to be a daunting task. By understanding the system and following the methods outlined in this guide, you can often address the issue yourself. However, remember that safety should always be your top priority. Don’t hesitate to consult a qualified mechanic if you encounter any uncertainties or if the warning light persists. Regular maintenance and prompt attention to warning signs will ensure your Mini Cooper’s braking system remains in peak condition for miles to come.