The ML500 brake wear warning light can be a jarring sight, leaving drivers wondering about the severity of the problem and the next steps. This article provides a comprehensive guide to understanding, diagnosing, and addressing the ML500 brake wear warning, empowering you to take control of the situation and ensure your safety on the road.
What Does the ML500 Brake Wear Warning Indicate?
The brake wear warning light in your ML500 is triggered by sensors that monitor the thickness of your brake pads. When the pads wear down to a predetermined level, the sensor completes a circuit, illuminating the warning light on your dashboard. This serves as an important reminder that your brakes require attention. While it usually signifies worn brake pads, other issues can also trigger this warning.
Common Causes of the ML500 Brake Wear Warning
While worn brake pads are the most frequent culprit, several other factors can activate the ML500 brake wear warning. These include:
- Worn Brake Pads: This is the most common cause. As brake pads wear down, they eventually reach a point where the sensor is triggered.
- Faulty Brake Pad Wear Sensor: Sometimes, the sensor itself can malfunction, sending a false signal.
- Damaged Wiring: A break or short in the wiring connecting the sensor to the warning light can also trigger the warning.
- Low Brake Fluid: While a separate warning light usually indicates low brake fluid, in some cases, it can indirectly contribute to a brake wear warning.
- Issues with the Brake Caliper or Rotor: Problems with the caliper or rotor can sometimes cause uneven pad wear, leading to premature activation of the sensor.
Diagnosing the ML500 Brake Wear Warning
Proper diagnosis is crucial to address the root cause of the brake wear warning. Here’s a step-by-step guide:
- Visual Inspection: Start by visually inspecting your brake pads. Look for signs of significant wear. If the pads appear thin, they likely need replacing.
- Check Brake Fluid Level: Ensure your brake fluid reservoir is filled to the appropriate level. Low brake fluid can indicate other brake system issues.
- Inspect Brake Pad Wear Sensor: Examine the sensor for any signs of damage or disconnection.
- Professional Diagnosis: If you’re unsure about the cause, it’s best to consult a qualified mechanic specializing in Mercedes-Benz vehicles. They can use diagnostic tools to pinpoint the issue accurately.
Resolving the ML500 Brake Wear Warning
Depending on the diagnosis, resolving the brake wear warning might involve:
- Replacing Brake Pads: If your brake pads are worn, they will need to be replaced. This is a standard maintenance procedure.
- Replacing the Brake Pad Wear Sensor: If the sensor is faulty, it will need to be replaced.
- Repairing Damaged Wiring: Any damaged wiring should be repaired or replaced.
- Addressing Brake Fluid Issues: Top up or replace brake fluid as needed and investigate any underlying causes of low fluid.
- Repairing or Replacing Brake Caliper/Rotor: If the caliper or rotor is damaged, it should be repaired or replaced.
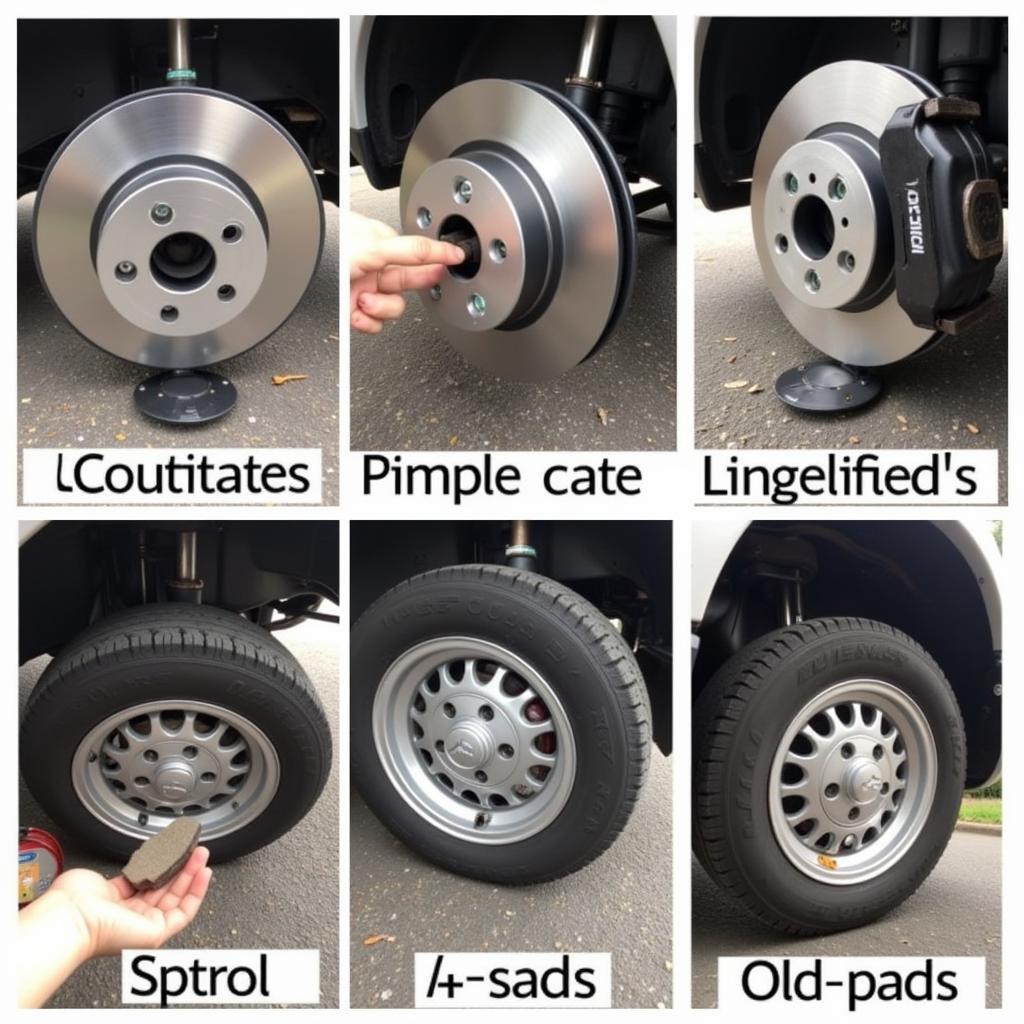
 Replacing ML500 Brake Pads
Preventing Future ML500 Brake Wear Warnings
Regular maintenance is key to preventing future brake wear warnings:
- Regular Brake Inspections: Have your brakes inspected at recommended intervals by a qualified mechanic.
- Quality Brake Pads: Use high-quality brake pads designed for your ML500.
- Avoid Aggressive Driving: Harsh braking contributes to faster brake pad wear.
“Regular brake maintenance is not just about avoiding warning lights; it’s about ensuring your safety and the longevity of your vehicle,” says John Davis, a seasoned Mercedes-Benz technician with over 20 years of experience.
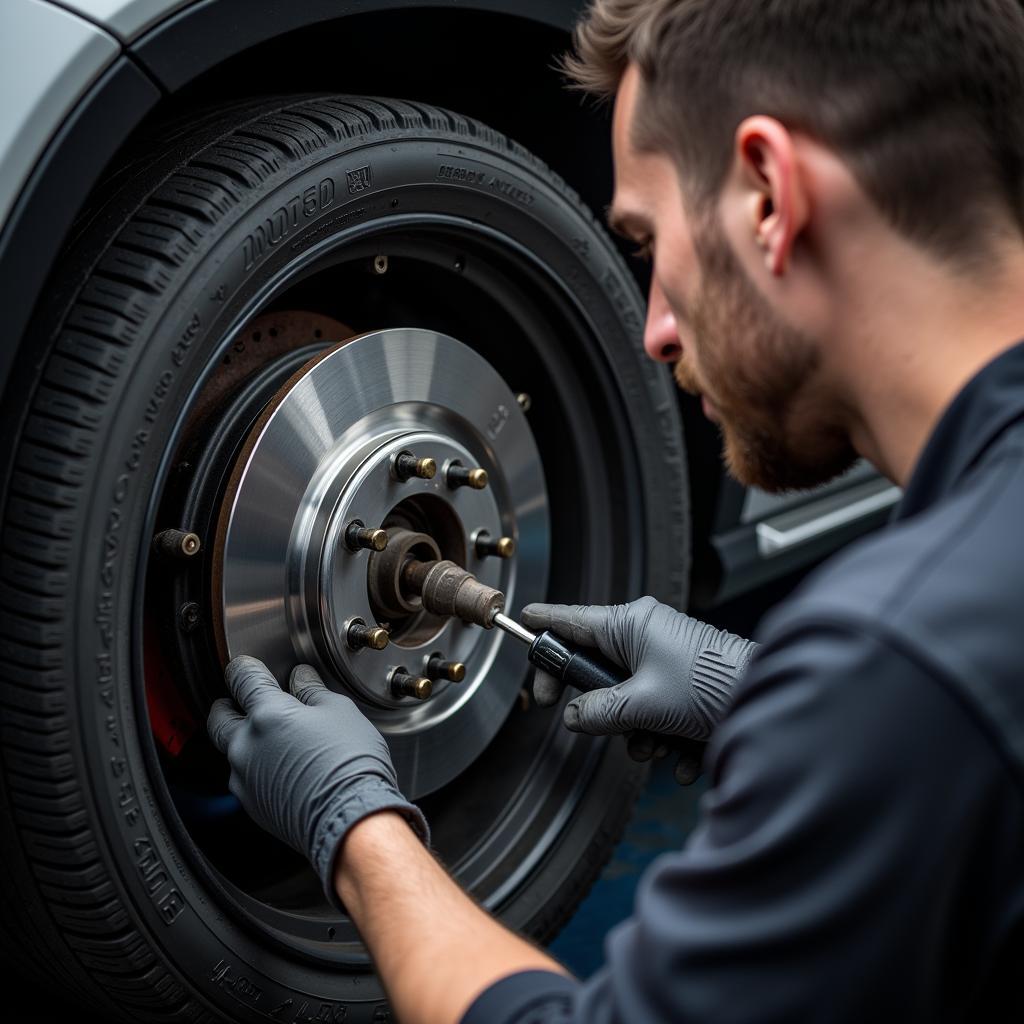
 ML500 Brake Inspection
Conclusion
The ML500 brake wear warning light should never be ignored. Addressing the issue promptly ensures your safety and prevents more extensive and costly repairs down the line. By understanding the potential causes and following the diagnostic steps outlined in this article, you can effectively resolve the problem and maintain the optimal performance of your ML500’s braking system. Don’t hesitate to seek professional help if you’re unsure about any aspect of the diagnosis or repair process. Remember, your safety is paramount.
