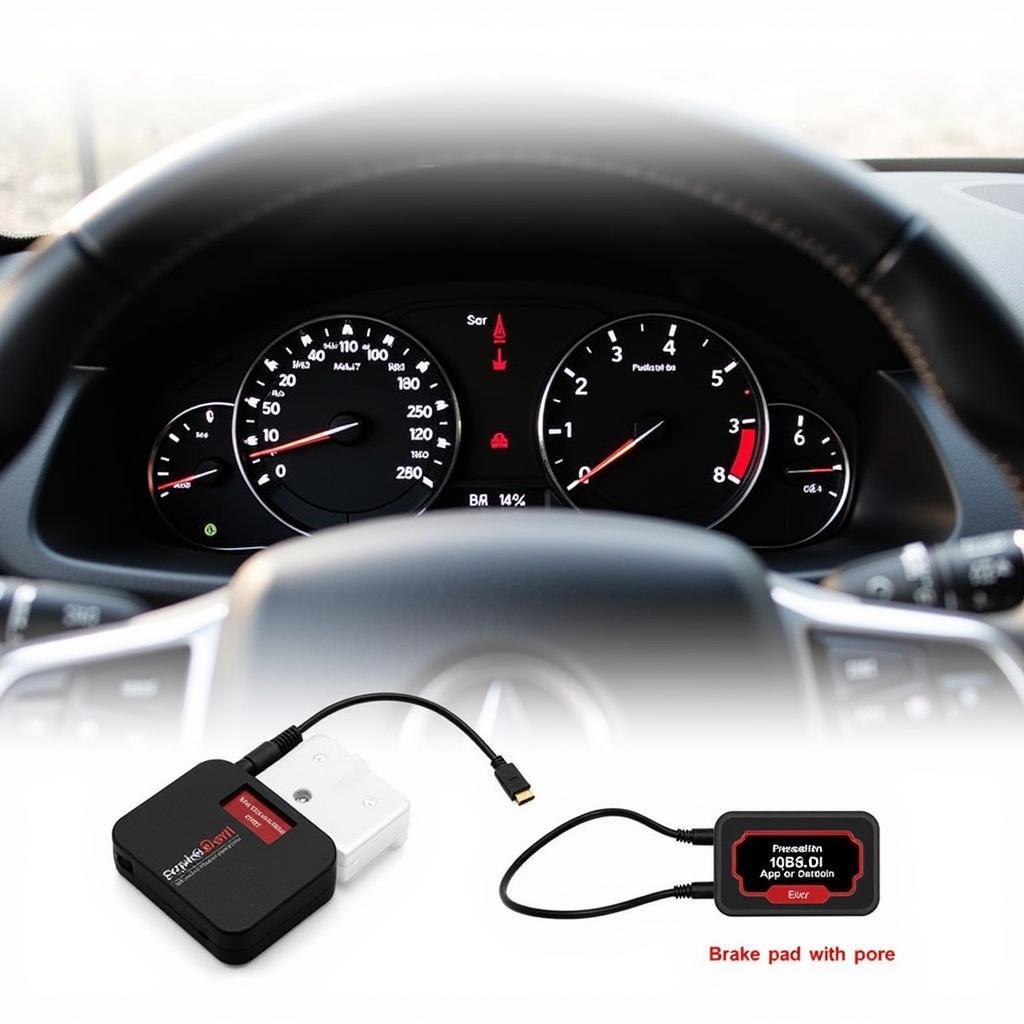
Your OBDeleven device just flashed a brake pad warning? Don’t panic. This guide provides a comprehensive overview of how to diagnose and address the dreaded “OBDeleven brake pad warning,” empowering you to take control of your vehicle’s maintenance. From understanding the warning to resetting it after a pad change, we’ll cover everything you need to know.
Understanding the OBDeleven Brake Pad Warning
The OBDeleven brake pad warning is a crucial safety feature triggered by sensors in your braking system. These sensors monitor the thickness of your brake pads and alert you when they’re nearing the end of their lifespan. Ignoring this warning can lead to costly repairs and compromised safety. It’s vital to understand what triggers this warning and how to address it effectively. This warning isn’t just a suggestion; it’s a call to action.
What Triggers the Warning?
The most common cause is worn brake pads. As your pads wear down, the sensor embedded within them comes into contact with the brake rotor, completing a circuit and triggering the warning light on your dashboard. This typically manifests as a yellow or red brake warning light, often accompanied by an audible warning chime. However, a faulty sensor, damaged wiring, or even a low brake fluid level can also trigger the warning. OBDeleven provides a more specific diagnosis, allowing you to pinpoint the exact issue.
 OBDeleven Brake Pad Warning Dashboard Display
Diagnosing the Issue with OBDeleven
OBDeleven transforms your smartphone or tablet into a powerful diagnostic tool, providing detailed information about the brake pad warning. By connecting to your vehicle’s OBD-II port, OBDeleven reads the Diagnostic Trouble Codes (DTCs) related to the brake system. These codes pinpoint the specific location and nature of the problem, whether it’s a worn pad, a faulty sensor, or another issue. This precise diagnosis eliminates guesswork and saves you time and money.
Replacing Brake Pads and Resetting the Warning
Once you’ve diagnosed worn brake pads, replacing them is usually a straightforward process. However, simply changing the pads isn’t enough. You’ll also need to reset the brake pad warning light using OBDeleven.
Step-by-Step Brake Pad Replacement
- Gather your tools: You’ll need basic hand tools, new brake pads, and potentially new brake pad wear sensors.
- Secure the vehicle: Ensure the car is safely parked on a level surface with the parking brake engaged.
- Remove the wheel: Loosen the lug nuts, lift the vehicle with a jack, and remove the wheel.
- Retract the caliper piston: Use a C-clamp or specialized tool to compress the caliper piston.
- Remove and replace the brake pads: Remove the old pads and install the new ones, ensuring they are correctly seated.
- Reassemble the caliper and wheel: Reinstall the caliper, wheel, and lug nuts.
- Repeat for the other wheel(s): Follow the same steps for all wheels where you are replacing brake pads.
Resetting the Brake Pad Warning with OBDeleven
After replacing the brake pads, connect your OBDeleven device and follow these steps to reset the warning light:
- Select the “Control Units” option.
- Choose the “Brake Electronics” control unit.
- Select “Basic Settings.”
- Choose the “Brake Pad Reset” function.
- Follow the on-screen prompts.
“Regular brake maintenance is essential for safety,” says John Miller, a certified automotive technician with over 20 years of experience. “Using OBDeleven allows car owners to take a proactive approach to their brake health, ensuring optimal performance and peace of mind.”
Beyond the Basics: Advanced Diagnostics with OBDeleven
OBDeleven offers more than just basic code reading and resetting. Its advanced features provide in-depth analysis of your brake system, including real-time data monitoring and access to manufacturer-specific diagnostic procedures. This level of detail is invaluable for troubleshooting complex brake issues and understanding the overall health of your braking system.
Conclusion
The OBDeleven brake pad warning is a vital safety feature, and addressing it promptly is crucial. By leveraging the diagnostic and programming capabilities of OBDeleven, you can confidently diagnose the issue, replace your brake pads, and reset the warning light. This empowers you to take control of your vehicle’s maintenance and ensure optimal braking performance. Don’t ignore the OBDeleven brake pad warning – take action and ensure your safety on the road.
“Modern vehicles require modern diagnostic tools,” adds Maria Sanchez, an automotive electronics expert. “OBDeleven bridges the gap between complex automotive systems and the everyday driver, providing accessible and powerful diagnostic capabilities.”
FAQ
- What does the OBDeleven brake pad warning mean? It indicates your brake pads are nearing the end of their lifespan and need to be replaced.
- Can I reset the brake pad warning without OBDeleven? While some vehicles allow manual resets, OBDeleven provides a more reliable and specific reset procedure.
- What if the warning persists after replacing the pads and resetting with OBDeleven? There may be a faulty sensor, wiring issue, or another underlying problem. Further diagnostics may be required.
- How often should I check my brake pads? It’s recommended to visually inspect your brake pads every few months and during regular tire rotations.
- Can low brake fluid trigger the OBDeleven brake pad warning? In some cases, low brake fluid can trigger a general brake warning light, which may be misinterpreted as a pad warning. OBDeleven can help differentiate these warnings.
- Is it safe to drive with the brake pad warning light on? While you may be able to drive for a short period, it’s crucial to address the issue promptly to avoid compromising braking performance.
- Where can I purchase new brake pads and sensors? Auto parts stores, online retailers, and dealerships all carry brake components.

