Understanding the Panasonic 16-pin car stereo radio wire wiring harness is crucial for any car audio enthusiast or DIY mechanic. This harness is the backbone of your car’s audio system, connecting your Panasonic head unit to the vehicle’s electrical system and speakers. A correctly wired harness ensures optimal sound quality and prevents potential electrical problems. This guide will unravel the complexities of this wiring harness, providing you with the knowledge you need for a successful installation or troubleshooting.
Understanding the Panasonic 16-Pin Harness
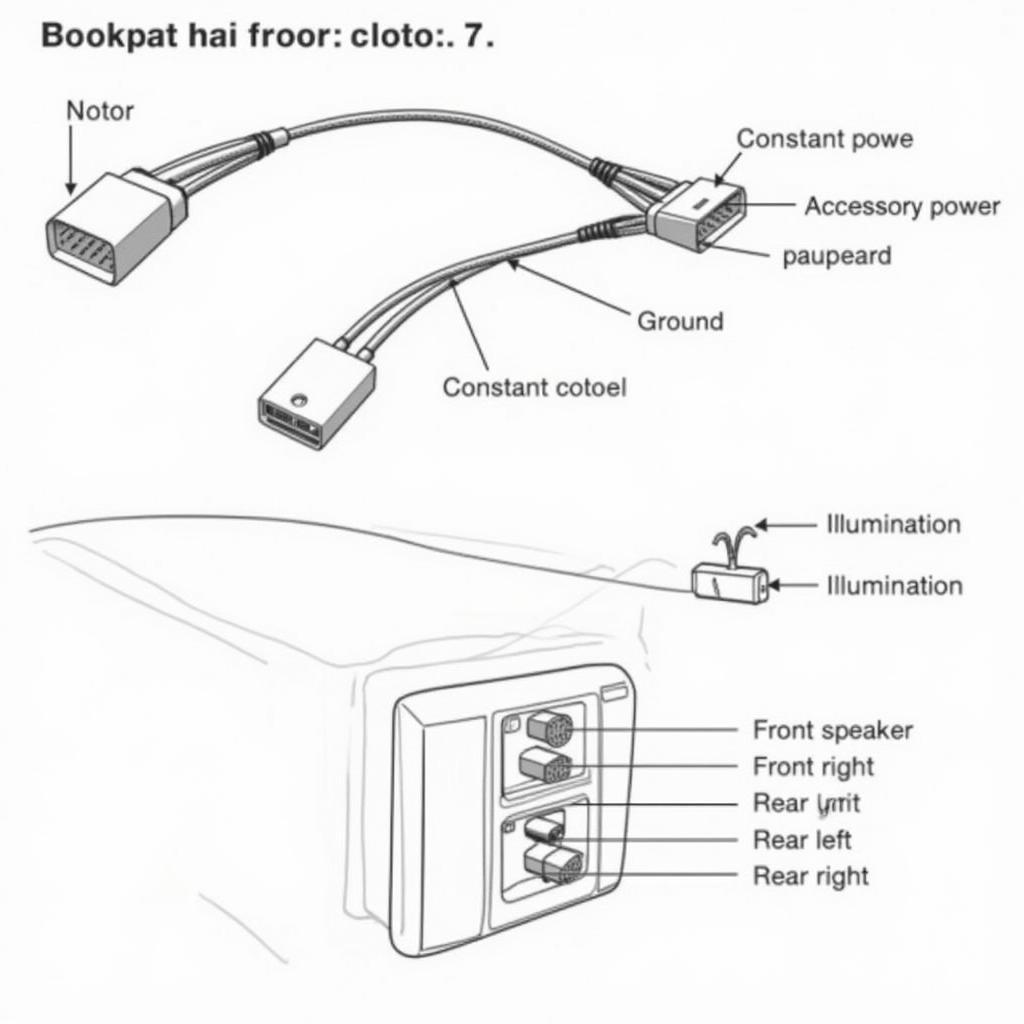
The Panasonic 16-pin wiring harness is designed to simplify the installation of aftermarket stereos. It eliminates the need to splice into the factory wiring, preserving the integrity of your car’s electrical system. Each pin on the harness corresponds to a specific function, such as power, ground, speaker connections, and illumination. Knowing the purpose of each wire is essential for a proper connection.
Identifying the Wires in Your Panasonic 16-Pin Harness
Identifying each wire correctly is the first and most important step. The colors of the wires can sometimes vary, so always consult the wiring diagram specific to your Panasonic head unit model. Generally, the standard color codes apply. For example, the yellow wire is typically for constant 12V power, the red wire for accessory/switched 12V power, and the black wire for ground. Speaker wires often come in pairs with a solid color and a striped counterpart.
 Panasonic 16-Pin Wiring Harness Diagram
Common Issues with Panasonic 16-Pin Harnesses
Several issues can arise with a Panasonic 16-pin harness, from incorrect wiring to faulty connections. Common problems include no power to the head unit, no sound from the speakers, or even blown fuses. These issues can often be traced back to a miswired harness or a loose connection.
Troubleshooting Your Panasonic 16-Pin Harness
Troubleshooting a problematic harness involves systematically checking each connection. Start by verifying the power and ground connections using a multimeter. Then, check the speaker connections, ensuring they are correctly matched to the corresponding pins on the head unit. Finally, inspect the harness for any signs of damage, such as frayed wires or broken pins.
Installing Your Panasonic 16-Pin Harness
Installing the harness is straightforward once you understand the wiring. Match the wires on the harness to the corresponding wires on your car’s stereo wiring and connect them securely. Use crimp connectors or solder for a reliable connection and ensure all connections are insulated properly.
Step-by-Step Guide to Installing the Harness
- Disconnect the negative battery terminal: This crucial safety step prevents accidental shorts.
- Remove the old car stereo: Carefully detach the existing wiring harness.
- Connect the Panasonic 16-pin harness: Match the wires according to the wiring diagram.
- Connect the harness to the head unit: Plug the other end of the harness into the back of your Panasonic stereo.
- Test the connections: Turn on the ignition and test the stereo functionality.
- Secure the wiring and reinstall the stereo: Tuck the wiring neatly and secure the head unit in the dash.
- Reconnect the negative battery terminal: Once everything is secured, reconnect the battery.
“A common mistake is neglecting to disconnect the negative battery terminal before starting the installation,” cautions automotive electrical expert, Robert Miller. “This can lead to shorts and potentially damage the head unit or other electrical components.”
Conclusion
The Panasonic 16-pin car stereo radio wire wiring harness is a critical component for a successful car audio installation. Understanding the wiring diagram and troubleshooting techniques can save you time and frustration. By following this guide, you can ensure a smooth and hassle-free installation of your Panasonic car stereo, enjoying high-quality sound without compromising your vehicle’s electrical system.
FAQ
- What if the colors on my harness don’t match the diagram? Always refer to the wiring diagram specific to your Panasonic head unit model.
- Can I use a different harness with my Panasonic stereo? While some harnesses may appear similar, it’s best to use the harness designed for your specific Panasonic model.
- What should I do if my stereo doesn’t power on after installation? Double-check the power and ground connections and ensure the fuse isn’t blown.
- How can I prevent damage to the harness during installation? Handle the wires carefully and avoid bending or twisting them excessively.
- Where can I find a wiring diagram for my specific Panasonic head unit? Check the owner’s manual or the Panasonic website.
- What tools do I need to install the harness? Basic tools like a screwdriver, wire strippers, crimp connectors, and a multimeter are usually sufficient.
- What should I do if I’m still having trouble after following this guide? Consult a qualified car audio professional for assistance.

