Understanding the intricacies of a Panasonic car radio stereo audio wiring diagram is crucial for any car audio enthusiast, whether you’re installing a new system, troubleshooting existing issues, or simply upgrading components. This comprehensive guide will provide you with the essential knowledge and practical tips to navigate the complexities of Panasonic car stereo wiring, empowering you to achieve optimal audio performance.
Decoding the Panasonic Car Radio Stereo Audio Wiring Diagram
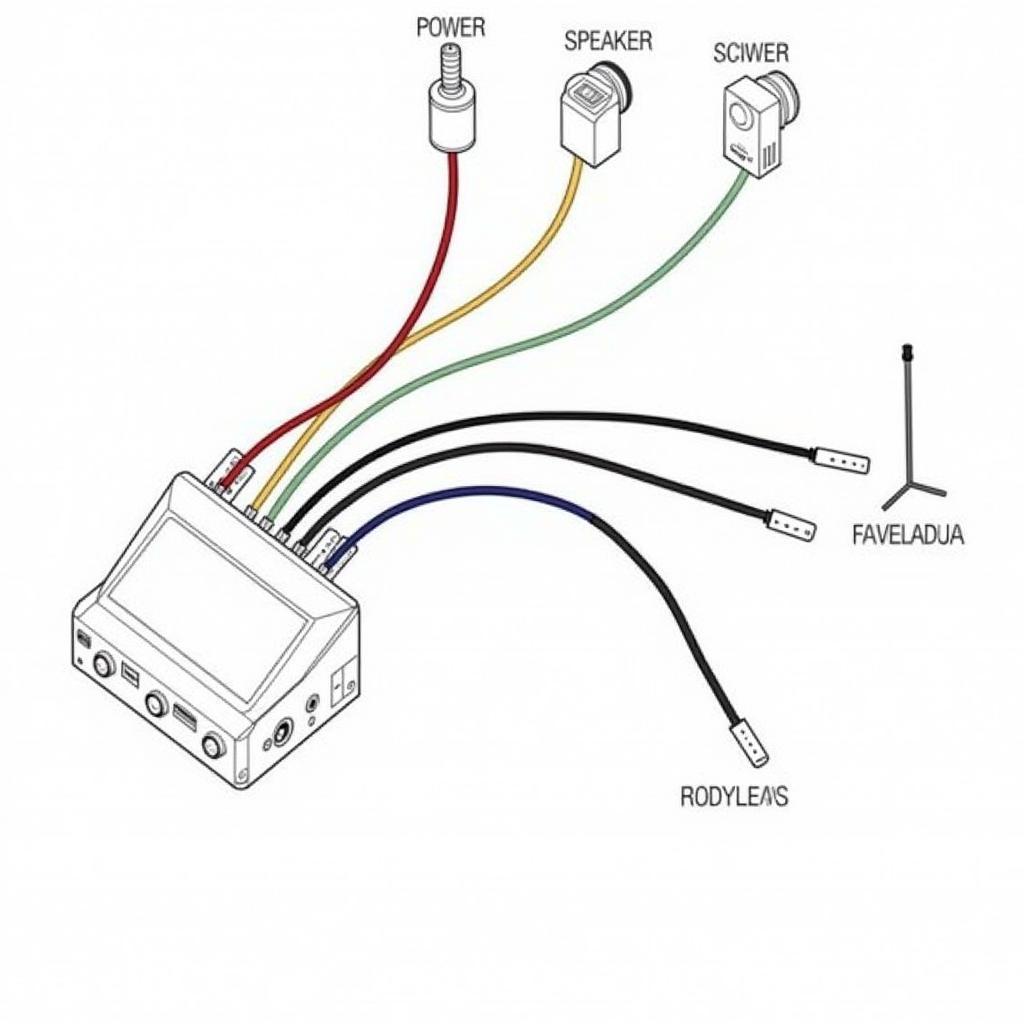
A Panasonic car radio stereo audio wiring diagram is essentially a roadmap for your car’s audio system. It visually represents the connections between the various components, including the head unit, speakers, amplifier, and power source. By understanding this diagram, you can ensure correct installation, avoid potential damage, and maximize your audio experience.
Why is the Wiring Diagram Important?
Misinterpreting or ignoring the wiring diagram can lead to a range of issues, from a non-functional system to blown fuses or even damaged components. The diagram ensures that each wire is connected to the correct terminal, providing the appropriate power and signal flow for optimal performance.
Common Components and Their Connections
A typical Panasonic car radio stereo audio wiring diagram includes connections for the following:
- Power: This includes the constant 12V power supply, the switched 12V power supply (activated by the ignition), and the ground connection. These are vital for powering the head unit and other components.
- Speakers: The diagram specifies the connections for each speaker, including positive (+) and negative (-) terminals, ensuring proper polarity and sound output.
- Antenna: This connection ensures proper radio reception.
- Illumination: This wire controls the dimming of the head unit display based on the vehicle’s lighting settings.
- Amplifier (if applicable): If your system includes an external amplifier, the diagram will indicate the connections for power, remote turn-on, and audio inputs.
- Accessories: This may include connections for steering wheel controls, Bluetooth modules, or other add-on features.
 Panasonic Car Stereo Wiring Diagram Basics
Troubleshooting Common Wiring Issues
Even with a wiring diagram, issues can sometimes arise. Here are some common problems and their solutions:
- No Power: Check the fuses and ensure the constant 12V power and switched 12V power connections are secure.
- No Sound: Verify the speaker connections and polarity. Ensure the head unit’s fader and balance settings are correctly adjusted.
- Poor Radio Reception: Check the antenna connection and ensure the antenna is properly extended.
- Intermittent Sound: Look for loose connections or damaged wires.
Utilizing Online Resources
Numerous online resources can assist with troubleshooting specific wiring issues. Panasonic often provides wiring diagrams and manuals on their website. Online forums and communities can also be valuable sources of information and advice.
Tips for Working with Panasonic Car Stereo Wiring Diagrams
- Identify Your Specific Model: Ensure you have the correct wiring diagram for your specific Panasonic car stereo model.
- Use the Right Tools: Invest in a good set of wire strippers, crimpers, and electrical tape.
- Label Everything Clearly: Use labels or colored tape to identify each wire and its corresponding connection.
- Test Regularly: Test the system functionality as you progress through the installation or troubleshooting process.
“Accurate wiring is the foundation of a great car audio system,” says renowned car audio expert, Michael Alvarez. “Taking the time to understand and follow the wiring diagram will save you headaches and ensure optimal performance.”
Harnessing the Power of Remote Diagnostics
As a specialist in remote automotive diagnostics, programming, and software installation, I can leverage technology to address car audio issues remotely. This can be particularly helpful for identifying complex wiring problems or software glitches.
Conclusion
Mastering the Panasonic car radio stereo audio wiring diagram is essential for anyone seeking to install, troubleshoot, or upgrade their car audio system. By understanding the diagram’s components, utilizing online resources, and following best practices, you can ensure a successful and enjoyable car audio experience. Remember, a correctly wired system is the key to unlocking the full potential of your Panasonic car stereo.
“Investing in quality wiring and taking the time to understand the diagram will pay dividends in the long run,” adds Alvarez. “A properly wired system not only sounds better but also lasts longer.”
FAQ
-
Where can I find the wiring diagram for my specific Panasonic car stereo model? Check the Panasonic website or contact their customer support.
-
What are the most common wiring mistakes? Incorrect polarity, loose connections, and using the wrong gauge wire are common mistakes.
-
Can I install a car stereo myself? Yes, with the right tools and knowledge, it is possible to install a car stereo yourself.
-
What should I do if I encounter a wiring problem I can’t solve? Consult a qualified car audio professional.
-
What gauge wire should I use for speaker connections? The appropriate gauge wire depends on the power of your system. Consult the car stereo manual for recommendations.
-
How can remote diagnostics help with car audio issues? Remote diagnostics can identify complex wiring problems and software glitches that might be difficult to diagnose otherwise.
-
Is it necessary to disconnect the battery before working on the car stereo wiring? Yes, disconnecting the battery is a crucial safety precaution to prevent electrical shorts and potential damage.

