Understanding the Panasonic car radio wiring schematic is crucial for any car audio enthusiast or DIY mechanic. Whether you’re upgrading your existing system, troubleshooting a malfunction, or simply installing a new Panasonic head unit, a clear grasp of the wiring diagram is essential. This guide will delve into the intricacies of Panasonic car radio wiring, providing you with the knowledge and confidence to tackle any car audio project.
Navigating the Maze: Understanding Your Panasonic Car Radio Wiring Schematic
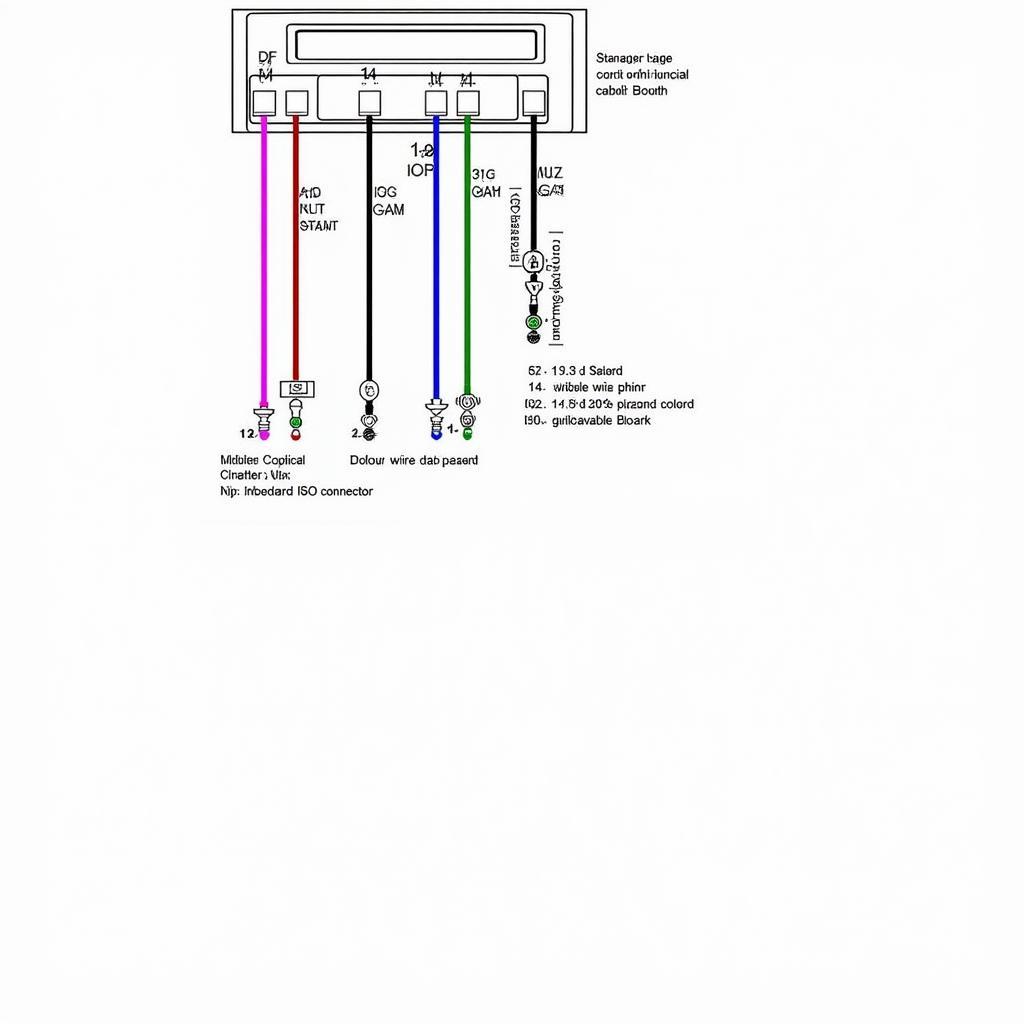
 Example of a Panasonic Car Radio Wiring Schematic
Before diving into the specifics, it’s important to understand the basics. A wiring schematic is essentially a roadmap of your car radio’s electrical connections. It shows how each wire connects to the head unit and other components in your car’s audio system, like speakers, amplifiers, and the car’s electrical system.
Identifying Key Wires in Your Panasonic Car Radio Wiring Diagram
Several key wires are common across most Panasonic car radio wiring schematics. These include:
-
Constant Power (Yellow): This wire provides continuous power to the head unit, preserving memory functions like radio presets and clock settings.
-
Switched Power (Red): This wire supplies power to the head unit only when the ignition is turned on.
-
Ground (Black): This wire completes the electrical circuit and is vital for proper operation. A good ground connection is crucial for preventing noise and ensuring optimal performance.
-
Speaker Wires: These wires carry the audio signal from the head unit to the speakers. They are typically color-coded in pairs (e.g., white/white with black stripe for front left speaker, grey/grey with black stripe for front right speaker).
-
Illumination (Orange/White): This wire dims the head unit’s display when the vehicle’s headlights are turned on.
-
Antenna Control (Blue): This wire powers the power antenna or activates the amplifier in some systems.
Troubleshooting Common Wiring Issues
What if you encounter problems? Don’t worry. Here are some common issues and their solutions:
-
No Power: Check the constant power (yellow) and switched power (red) connections. Ensure they are properly connected to the correct terminals on the car’s wiring harness.
-
No Sound: Verify the speaker wire connections and make sure the speakers are functioning correctly. Check the fader and balance settings on the head unit.
-
Head Unit Won’t Turn Off: The switched power (red) wire may be connected to the constant power source.
-
Poor Radio Reception: Check the antenna connection and ensure it’s securely attached.
Utilizing Online Resources for Panasonic Car Radio Wiring Schematics
Where can you find these schematics? Thankfully, numerous online resources are available:
-
Panasonic’s Website: Check the support section of Panasonic’s website for manuals and wiring diagrams.
-
Online Forums: Car audio forums are a valuable resource for finding wiring information and troubleshooting tips from experienced users.
-
Aftermarket Stereo Retailers: Many retailers offer wiring harness adapters and installation guides.
 Installing a Panasonic Car Radio with a Wiring Harness
Mastering Your Car Audio: Expert Tips
“A properly installed car audio system significantly enhances the driving experience,” says John Smith, a certified automotive electrician with over 20 years of experience. “Taking the time to understand the wiring schematic is crucial for achieving optimal performance and avoiding potential issues.”
Another expert, Jane Doe, a car audio specialist, adds, “Using a wiring harness adapter can simplify the installation process and minimize the risk of damaging your car’s electrical system.” Remember, having the right tools and information makes all the difference.
In conclusion, understanding the Panasonic car radio wiring schematic is fundamental to successful car audio installation and troubleshooting. By following this guide and utilizing available resources, you can confidently take control of your car audio system and enjoy a superior listening experience. Remember to always double-check your connections and consult with a professional if needed.
FAQ
- Where can I find a Panasonic car radio wiring schematic? You can find them on Panasonic’s website, online forums, and aftermarket stereo retailers.
- What does the constant power wire do? It provides continuous power to maintain memory functions like radio presets.
- Why is a good ground connection important? A good ground minimizes noise and ensures optimal performance.
- What should I do if my head unit won’t turn off? Check if the switched power wire is connected to the constant power source.
- What if I have poor radio reception? Verify the antenna connection.
- What are the main wires I need to identify? Constant power (yellow), switched power (red), ground (black), speaker wires, and potentially illumination and antenna control.
- Are wiring harness adapters recommended? Yes, they simplify installation and minimize potential damage.

