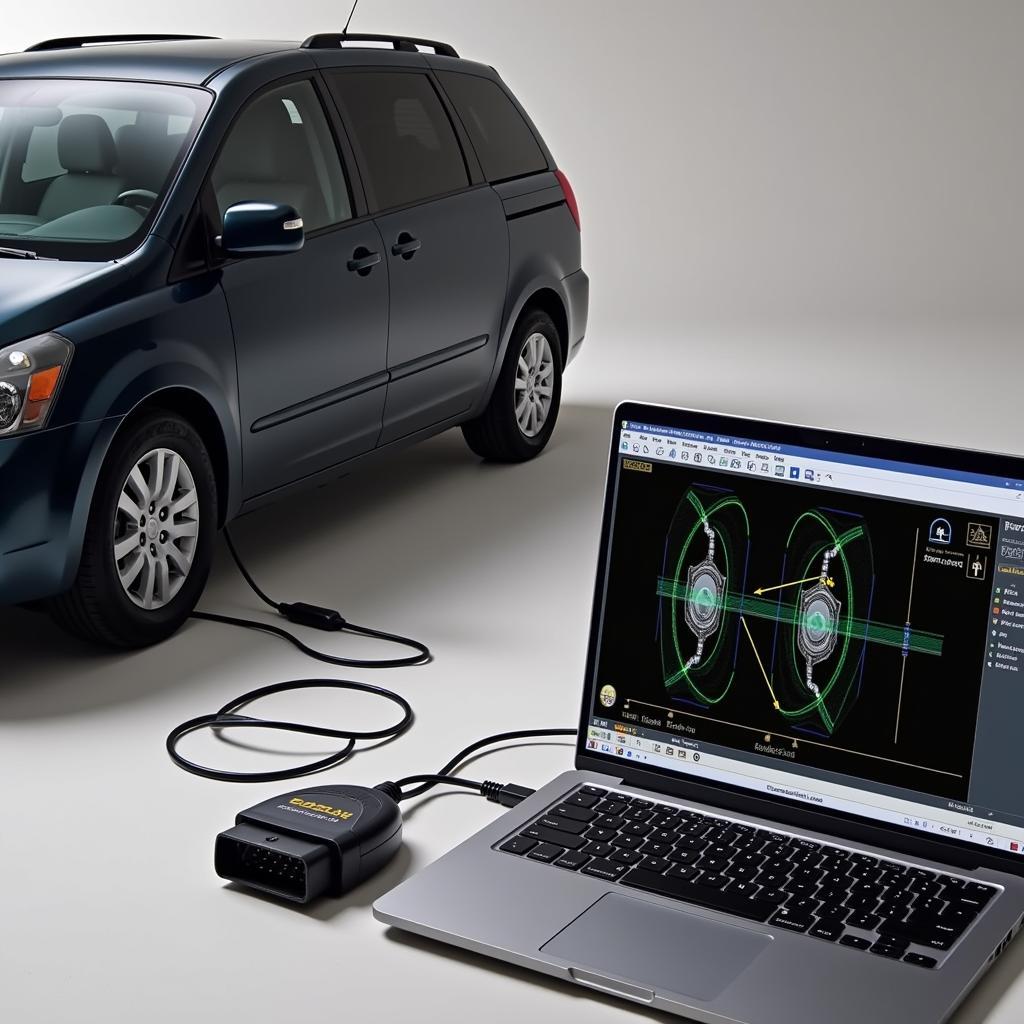
A parasitic draw, also known as a parasitic drain, can be a frustrating and often elusive culprit behind a dead car battery. Understanding how to use a parasitic draw test light is crucial for diagnosing and resolving these power-leaking issues. This guide provides a step-by-step approach to utilizing a test light effectively, empowering you to identify and fix parasitic draws like a pro.
What is a Parasitic Draw?
A parasitic draw occurs when an electrical component in your vehicle continues to consume power even after the ignition is switched off. This slow but steady drain can eventually deplete your battery, leaving you stranded. Anything from a faulty interior light to a malfunctioning radio can be the source of this drain. Similar to testing car battery drain with multimeter, using a test light is a practical way to pinpoint the problem.
Why Use a Parasitic Draw Test Light?
While a multimeter offers precise current measurements, a test light provides a quick and visual way to detect a parasitic draw. It’s a simpler tool to use, especially for beginners. This makes it an excellent starting point for troubleshooting. Plus, it’s generally less expensive than a multimeter. The test light illuminates when current flows through it, indicating the presence of a draw. This visual cue can be exceptionally helpful in tracing the source of the drain.
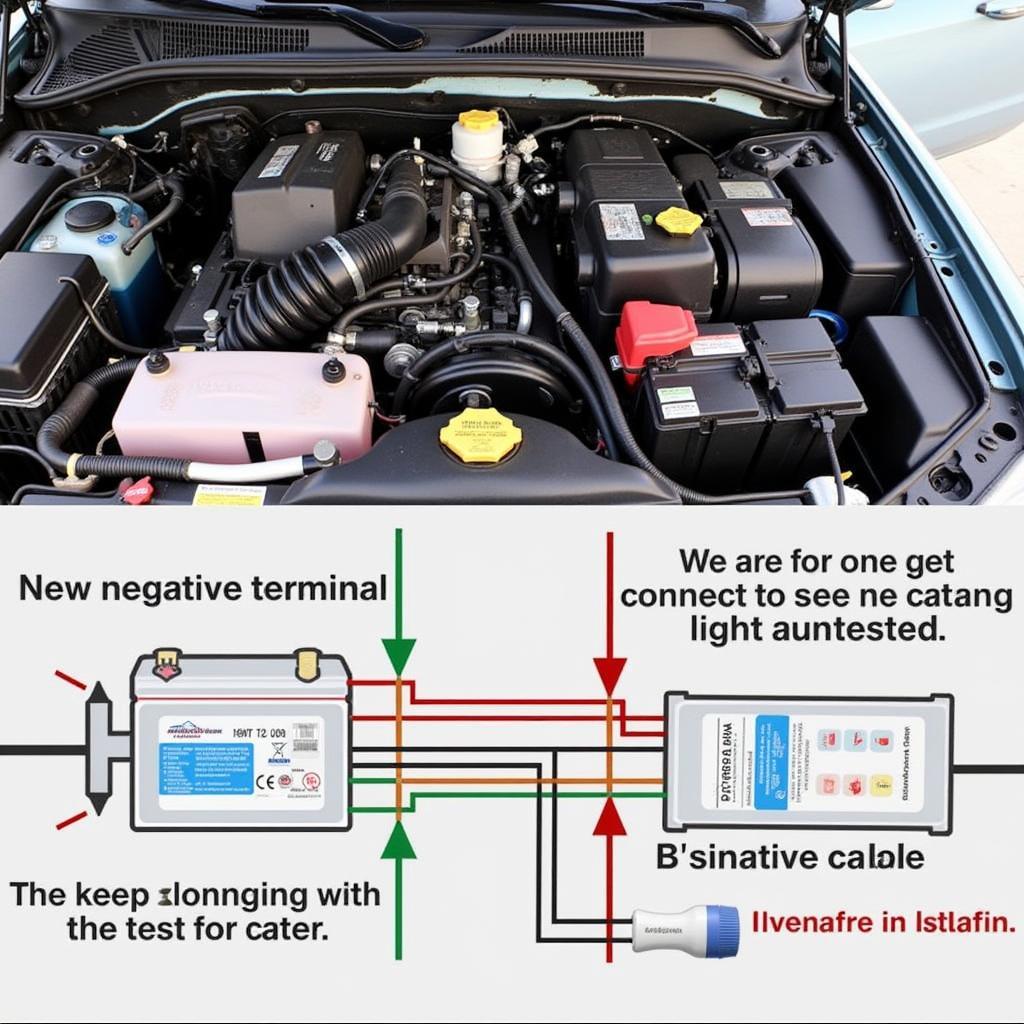
 Parasitic Draw Test Light Setup
How to Perform a Parasitic Draw Test with a Test Light
Before starting the test, gather the necessary tools: a parasitic draw test light and a wiring diagram for your vehicle. This diagram will help you identify the fuses and circuits associated with various components. Knowing how these systems interconnect is essential for a successful diagnosis. This process shares some similarities with checking for a parasitic draw, which provides valuable background information.
- Prepare the vehicle: Turn off all accessories, lights, and the ignition. Ensure the doors are closed and the car is in a state simulating its resting condition. This ensures you’re only measuring current draw from potential parasitic sources.
- Disconnect the negative battery terminal: This is a crucial safety step. Always disconnect the negative terminal first to avoid accidental short circuits.
- Connect the test light: Connect the alligator clip of the test light to the negative battery terminal and the probe to the negative battery cable. If there is a parasitic draw, the test light will illuminate.
- Begin isolating the circuits: Start by removing fuses one at a time. Observe the test light after removing each fuse. If the light goes out after removing a specific fuse, you’ve identified the circuit where the parasitic draw exists. Remember, if the light dims but doesn’t go out entirely, there might be multiple draws present.
- Narrow down the culprit: Once you’ve identified the faulty circuit, consult your wiring diagram to determine which components are connected to that circuit. Systematically disconnect each component within the suspected circuit while observing the test light. When the light goes out, you’ve found the source of the parasitic draw. This procedure aligns with the principles outlined in parasitic drain in car, offering a deeper dive into the subject.
Interpreting the Test Light Results
A bright light indicates a substantial draw, while a dim light suggests a smaller, less significant draw. No light means no parasitic draw. A flickering light can point towards an intermittent draw, which can be particularly challenging to diagnose.
“Understanding the nuances of a parasitic draw test is fundamental to effective vehicle diagnostics,” says automotive electrical expert, David Miller. “A test light offers a practical, straightforward method to identify these often hidden power drains.”
Addressing the Parasitic Draw
Once the culprit is identified, you have a few options: repair the faulty component, replace it, or disconnect it entirely if it’s non-essential. In some cases, a simple relay replacement or a software update can resolve the issue.
Conclusion
Mastering the parasitic draw test light equips you with a valuable skill for maintaining your vehicle’s electrical health. This simple yet effective technique can save you time, money, and the frustration of a dead battery. Regularly checking for parasitic draws can prevent future problems and ensure your vehicle is always ready to go. As with any electrical work on your car, always exercise caution and consult your vehicle’s manual if you have any doubts. This can be particularly helpful when dealing with lights draining car battery.
FAQ
- Can I use any test light for this test? Yes, but a test light specifically designed for automotive use is recommended.
- What if the test light stays on even after removing all fuses? This could indicate a problem with the main power distribution system.
- Is it safe to perform this test myself? Yes, as long as you follow the safety precautions outlined in this guide.
- What is a normal parasitic draw? A normal draw is typically around 50 milliamps or less.
- Can a bad alternator cause a parasitic draw? While an alternator doesn’t directly cause a parasitic draw, a faulty diode in the alternator can contribute to battery drain.
- How often should I test for parasitic draws? It’s a good idea to check periodically, especially if you notice your battery draining faster than usual. It’s also a good preventative measure to check car battery current draw.
- What if I can’t find the source of the draw? If you’re unable to isolate the issue, it’s best to consult a qualified automotive electrician.

