Understanding how to install a Pioneer car radio can seem daunting, but with the right guidance, it can be a manageable DIY project. This comprehensive guide provides step-by-step instructions and helpful tips for installing your new Pioneer car radio, ensuring a smooth and successful installation process.
Preparing for Your Pioneer Car Radio Installation
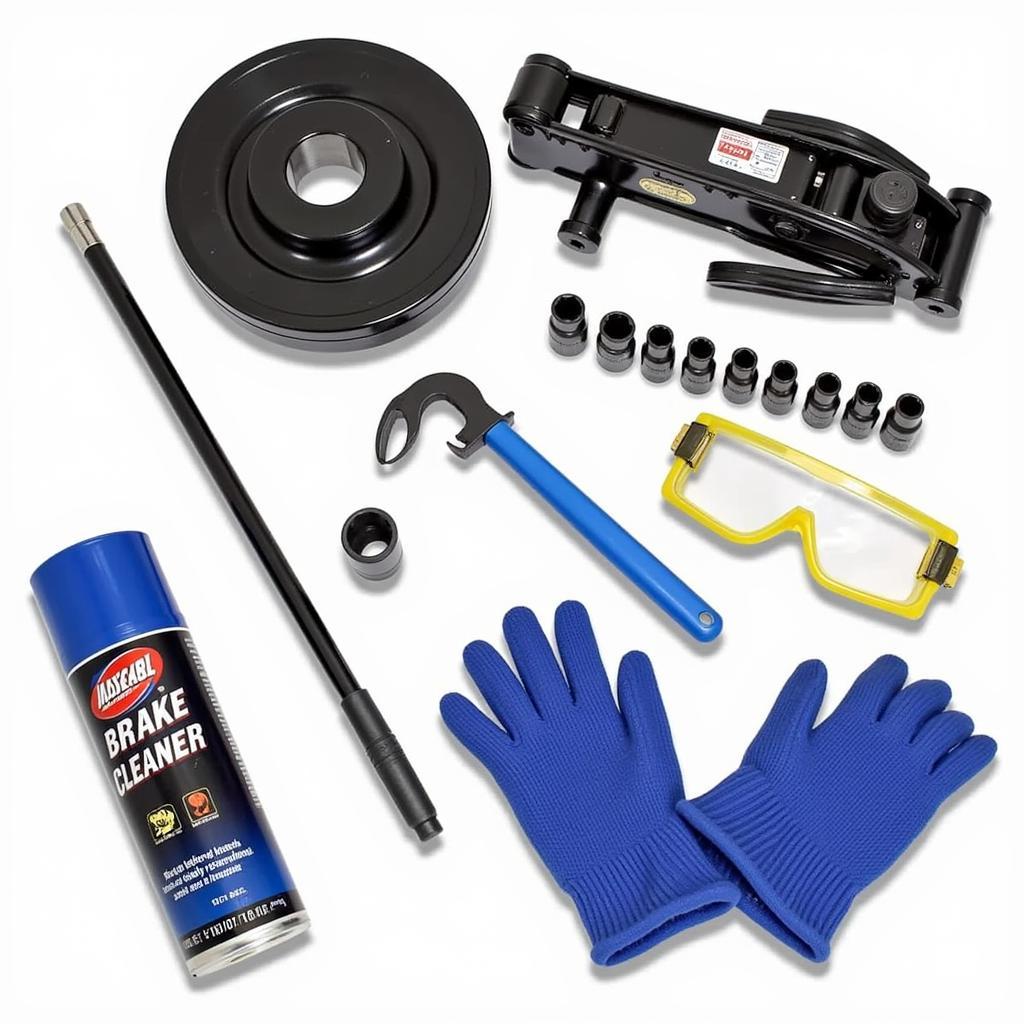
Before you begin, gather the necessary tools and components. This typically includes a screwdriver set, wire strippers/crimpers, electrical tape, the Pioneer car radio installation manual, and a wiring harness adapter (if needed). Having everything ready beforehand will streamline the process and prevent unnecessary delays.
It’s crucial to disconnect the negative battery terminal before starting any car audio work to avoid electrical shocks and potential damage to your vehicle’s electrical system. Remember to consult your car’s owner’s manual for specific instructions regarding your vehicle’s wiring and dashboard removal procedures. Similar to a maestro car radio installation kit, understanding the specific components for your vehicle model is essential.
Removing the Old Car Radio
Carefully remove the trim panels surrounding your old car radio using the appropriate tools. Be gentle to avoid breaking any clips or damaging the dashboard. Once the trim is removed, unscrew and disconnect the wiring harness from the old radio. Take note of the wiring configuration for later reference when connecting the new Pioneer unit.
Wiring the Pioneer Car Radio
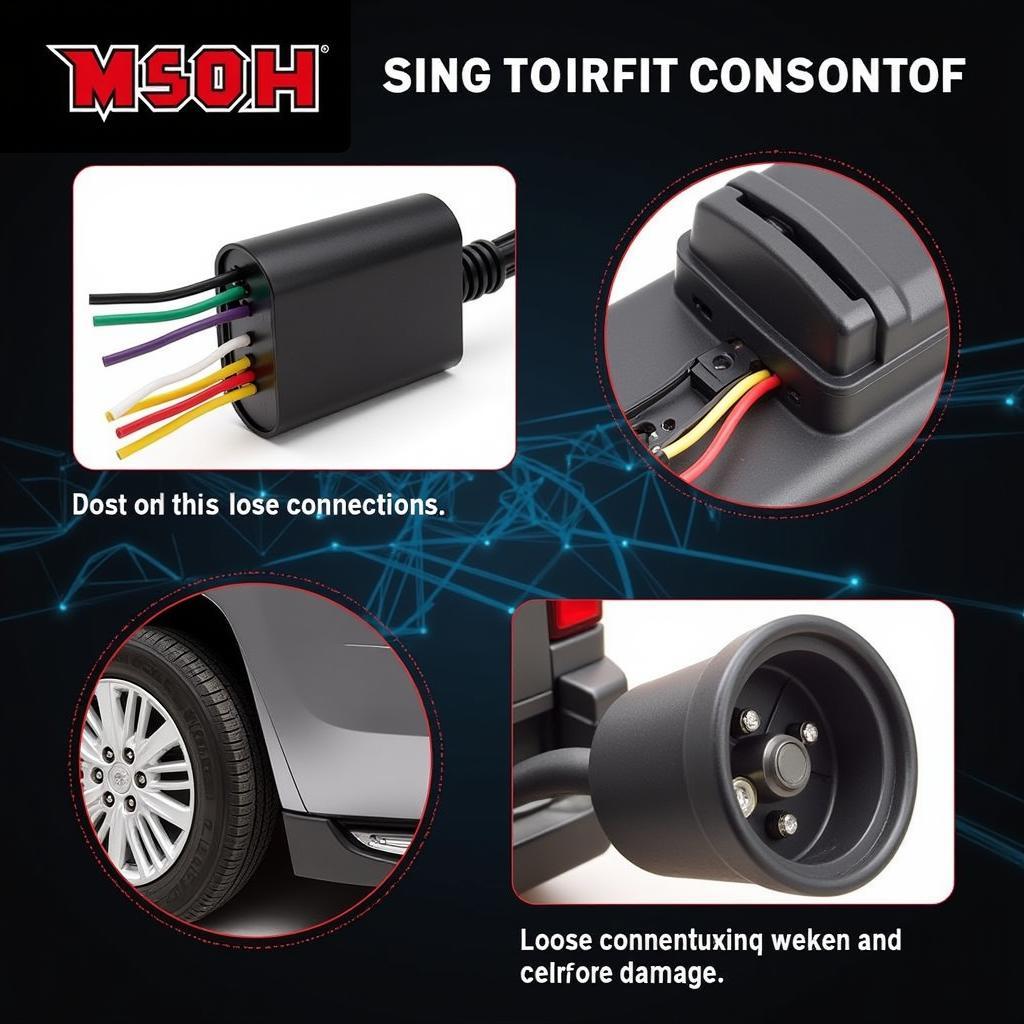
This is where having the correct wiring harness adapter comes into play, especially if you are installing an aftermarket radio like a Pioneer. The adapter connects the radio’s wiring harness to your car’s specific wiring system, eliminating the need to cut or splice wires. Match the color-coded wires from the Pioneer wiring harness to the corresponding wires on the adapter. Securely crimp or solder the connections and wrap them with electrical tape for insulation and a professional finish. Incorrect wiring can lead to malfunctioning features or even damage to the radio. Some advanced features, such as steering wheel controls, may require additional modules or adapters, like those used for installing siriusxm radio in car.
Installing the New Pioneer Car Radio
Once the wiring is complete, slide the Pioneer car radio into the dashboard opening. Secure it with the provided mounting brackets or screws. Before fully tightening everything, test the radio’s functionality to ensure all connections are working correctly. Turn on the ignition and test the power, speakers, and other features. If everything is working as expected, reattach the trim panels.
Troubleshooting Common Issues
Sometimes, even with careful installation, issues can arise. If your Pioneer car radio isn’t working correctly, double-check all the wiring connections. Ensure the antenna is properly connected. If you encounter Bluetooth connectivity problems, refer to our guide on pioneer car radio bluetooth no service for troubleshooting steps. If your car is older and you are trying to maintain HD radio functionality, resources on hd radio car stereo bluetooth might be helpful. Knowing the correct wiring harness for your vehicle model, for instance a pioneer car radio wiring harness for 2012 jeep liberty, is crucial for a smooth installation.
Conclusion
Installing a Pioneer car radio can enhance your driving experience with improved sound quality and modern features. By following these pioneer car radio installation instructions, you can successfully complete the installation yourself. Remember to consult your car’s manual and the Pioneer radio’s instructions for specific guidance related to your vehicle and radio model.
FAQ
-
What tools do I need for Pioneer car radio installation?
You’ll need a screwdriver set, wire strippers/crimpers, electrical tape, and potentially a wiring harness adapter. -
Why is disconnecting the battery important?
Disconnecting the negative battery terminal prevents electrical shocks and protects your car’s electrical system. -
Do I need a wiring harness adapter?
A wiring harness adapter is often necessary for aftermarket radios to connect to your car’s wiring system without cutting or splicing wires. -
How do I troubleshoot if the radio doesn’t work?
Double-check wiring connections, antenna connection, and consult troubleshooting guides for specific issues. -
Where can I find model-specific instructions?
Refer to your car’s owner’s manual and the Pioneer car radio installation manual for detailed instructions. -
What if I have issues with Bluetooth?
Check the Bluetooth settings on both your phone and the radio, and ensure they are paired correctly. -
Can I install a Pioneer radio myself?
Yes, with the right tools, instructions, and patience, it’s a manageable DIY project.


