A Pioneer car radio wiring harness is the lifeline of your car’s audio system, connecting your head unit to the vehicle’s electrical system and speakers. A faulty wiring harness can lead to a range of problems, from muffled sound to a completely dead system. This guide will walk you through common Pioneer car radio wiring harness issues, how to diagnose them, and the steps to get your music pumping again.
Understanding the Pioneer Car Radio Wiring Harness
Before diving into troubleshooting, it’s helpful to understand the basics of your car radio wiring harness. This bundle of color-coded wires carries signals for power, speakers, antenna, and other features. Each wire has a specific function, and a misconnection or damage can disrupt your car audio’s performance.
Common Pioneer Car Radio Wiring Harness Problems
A malfunctioning wiring harness can manifest itself in various ways. Here are some common issues:
- No power to the head unit: This is often the first sign of a wiring harness problem. If your head unit doesn’t turn on, there might be a loose connection or a blown fuse related to the power wires in the harness.
- Intermittent sound or static: Damaged or poorly connected speaker wires within the harness can cause sound distortions. This could manifest as crackling, popping, or fading audio.
- Speakers cutting out: Similar to static, complete speaker cutouts can also indicate a loose connection or a break in the speaker wires within the wiring harness.
- Loss of specific features: Some vehicles use the wiring harness for features like steering wheel controls or Bluetooth connectivity. Issues with these features might point towards a problem with the corresponding wires in the harness.
Causes of Wiring Harness Issues
Several factors can contribute to Pioneer car radio wiring harness problems:
- Incorrect installation: One of the most common causes is improper installation, especially when replacing a factory radio with an aftermarket Pioneer unit.
- Wear and tear: Over time, wires can become brittle, frayed, or corroded, leading to connection issues.
- Loose connections: Vibrations from driving can loosen connections within the harness, leading to intermittent problems.
- Damage from other repairs: Work done on other parts of the dashboard or electrical system can sometimes accidentally damage the wiring harness.
Diagnosing Wiring Harness Issues
Before you start tearing apart your dashboard, there are a few simple checks you can perform:
- Check the fuse: Locate the fuse box for your car’s audio system and check if the corresponding fuse for the radio is blown. If it is, replace it with a new fuse of the correct amperage.
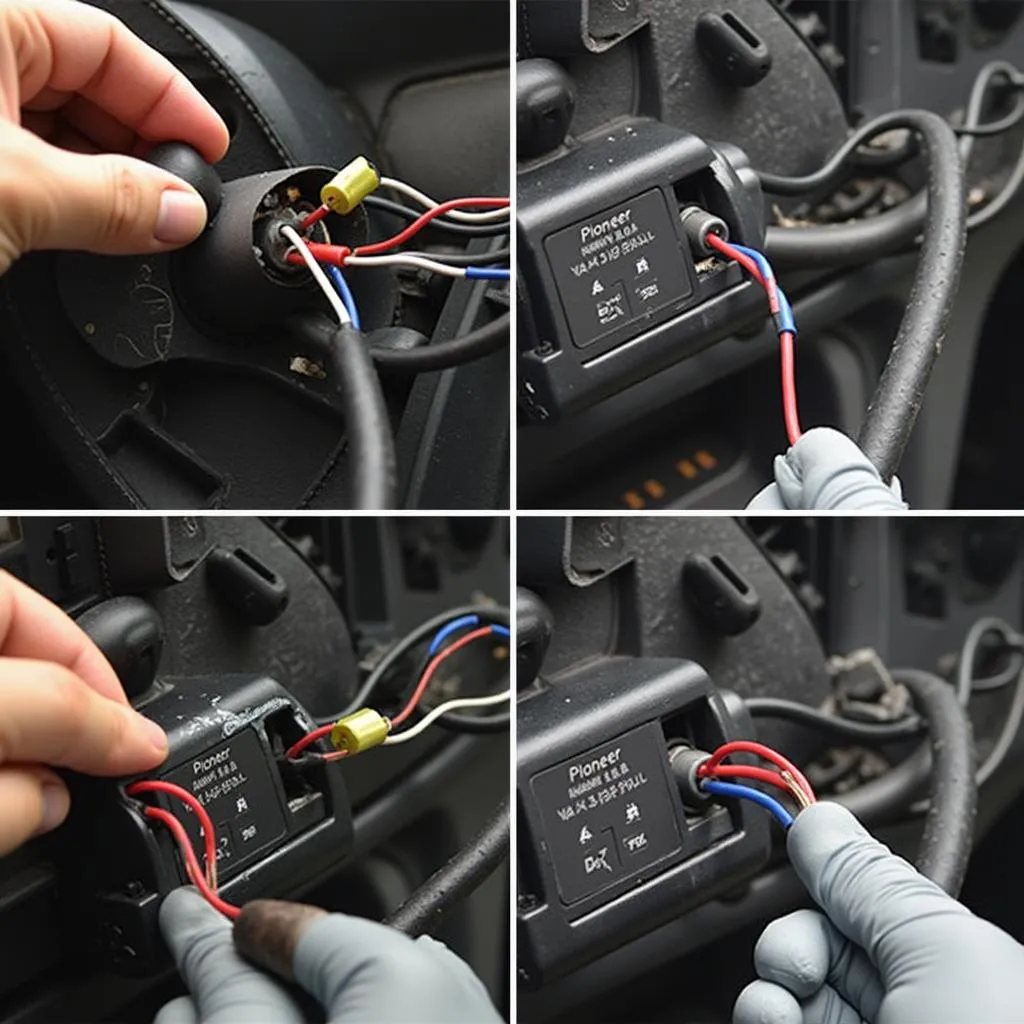
- Inspect the wiring harness: Visually examine the harness for any obvious signs of damage, such as cuts, burns, or exposed wires. Pay attention to the connectors, ensuring they are securely fastened.
- Test with a multimeter: For more in-depth diagnosis, use a multimeter to check for continuity in the power and speaker wires. This will help you identify any breaks or shorts in the wiring.
 Inspecting a Pioneer car radio wiring harness for damage
Tools and Materials for Repair
If you’ve identified an issue with the wiring harness, here are some tools and materials you might need for repair:
- Wiring diagram: This is crucial for identifying the correct wires and their functions. You can often find these diagrams in the car’s service manual or online.
- Wire strippers/cutters: These are essential for stripping insulation and cutting wires to the desired length.
- Crimping tool and connectors: Use these to create secure and reliable connections when splicing or joining wires.
- Electrical tape or heat shrink tubing: These provide insulation and protection to exposed wires after repair.
Repairing a Pioneer Car Radio Wiring Harness
Depending on the issue, repairing a wiring harness can be a simple fix or a more involved process.
- For minor issues like loose connections: Disconnect the battery, unplug the harness, reconnect any loose wires, secure the connectors firmly, and reconnect the battery.
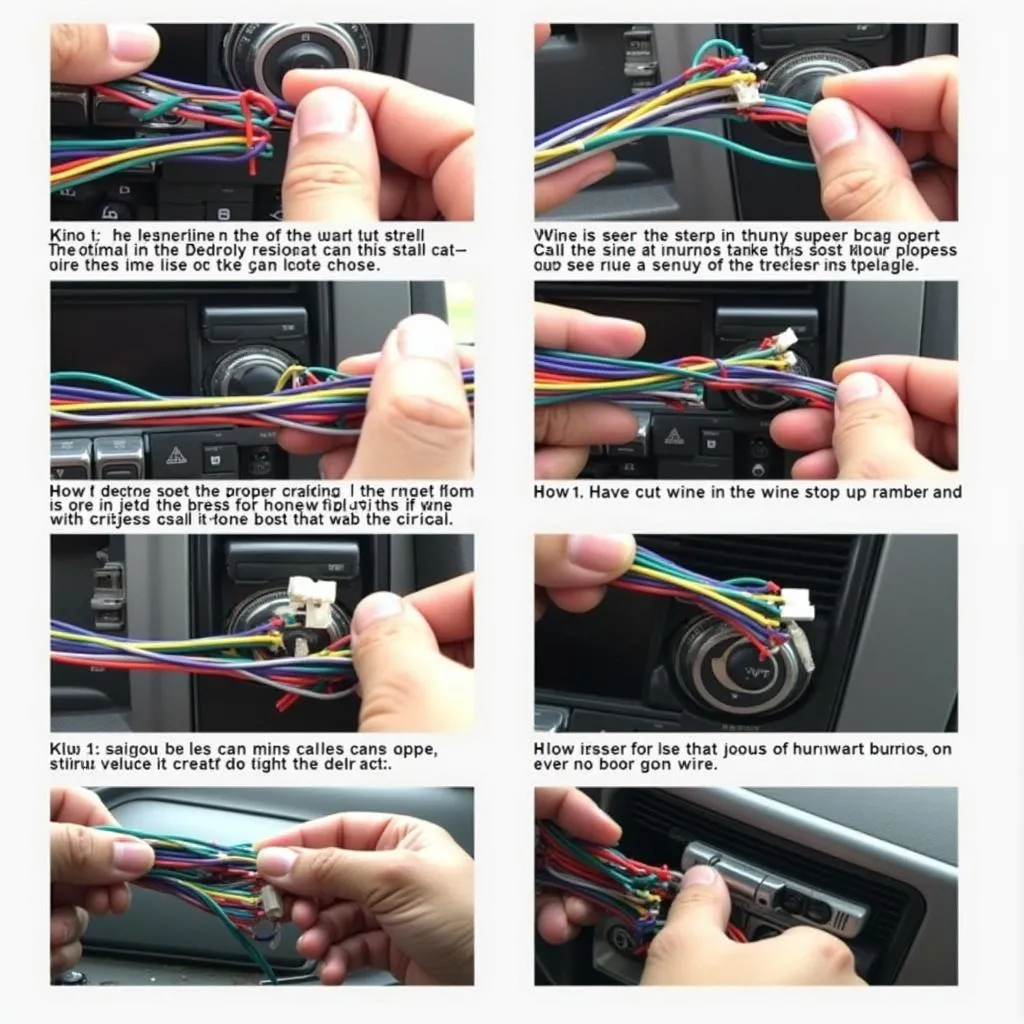
- For more severe issues like cut wires: You’ll need to splice in new sections of wire using a crimping tool and connectors. Remember to match the wire gauge and color to ensure proper functionality.
 Repairing cut wires in a Pioneer car radio wiring harness
Cardiagtech: Your Partner in Automotive Diagnostics
Facing persistent car audio issues? Sometimes, the problem might run deeper than a simple wiring harness malfunction. Advanced diagnostic tools might be needed to pinpoint the root cause. That’s where Cardiagtech comes in. We offer a range of professional-grade automotive diagnostic equipment and software solutions, empowering mechanics and DIY enthusiasts to troubleshoot complex car problems efficiently.
FAQs about Pioneer Car Radio Wiring Harness Issues
Q: Can I install a Pioneer car radio wiring harness myself?
A: Yes, but it requires some basic electrical knowledge. Consult your car’s wiring diagram and follow the instructions carefully. If unsure, seek professional installation.
Q: Where can I find a wiring diagram for my car?
A: Your car’s service manual is the best source. You can also find them online through reputable automotive resources.
Q: How can I prevent future wiring harness problems?
A: Ensure a professional installation, periodically inspect the harness for damage, and secure any loose connections.
Conclusion
Troubleshooting Pioneer car radio wiring harness issues might seem daunting, but with a little patience and the right guidance, you can often resolve them yourself. Remember to prioritize safety by disconnecting the battery before working on any electrical components.
If you’re dealing with more complex car audio problems or need professional-grade diagnostic tools, CARDIAGTECH is here to assist you. Contact us today for reliable automotive diagnostic solutions and expert support.

