A malfunctioning brake warning switch can be a major safety hazard in your 1974 Corvette. This small but crucial component alerts you to potential brake system issues. If your brake lights aren’t working correctly or your brake warning light stays on, a faulty brake warning switch might be the culprit. Luckily, replacing it is a manageable DIY project for most Corvette enthusiasts. This guide provides a detailed, step-by-step walkthrough to help you safely and effectively replace your 1974 Corvette brake warning switch.
Understanding Your Corvette’s Brake Warning Switch
Before you start, it’s helpful to understand the function of the brake warning switch. This switch is typically located above the brake pedal arm and is activated when the pedal is depressed. When the brake pedal is released, the switch opens, turning off the brake lights and ensuring the warning light is off.
Gather Your Tools and Parts
Having the right tools and parts on hand streamlines the replacement process. Here’s a list of what you’ll need:
- New brake warning switch: Ensure you purchase the correct switch compatible with your 1974 Corvette model.
- Socket set: A standard socket set should include the necessary sizes to remove the switch.
- Wrench set: You’ll need wrenches for loosening and tightening the switch.
- Pliers: Needle-nose pliers can be helpful for disconnecting the electrical connector.
- Shop light or flashlight: Proper illumination is crucial for working under the dash.
- Safety glasses and gloves: Always prioritize safety when working on your vehicle.
Replacing the Brake Warning Switch: A Step-by-Step Guide
Now that you’re prepared, follow these steps to replace your brake warning switch:
-
Disconnect the battery: Before working on any electrical components, disconnect the negative battery cable to prevent electrical shocks.
-
Locate the switch: The brake warning switch is typically found above the brake pedal arm, mounted to the brake pedal bracket under the dashboard.
-
Disconnect the electrical connector: Carefully press the tab on the electrical connector and gently pull it away from the switch.
-
Remove the old switch: Using a wrench or socket, carefully loosen and remove the old brake warning switch from its mounting bracket.
-
Install the new switch: Thread the new brake warning switch into the mounting bracket and tighten it securely. Avoid over-tightening, which could damage the switch or the bracket.
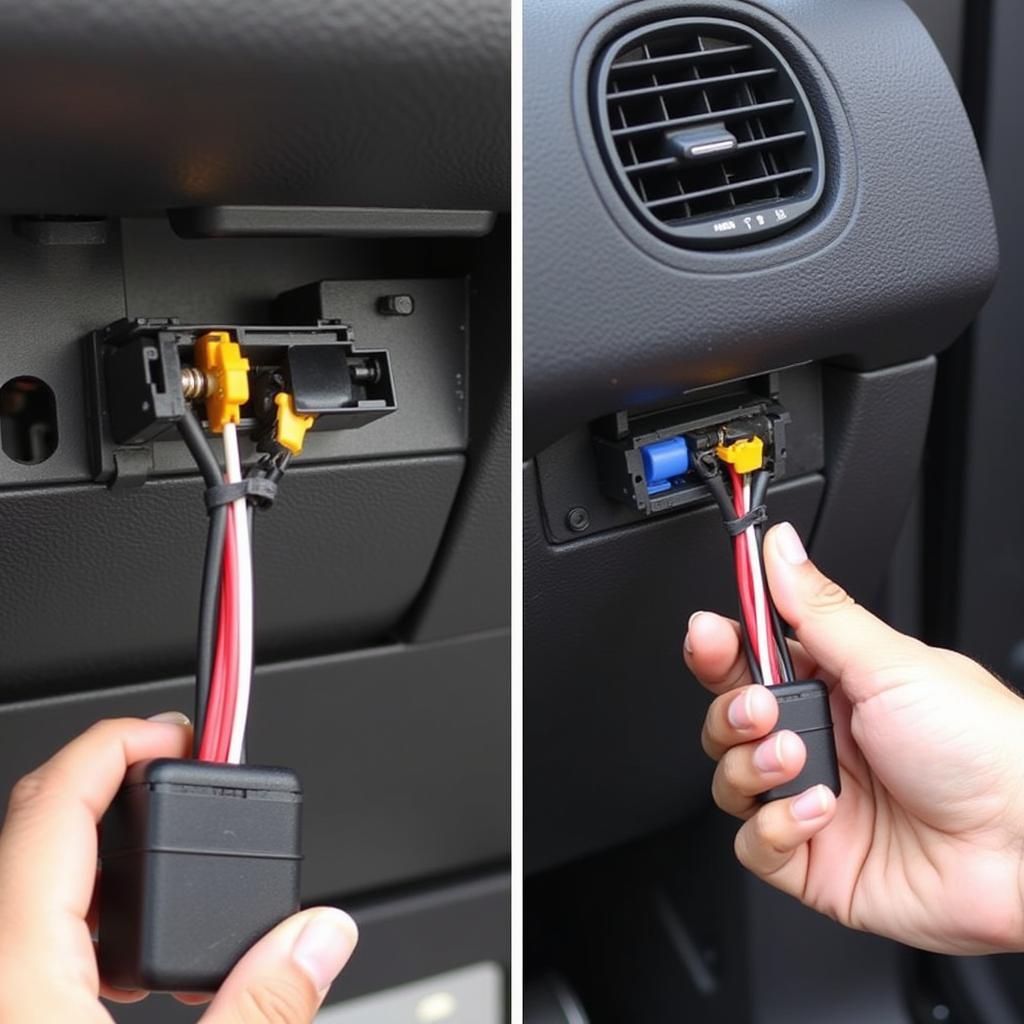 Installing New Brake Warning Switch in 1974 Corvette
-
Reconnect the electrical connector: Align the connector with the switch and push it firmly until it clicks into place. Ensure a secure connection.
-
Reconnect the battery: Reattach the negative battery cable to restore power to your Corvette.
-
Test the new switch: Press the brake pedal and verify that the brake lights illuminate. Check that the brake warning light on the dashboard goes off when the brake pedal is released. If everything functions correctly, you have successfully replaced your brake warning switch.
Troubleshooting Tips
-
If your brake lights still don’t work: Double-check the electrical connection at the switch, inspect the brake light bulbs, and examine the fuse for the brake lights.
-
If the brake warning light remains on: Ensure the new switch is properly adjusted and fully returns to its off position when the brake pedal is released.
-
If you encounter difficulties: Don’t hesitate to consult a qualified mechanic for assistance.
Replacing your 1974 Corvette’s brake warning switch is a straightforward task that can save you money and ensure your classic car remains safe to drive. By following these steps, you can tackle this DIY project with confidence. Remember to always prioritize safety and don’t hesitate to seek professional help if needed.