A dead key fob battery is a common inconvenience that can be easily remedied. If you’re tired of struggling to unlock your car or paying a dealership to replace a tiny battery, this guide is for you. We’ll walk you through the simple steps of replacing a key fob battery yourself, saving you time and money.
Why Replace Your Key Fob Battery Yourself?
Most people think replacing a key fob battery requires a trip to the dealership and a hefty fee. However, it’s a surprisingly simple task that anyone can do with a few basic tools. By learning to do it yourself, you can avoid unnecessary expenses and the hassle of scheduling an appointment. Plus, you’ll gain a sense of accomplishment knowing you can handle this simple car maintenance task.
Before You Begin: What You’ll Need
Before diving into the battery replacement, gather these essential tools:
- A small flat-head screwdriver: This will help pry open the key fob casing carefully.
- A fresh battery: Check your key fob’s manual or the back of the existing battery to determine the correct type.
- Your car’s owner’s manual: This will provide model-specific instructions and diagrams if needed.
Step-by-Step Guide to Key Fob Battery Replacement
While the exact process may vary slightly depending on your car’s make and model, these general steps apply to most key fobs:
-
Locate the battery compartment: Examine your key fob for a small seam or groove. This usually indicates the battery compartment cover.
-
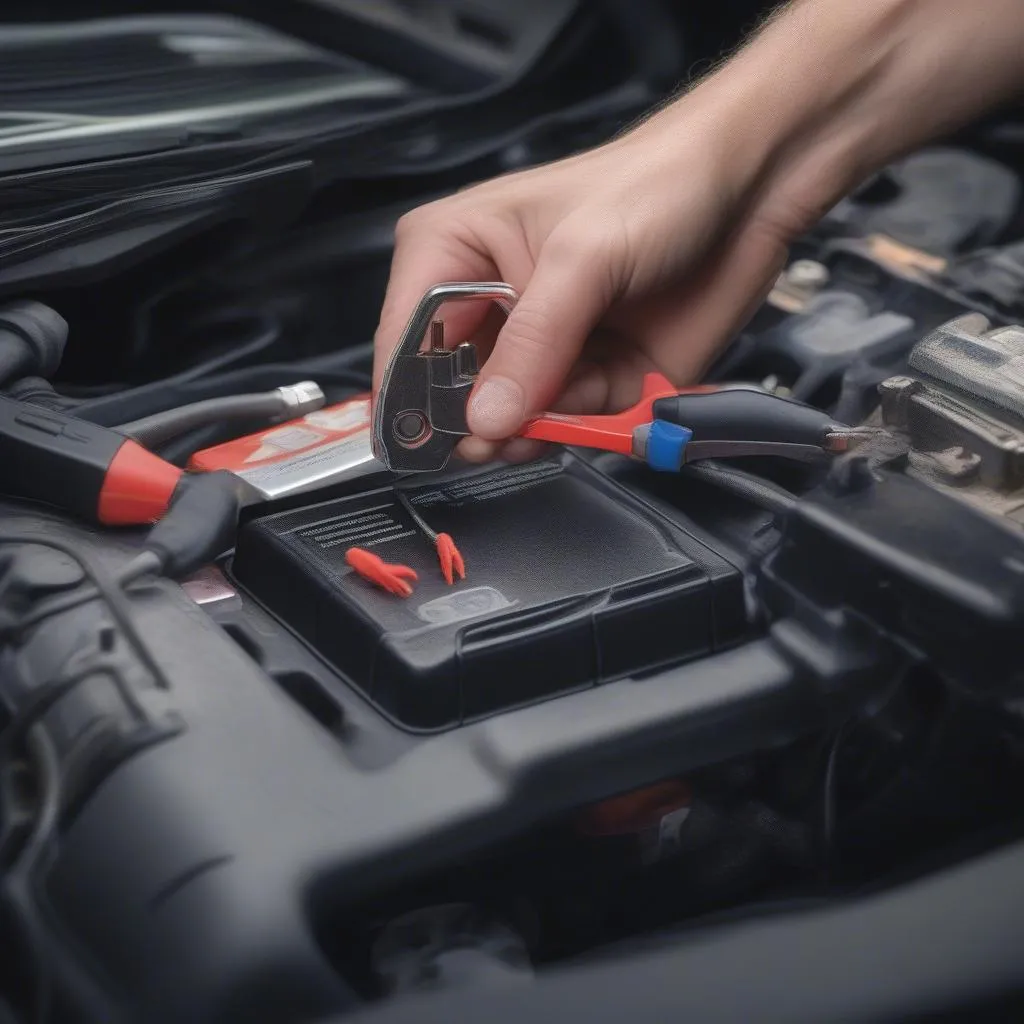
Open the key fob: Carefully insert the flat-head screwdriver into the seam and gently pry open the casing. Avoid using excessive force, which could damage the key fob.
-
Remove the old battery: Note the battery’s orientation (+/-), then gently pry it out. Some key fobs have a small tab or clip holding the battery in place.
-
Install the new battery: Insert the new battery, ensuring the + and – terminals align with the key fob’s markings. Press firmly to secure the battery in place.
-
Reassemble the key fob: Carefully align the two halves of the casing and press them together until you hear a click, indicating they’re securely closed.
-
Test the key fob: Try locking and unlocking your car doors using the key fob to ensure the new battery works correctly.
What if Replacing the Battery Doesn’t Work?
If your key fob still doesn’t function after replacing the battery, don’t panic. Here are a few possible reasons:
- Incorrect battery installation: Double-check that the new battery is installed correctly, with the positive (+) and negative (-) terminals aligned properly.
- Key fob programming: Some key fobs require reprogramming after a battery replacement. Consult your car’s owner’s manual for specific instructions on how to reprogram your key fob.
- Faulty key fob: If reprogramming doesn’t resolve the issue, your key fob itself might be malfunctioning. In this case, you might need to consult a qualified automotive locksmith or your dealership for further assistance.
Tips for Extending Key Fob Battery Life
- Avoid frequent drops: Dropping your key fob repeatedly can damage the battery or internal components. Invest in a protective case or keep it secure on your keychain.
- Store it in a cool, dry place: Extreme temperatures can affect battery life. Avoid leaving your key fob in direct sunlight or extremely cold environments.
- Replace the battery proactively: Consider replacing your key fob battery every two to three years, even if it’s still working. This can help prevent unexpected dead battery situations.
Conclusion
Replacing a key fob battery is a quick and easy task that can save you time, money, and frustration. By following these simple steps and tips, you can maintain your key fob’s functionality and enjoy seamless access to your vehicle for years to come. Remember to consult your car’s owner’s manual for model-specific instructions, and don’t hesitate to seek professional help if needed.


