If you’re driving a Mercedes E320 W211 and see a brake warning light glaring back from your dashboard, you’re not alone. While this light can indicate a serious issue, often it’s a simple fix you can potentially address yourself. This comprehensive guide will walk you through the common causes of a brake warning light on a Mercedes E320 W211 and provide step-by-step instructions on how to reset it.
Common Causes of a Brake Warning Light
Before attempting to reset the warning light, it’s crucial to understand what triggered it in the first place. Here are the most common culprits:
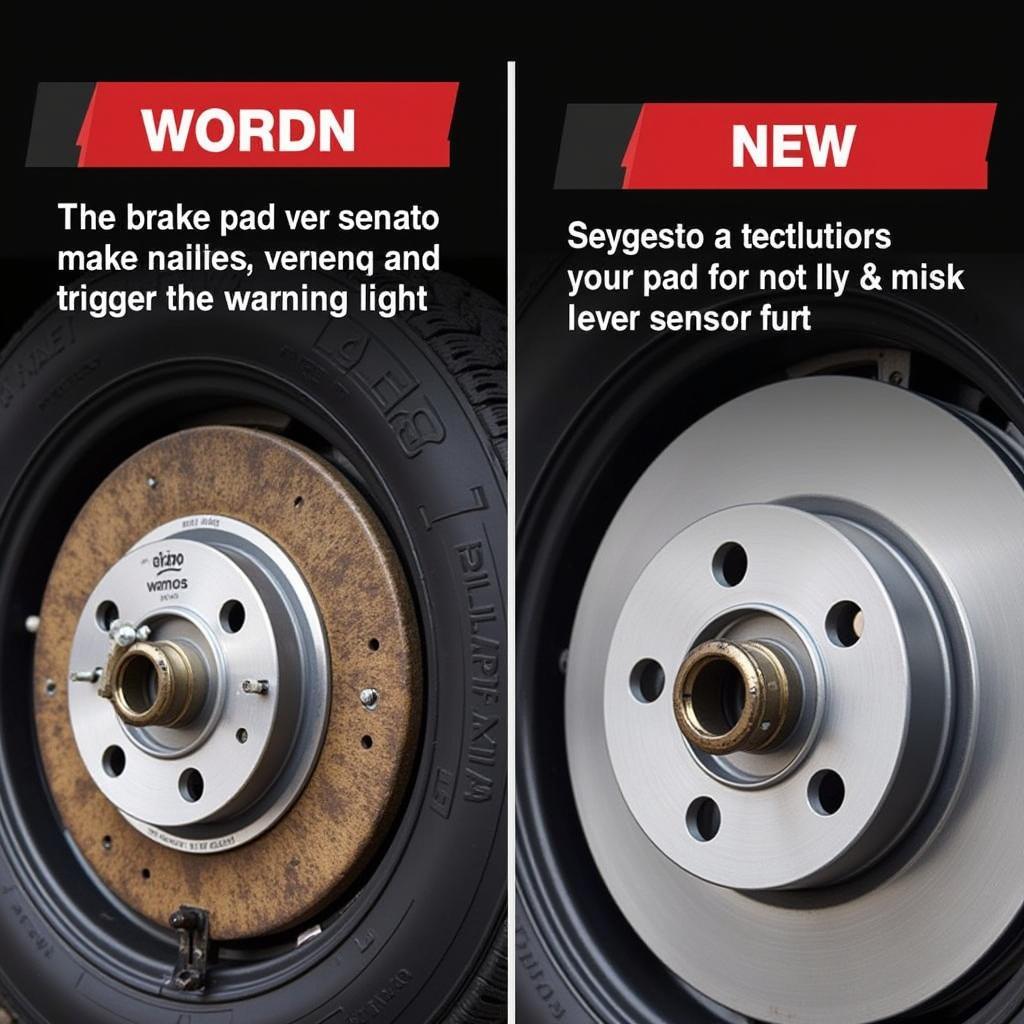
- Worn Brake Pads: The most frequent reason for the light to illuminate is worn brake pads. Your E320 is equipped with a sensor that triggers the warning light when the pads wear down to a certain level.
- Low Brake Fluid: Brake fluid is the lifeblood of your braking system. If the fluid level is low, it can indicate a leak, which requires immediate attention.
- Faulty Brake Light Switch: A malfunctioning brake light switch can also trigger the brake warning light, even if your brakes are functioning correctly.
- ABS Sensor Issue: Your E320 has an Anti-lock Braking System (ABS) with sensors on each wheel. A faulty sensor can disrupt the ABS functionality and illuminate the warning light.
Steps to Reset the Brake Warning Light on Your Mercedes E320 W211
Once you’ve determined the cause of the warning light and addressed the underlying issue (e.g., replacing worn brake pads), you can proceed with resetting the light. Here’s how:
- Turn the Ignition Off: Make sure your car is parked on a level surface and the engine is off.
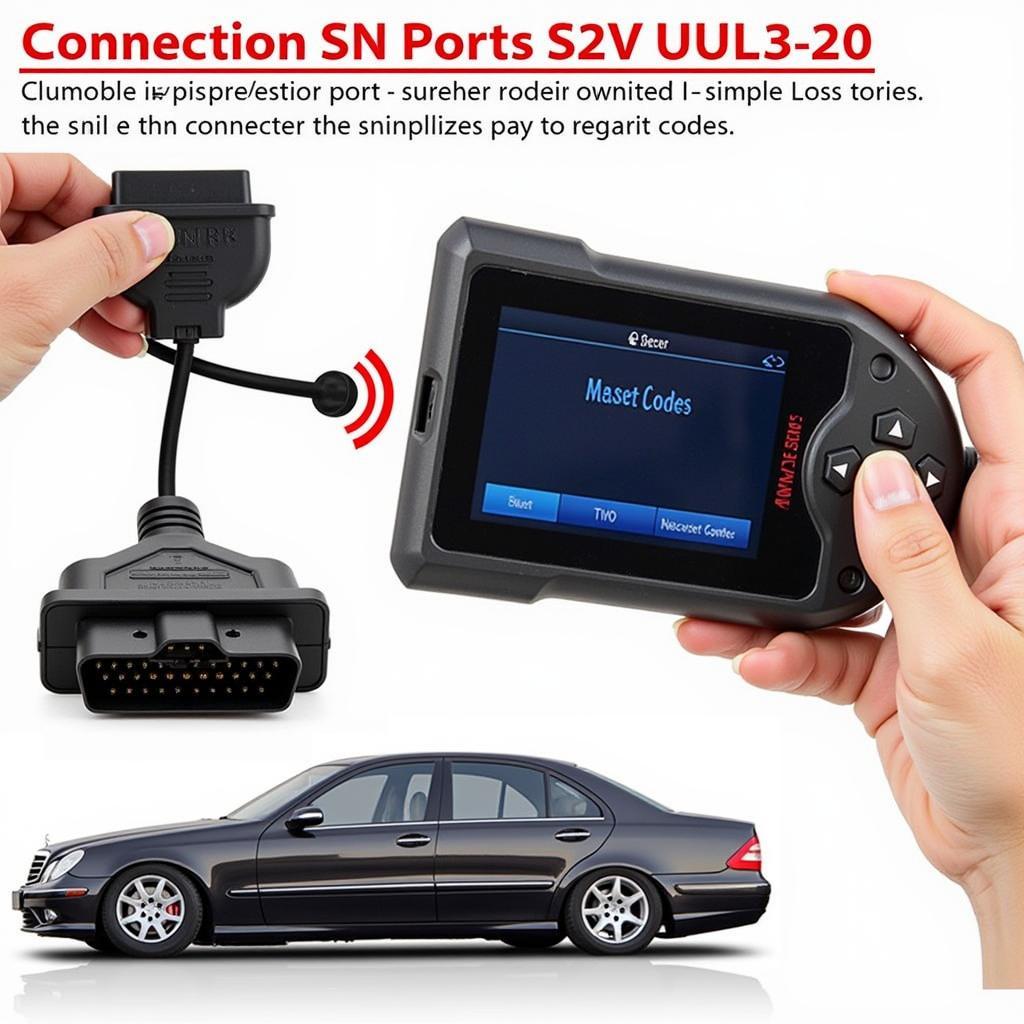
- Locate the OBD-II Port: The OBD-II port is usually located under the dashboard on the driver’s side.
- Connect an OBD-II Scanner: Plug the OBD-II scanner into the port.
- Turn the Ignition On: Turn the ignition key to the “on” position, but don’t start the engine.
- Access the Brake System: Using the scanner’s menu, navigate to the “Brake System” or “ABS” module.
- Select “Reset Codes”: Find and select the option to “Reset Codes” or “Clear Fault Codes.”
- Follow On-Screen Prompts: The scanner will guide you through the rest of the process.
- Disconnect the Scanner: Once the reset is complete, you can disconnect the OBD-II scanner.
- Test Drive: Start your E320 and take it for a short test drive to ensure the warning light has been successfully reset and the braking system is functioning as expected.
When to Seek Professional Help
While resetting the brake warning light can sometimes be a DIY task, it’s essential to recognize when professional help is necessary. If you:
- Are uncomfortable working with car electronics or using an OBD-II scanner
- Have addressed the potential causes listed above but the warning light persists
- Notice any unusual noises or sensations when applying the brakes
… it’s best to consult a qualified Mercedes mechanic.
 Using an OBD-II Scanner to Reset the Brake Warning Light
Keeping Your Mercedes E320 Running Smoothly
Regular maintenance is key to preventing future brake warning light issues. Make sure to:
-
Adhere to the recommended brake pad replacement schedule outlined in your owner’s manual.
-
Check your brake fluid level regularly and top it off as needed.
-
Schedule routine inspections with a trusted mechanic to catch potential problems early.
“A little preventative maintenance goes a long way,” says Master Mercedes Technician, Hans Schmidt. “Staying on top of your brake system’s health can save you headaches and potentially costly repairs down the line.”
Remember, your car’s brakes are your lifeline on the road. If you encounter a brake warning light, don’t ignore it. By following the steps outlined in this guide, you can troubleshoot the issue and potentially reset the warning light yourself. However, always prioritize safety and seek professional help if needed.


